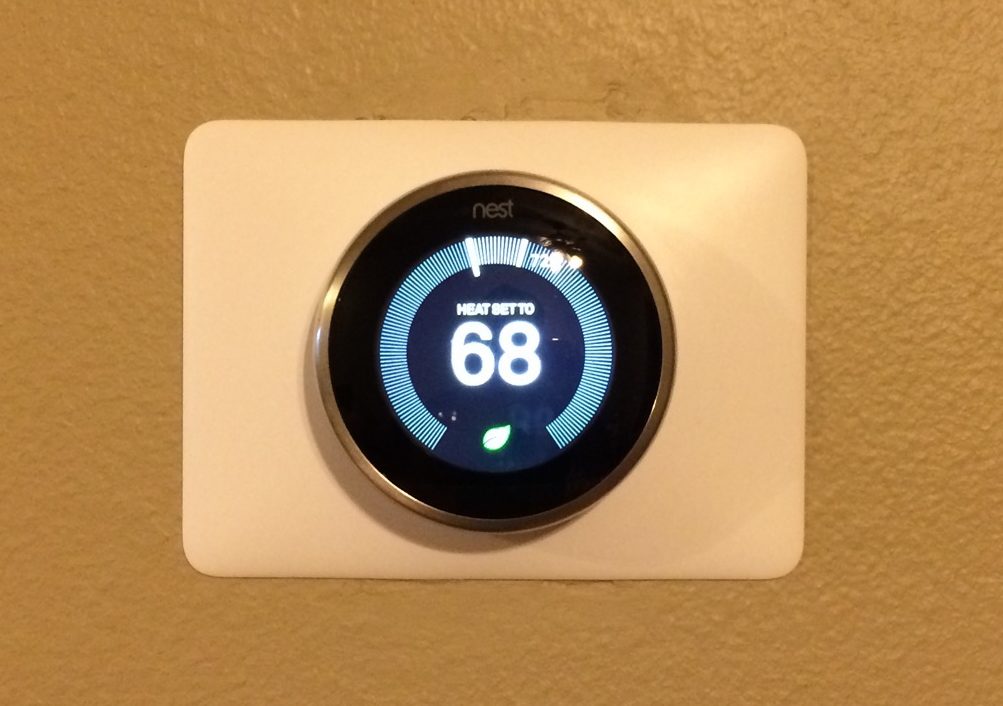
How To install Nest Thermostat with High Line Voltage
All right. Please note, You are the sole responsible of complying with your regulations and law, such as hiring a licensed contractor to do electrical work. If you don’t know what you are doing, don’t do it. Safety first.
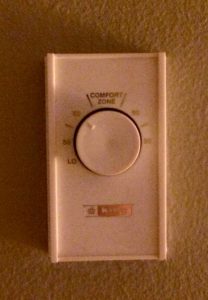
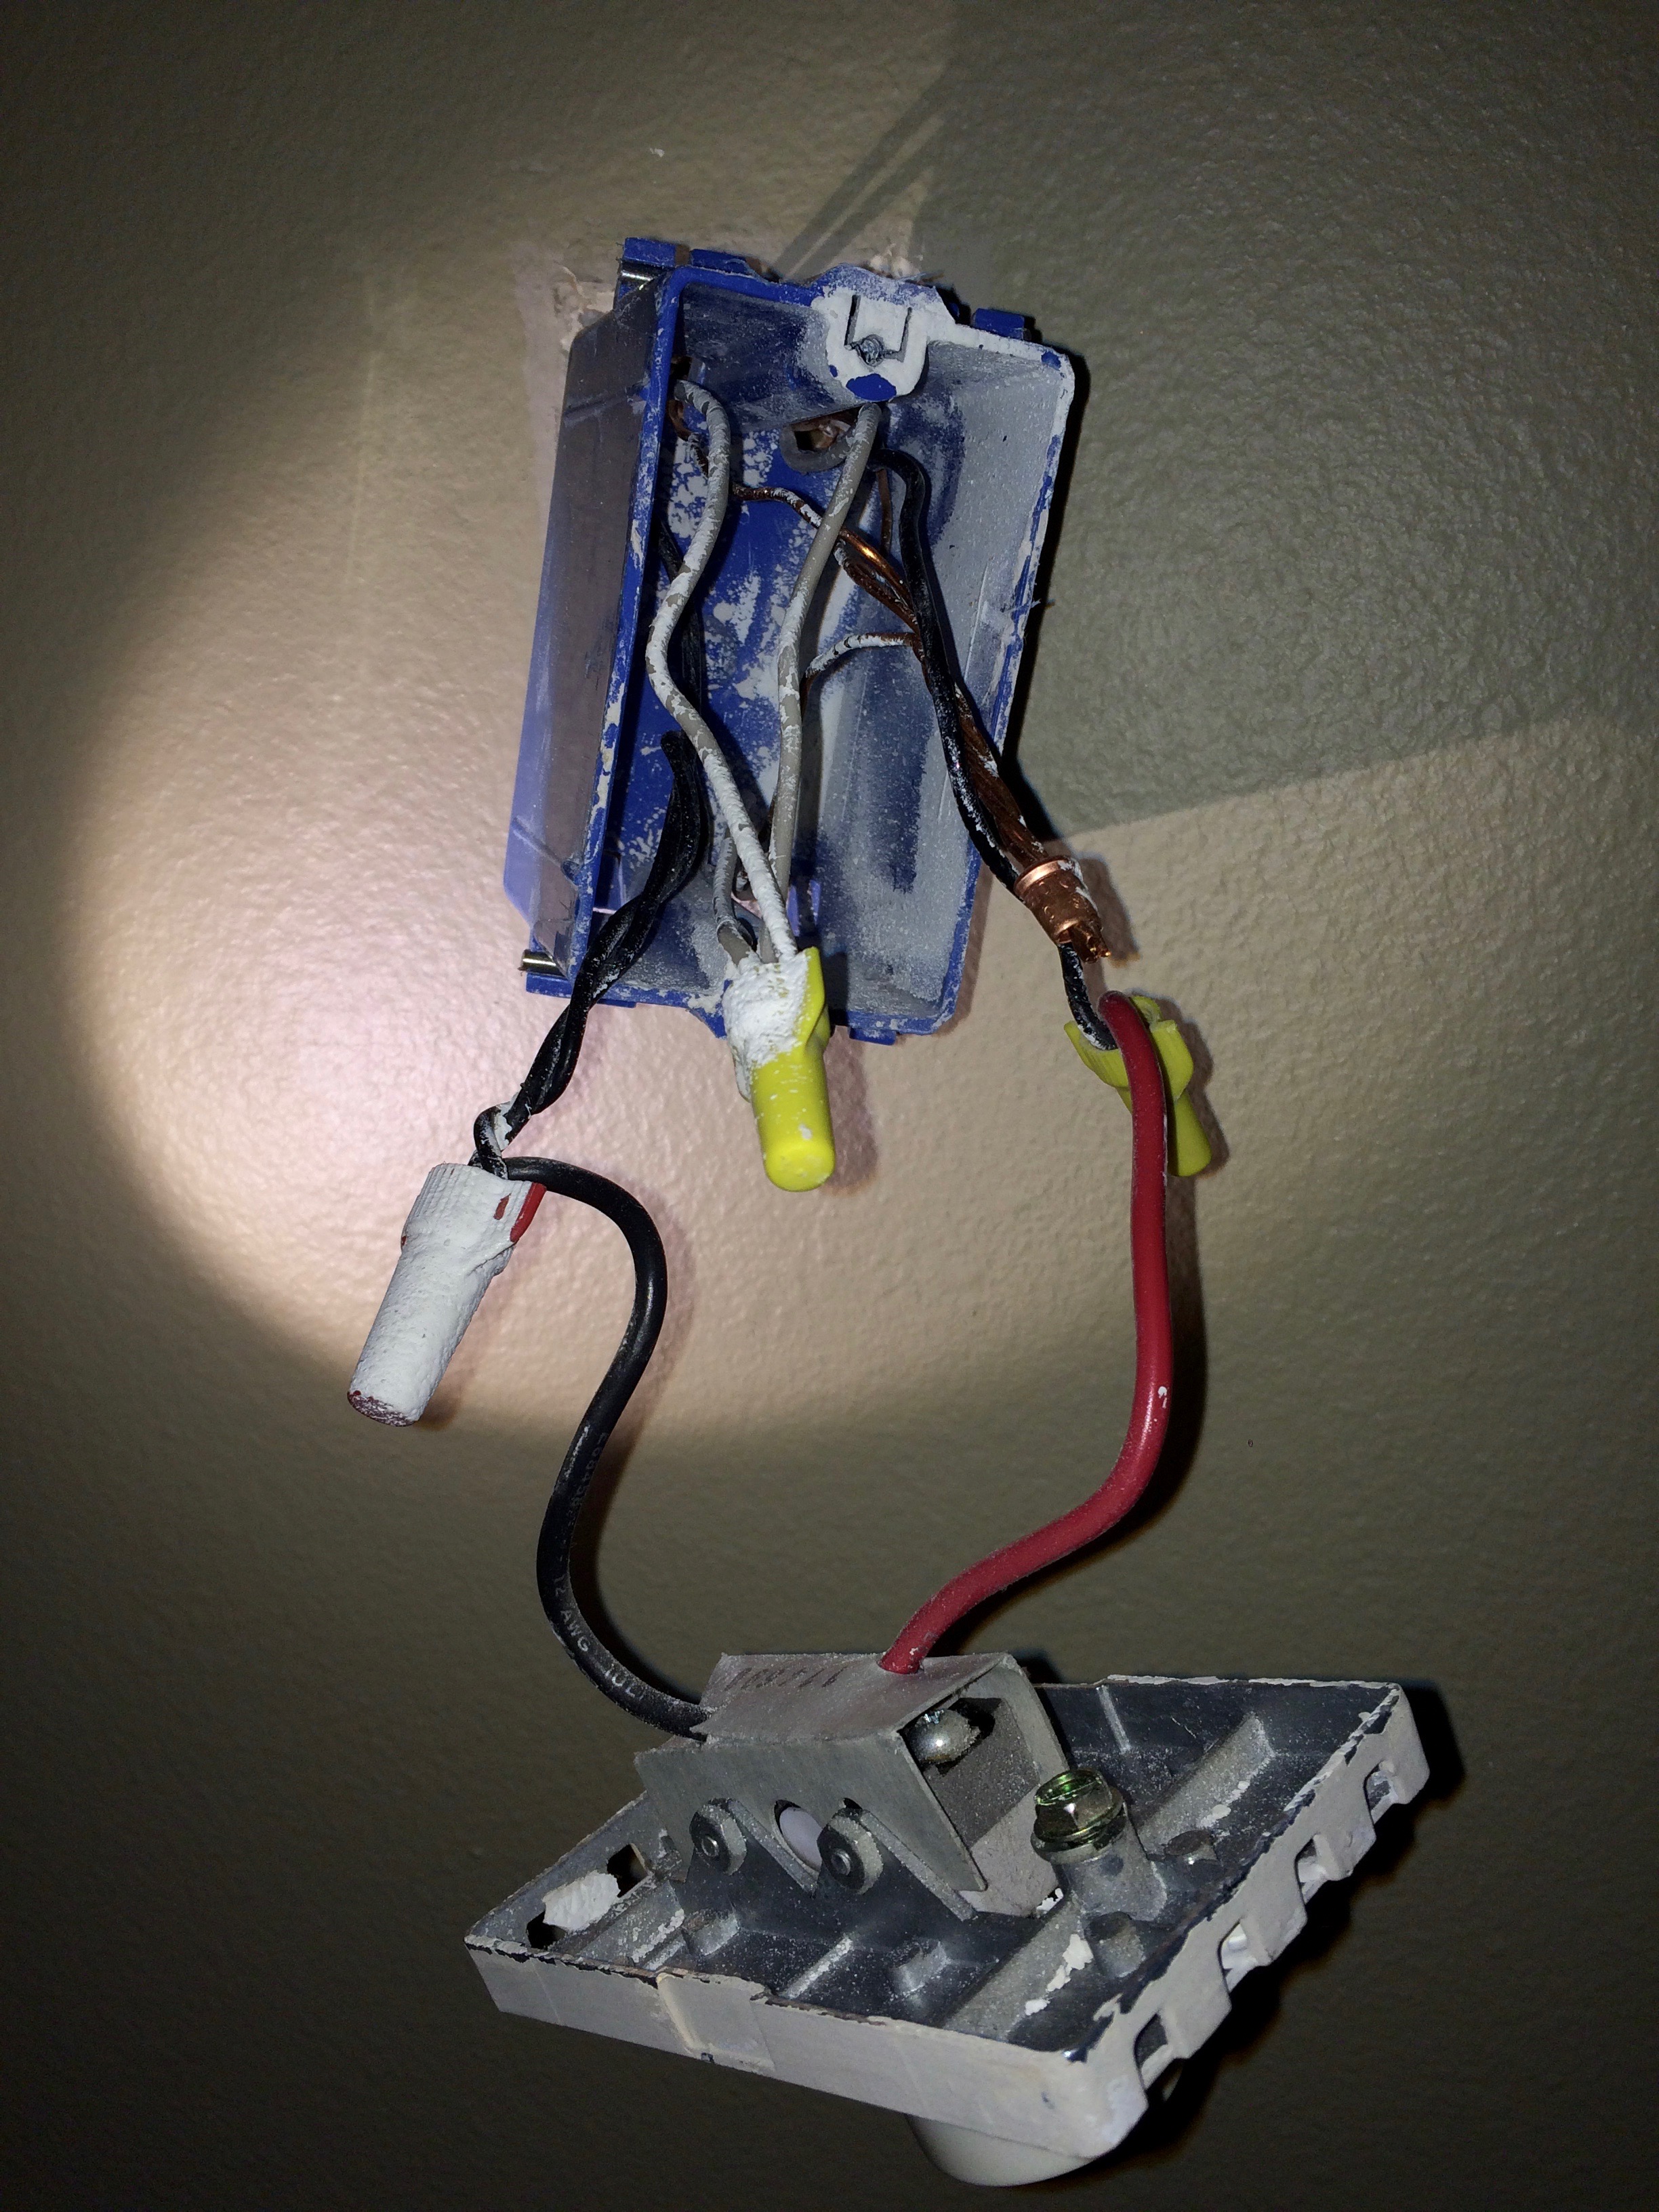
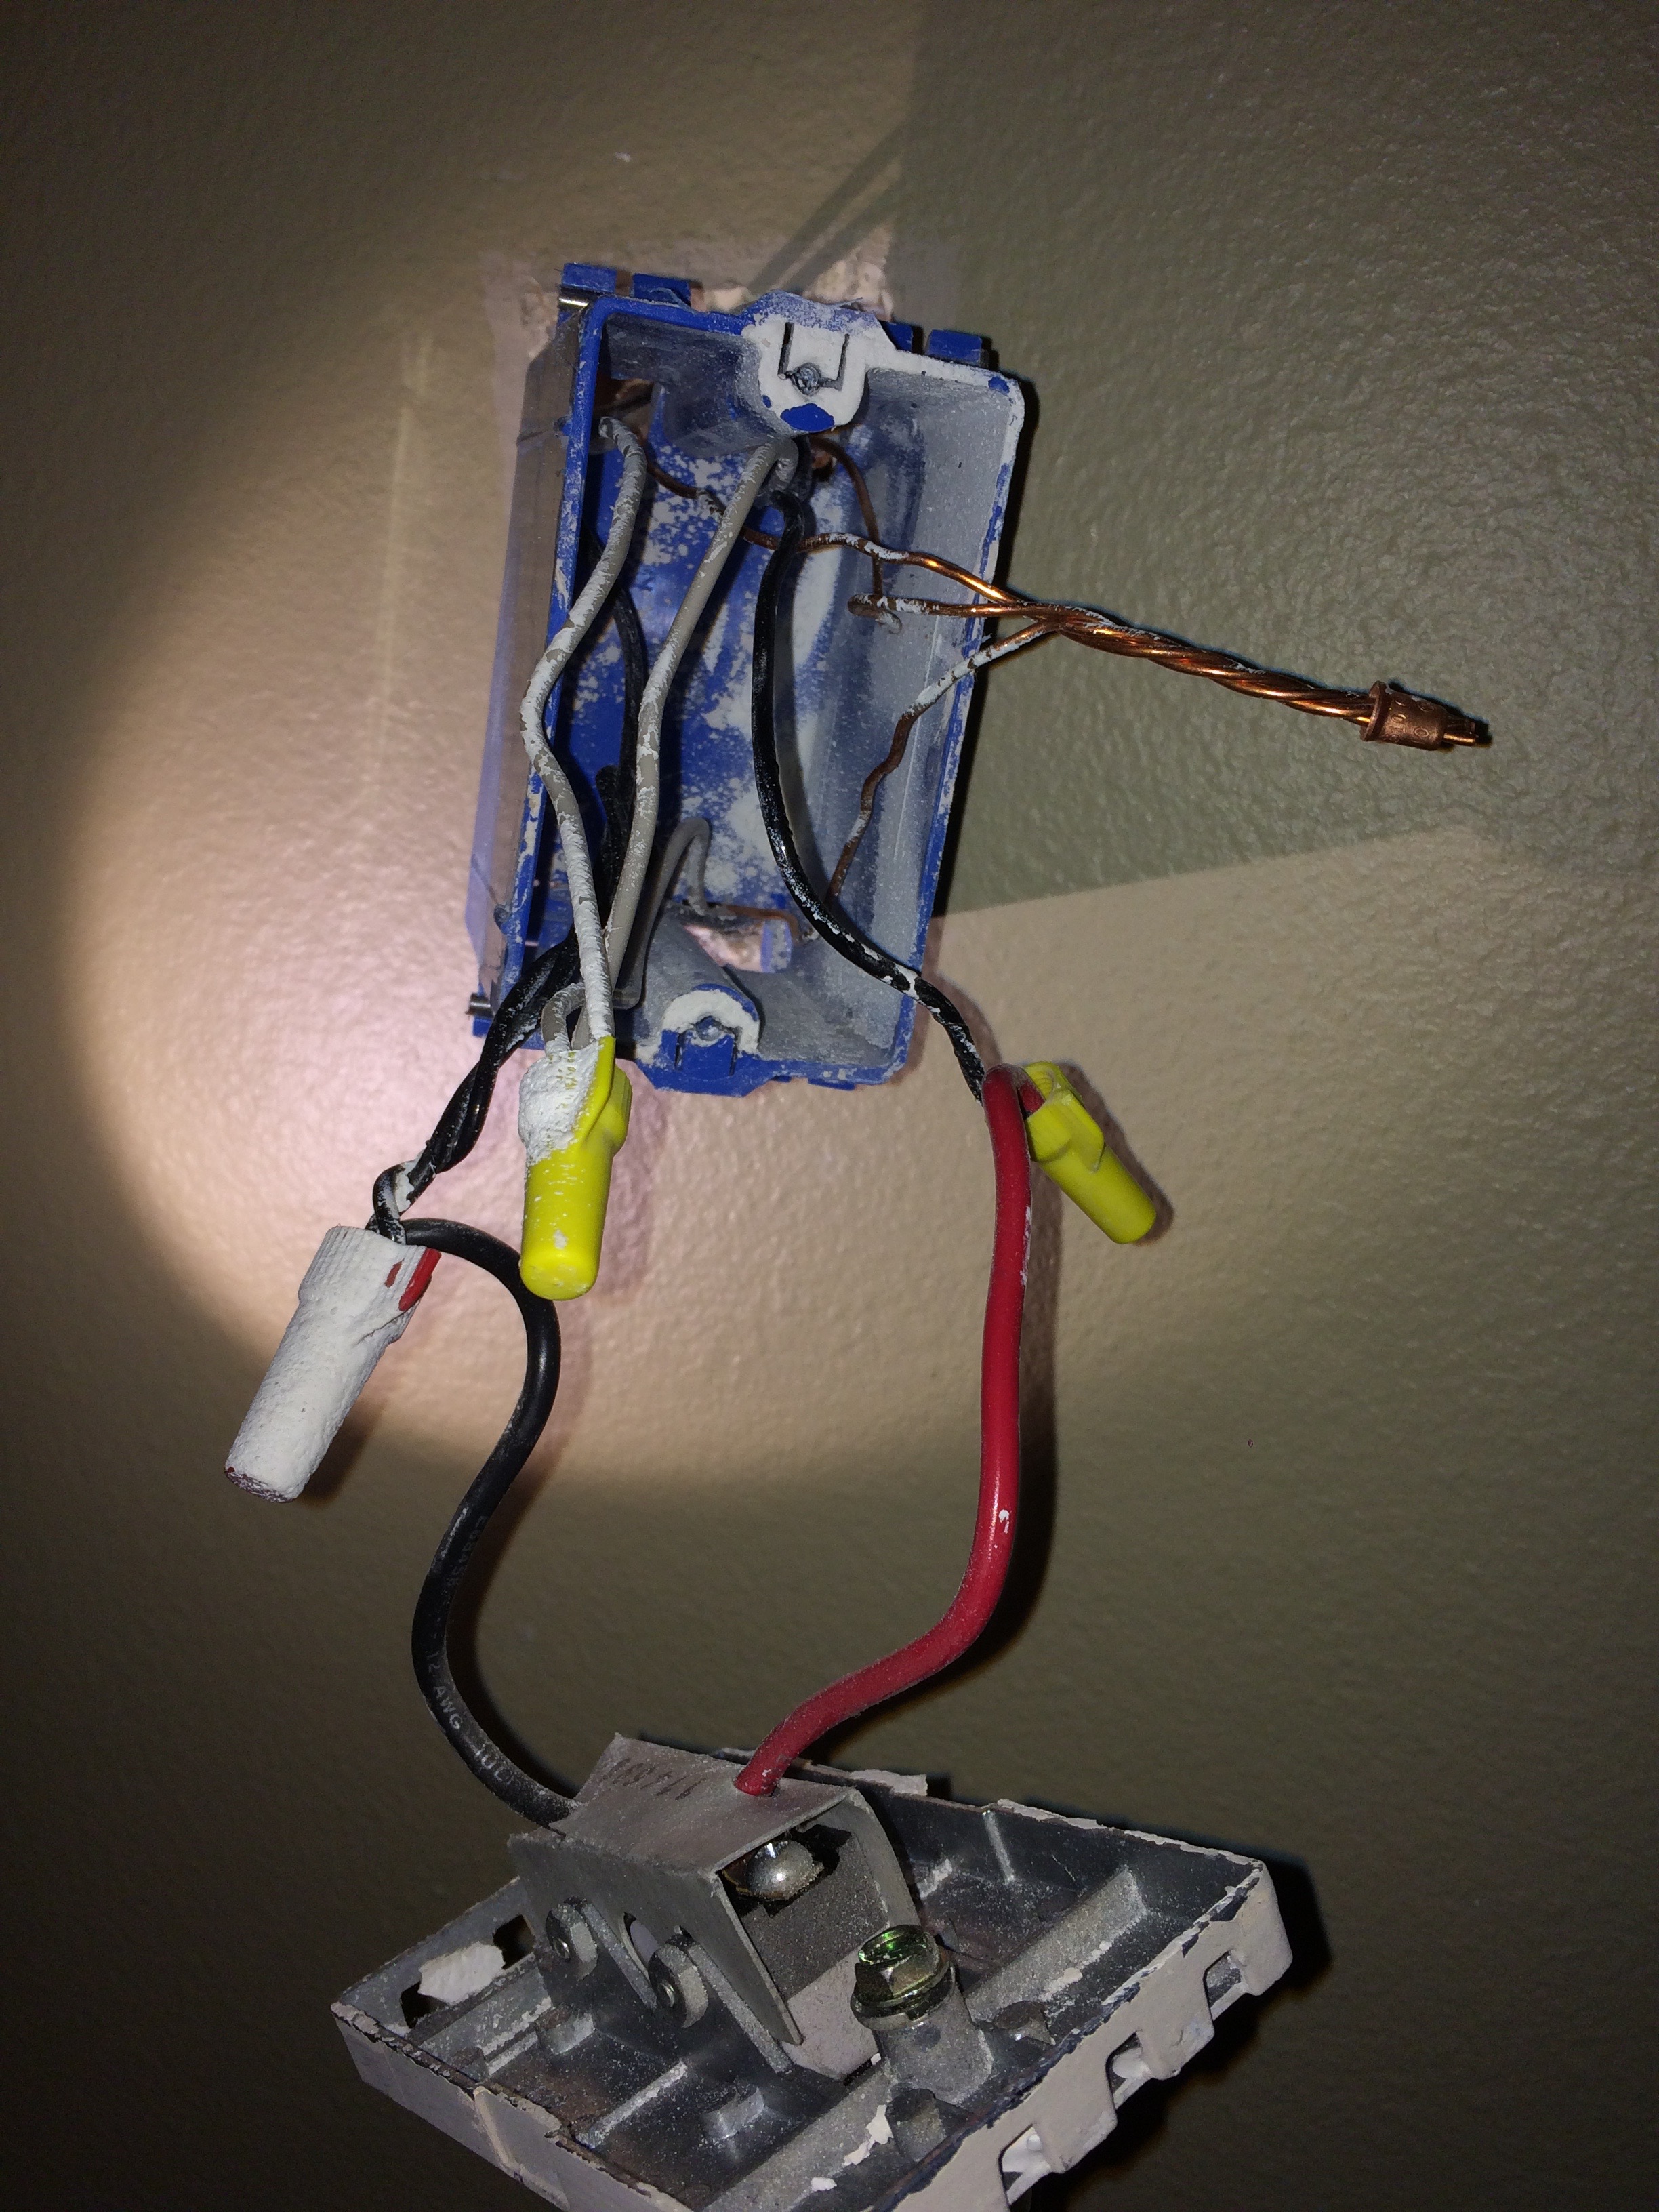
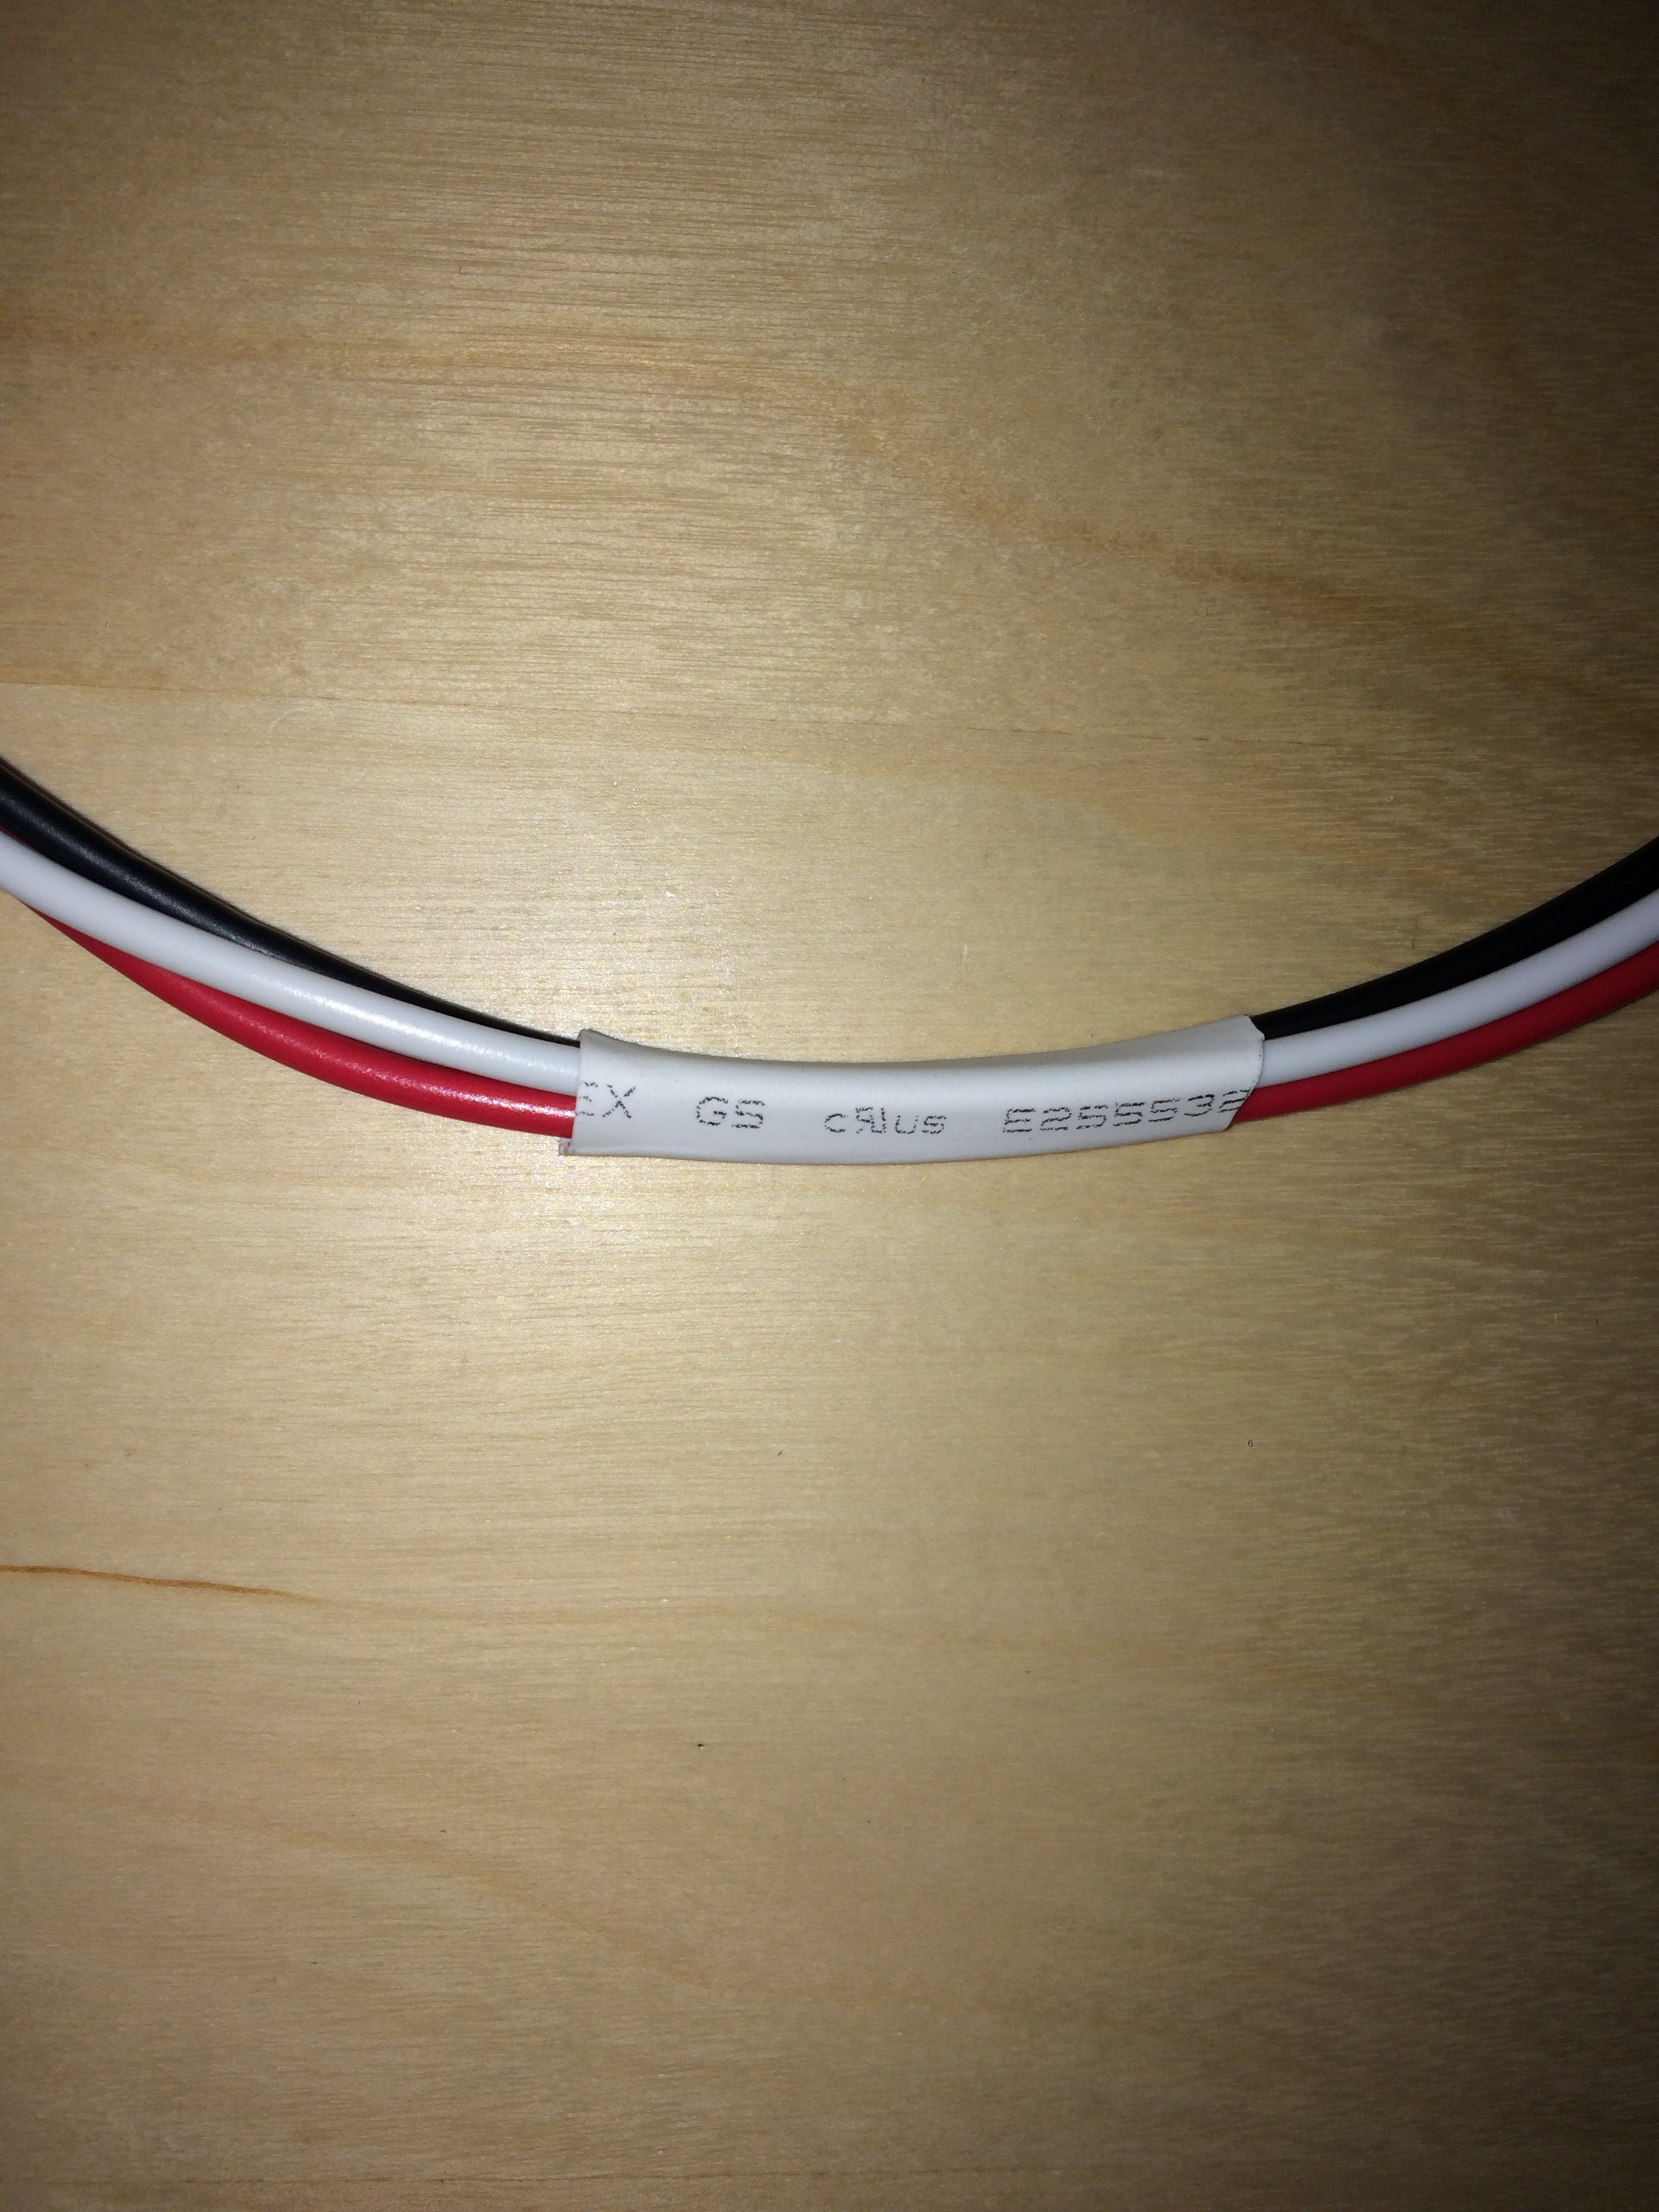
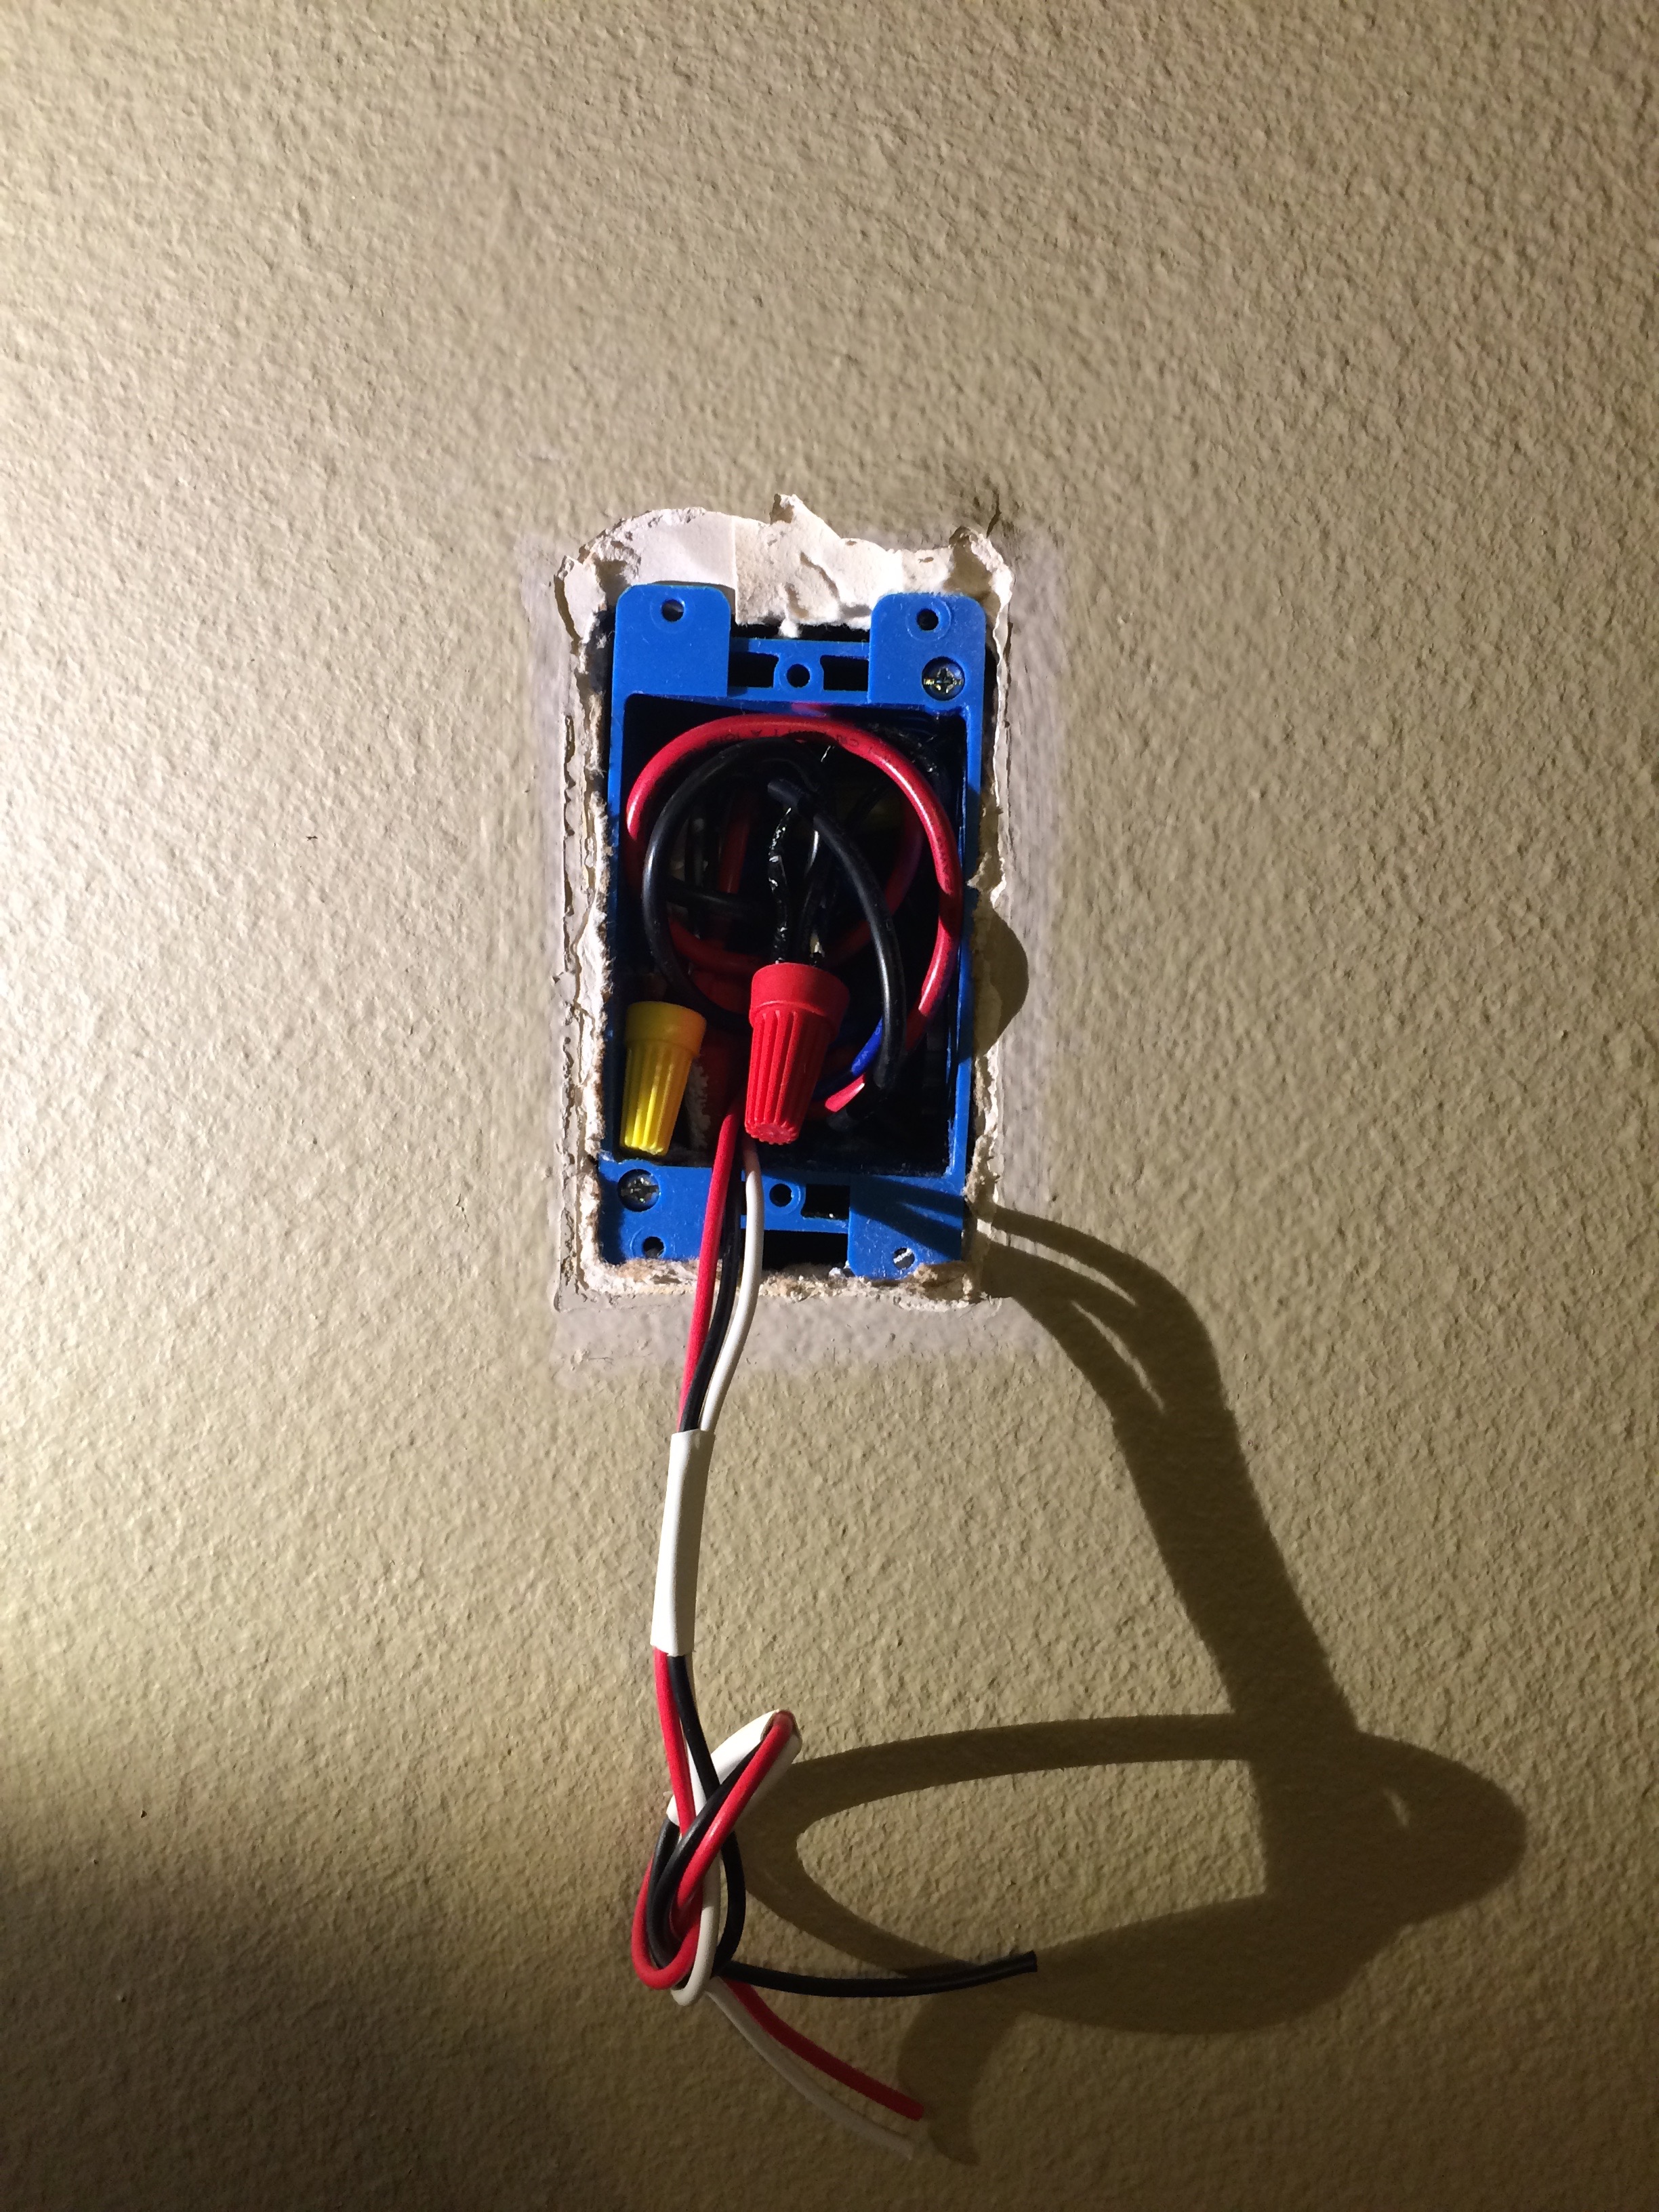
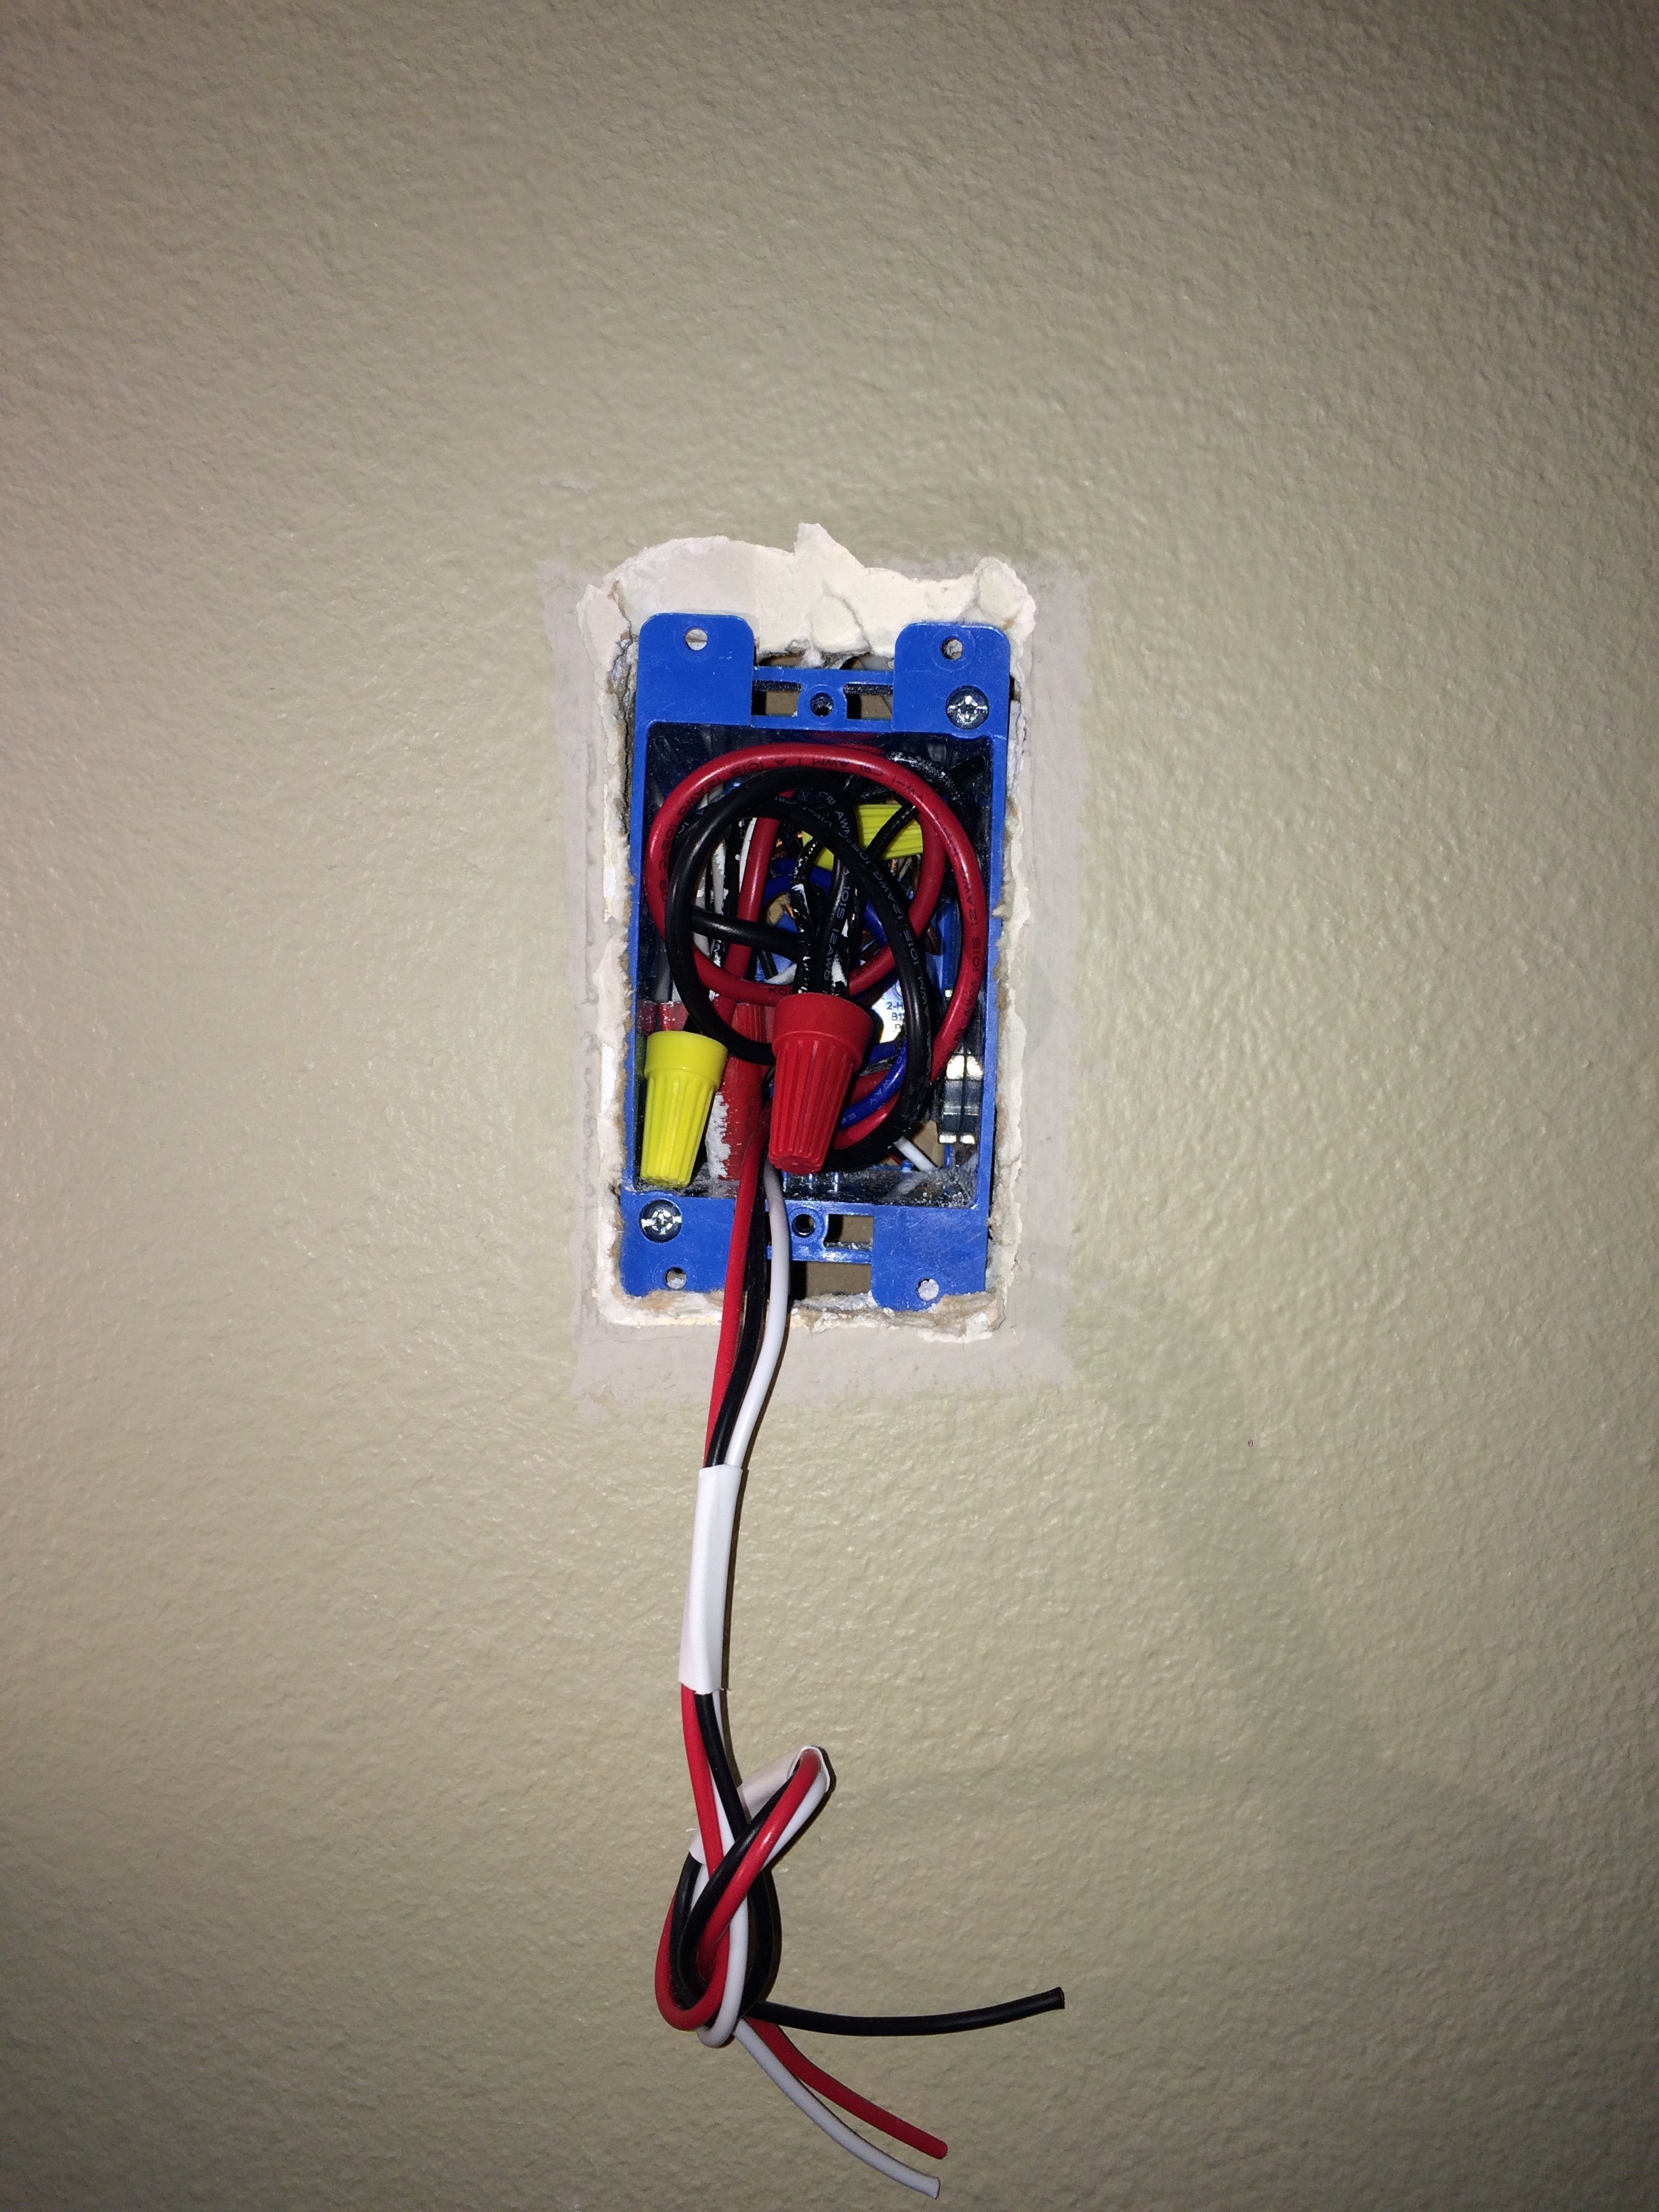
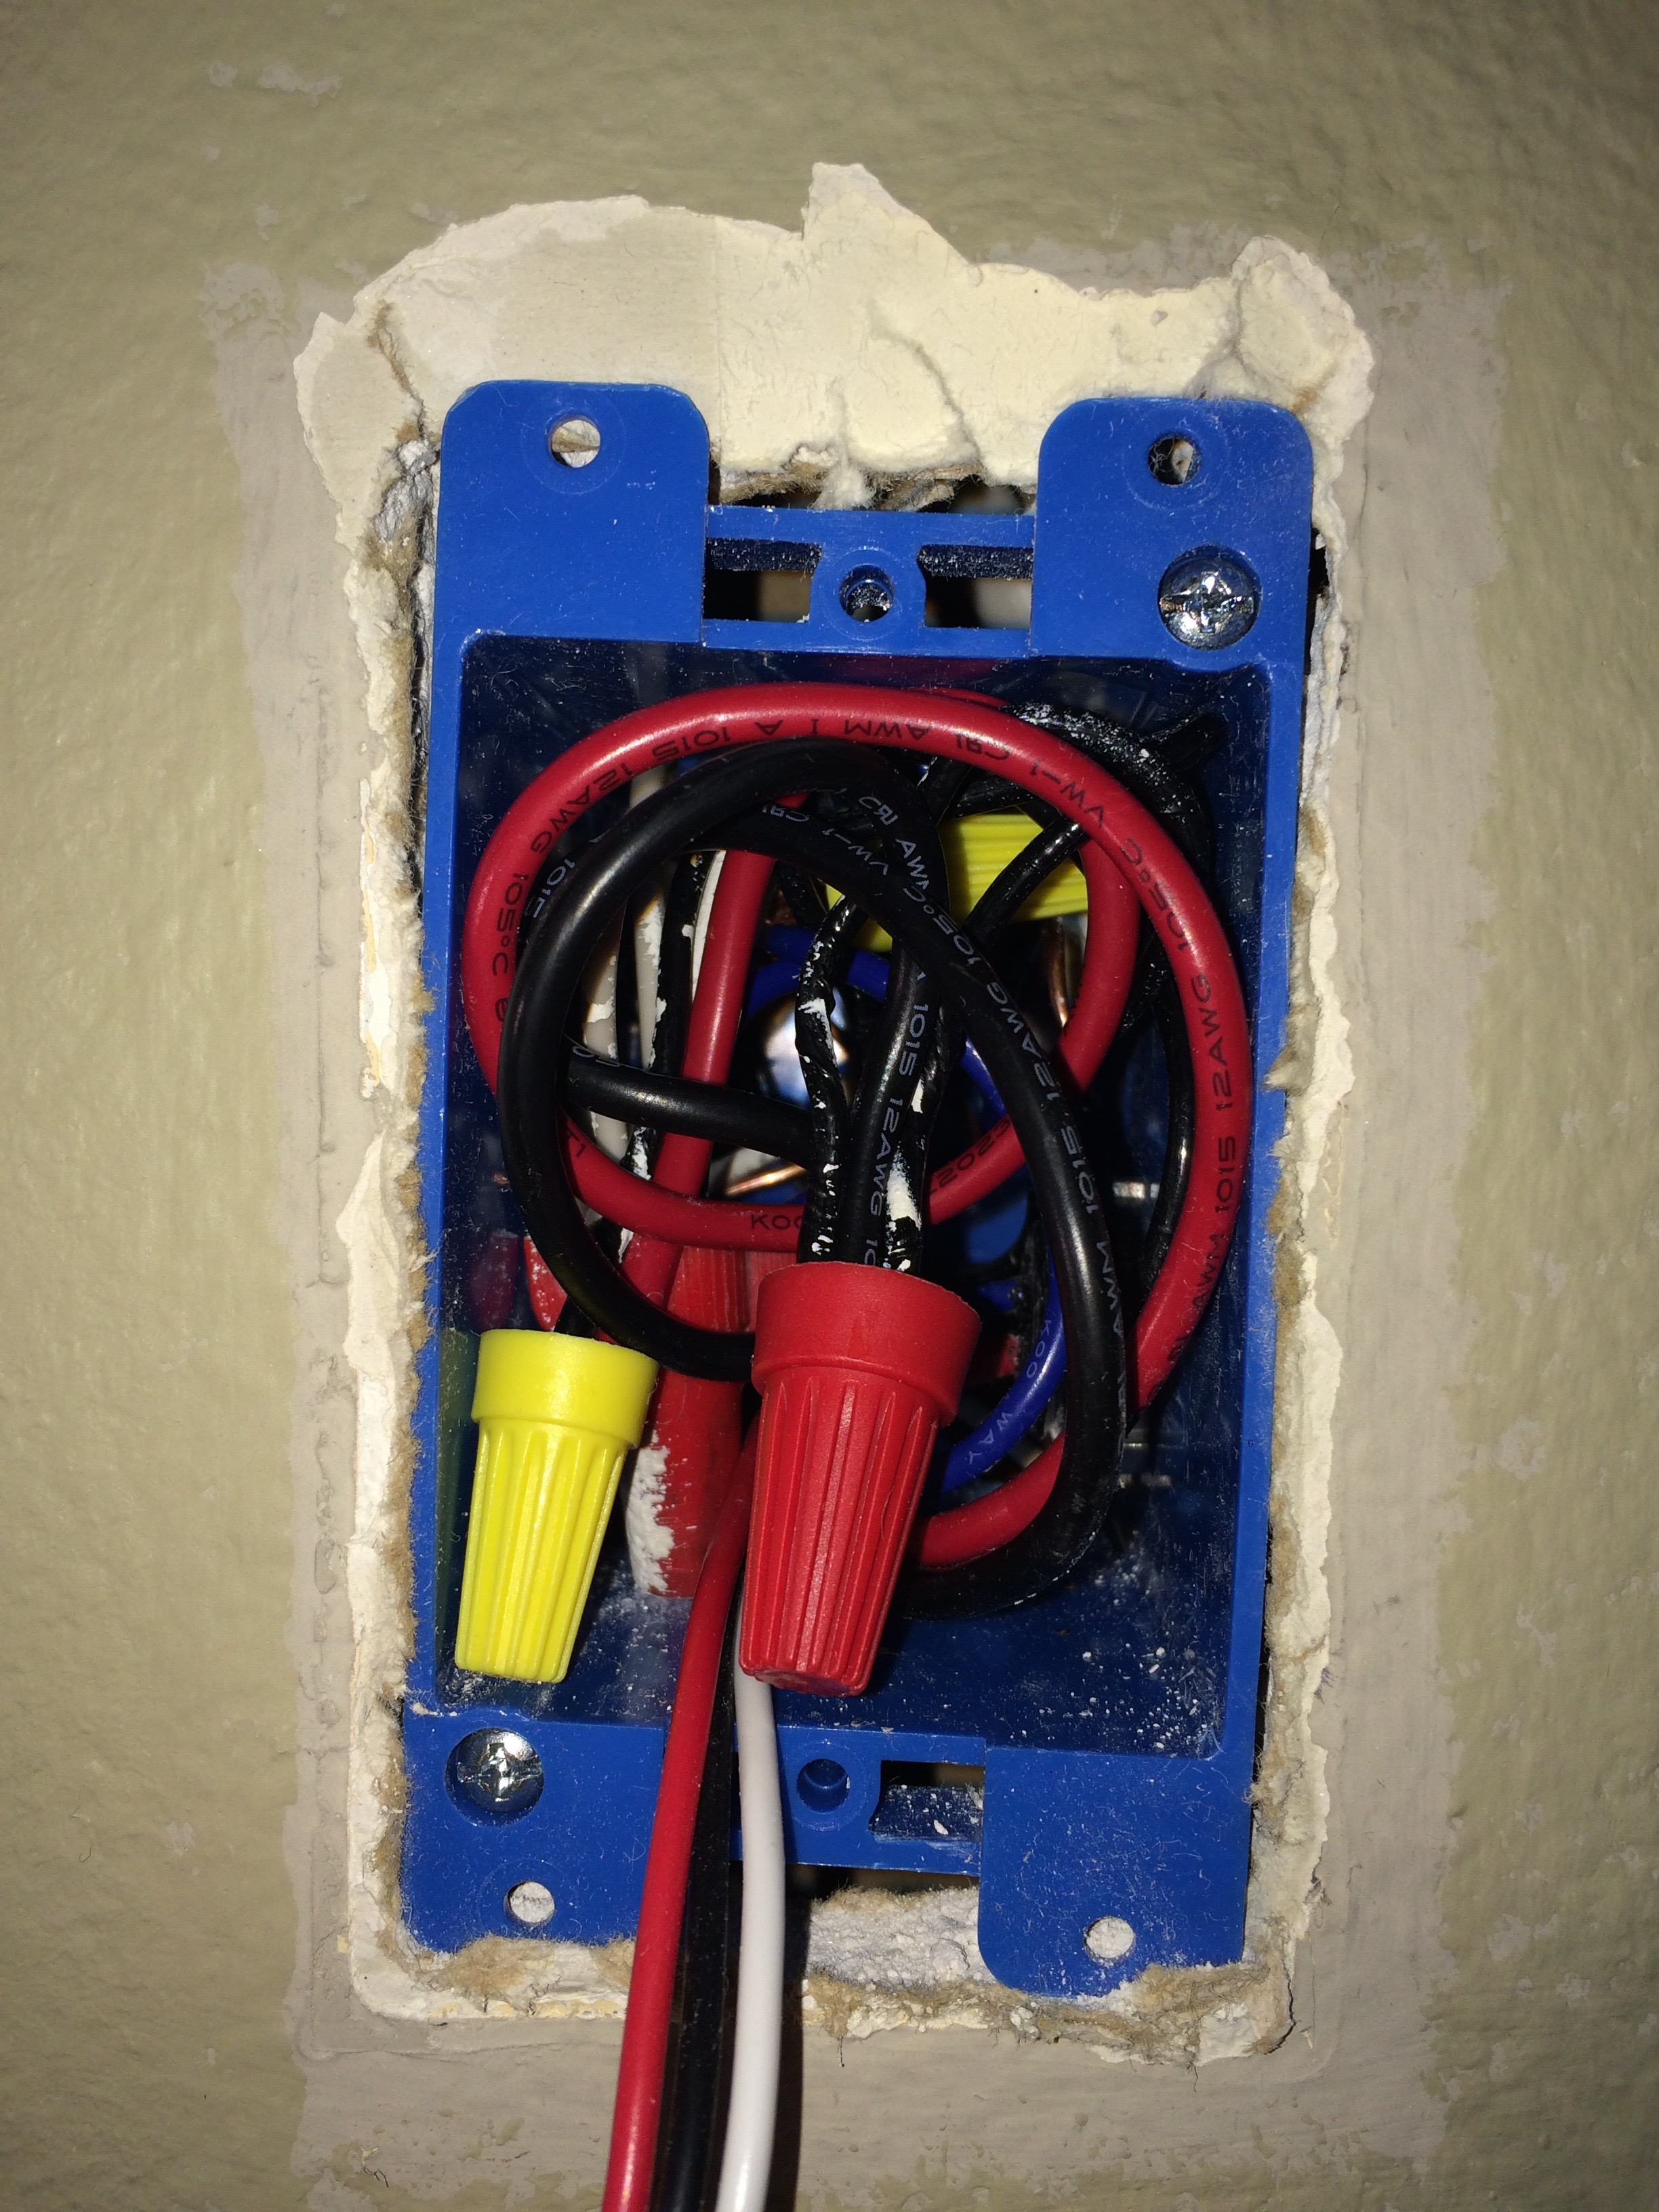
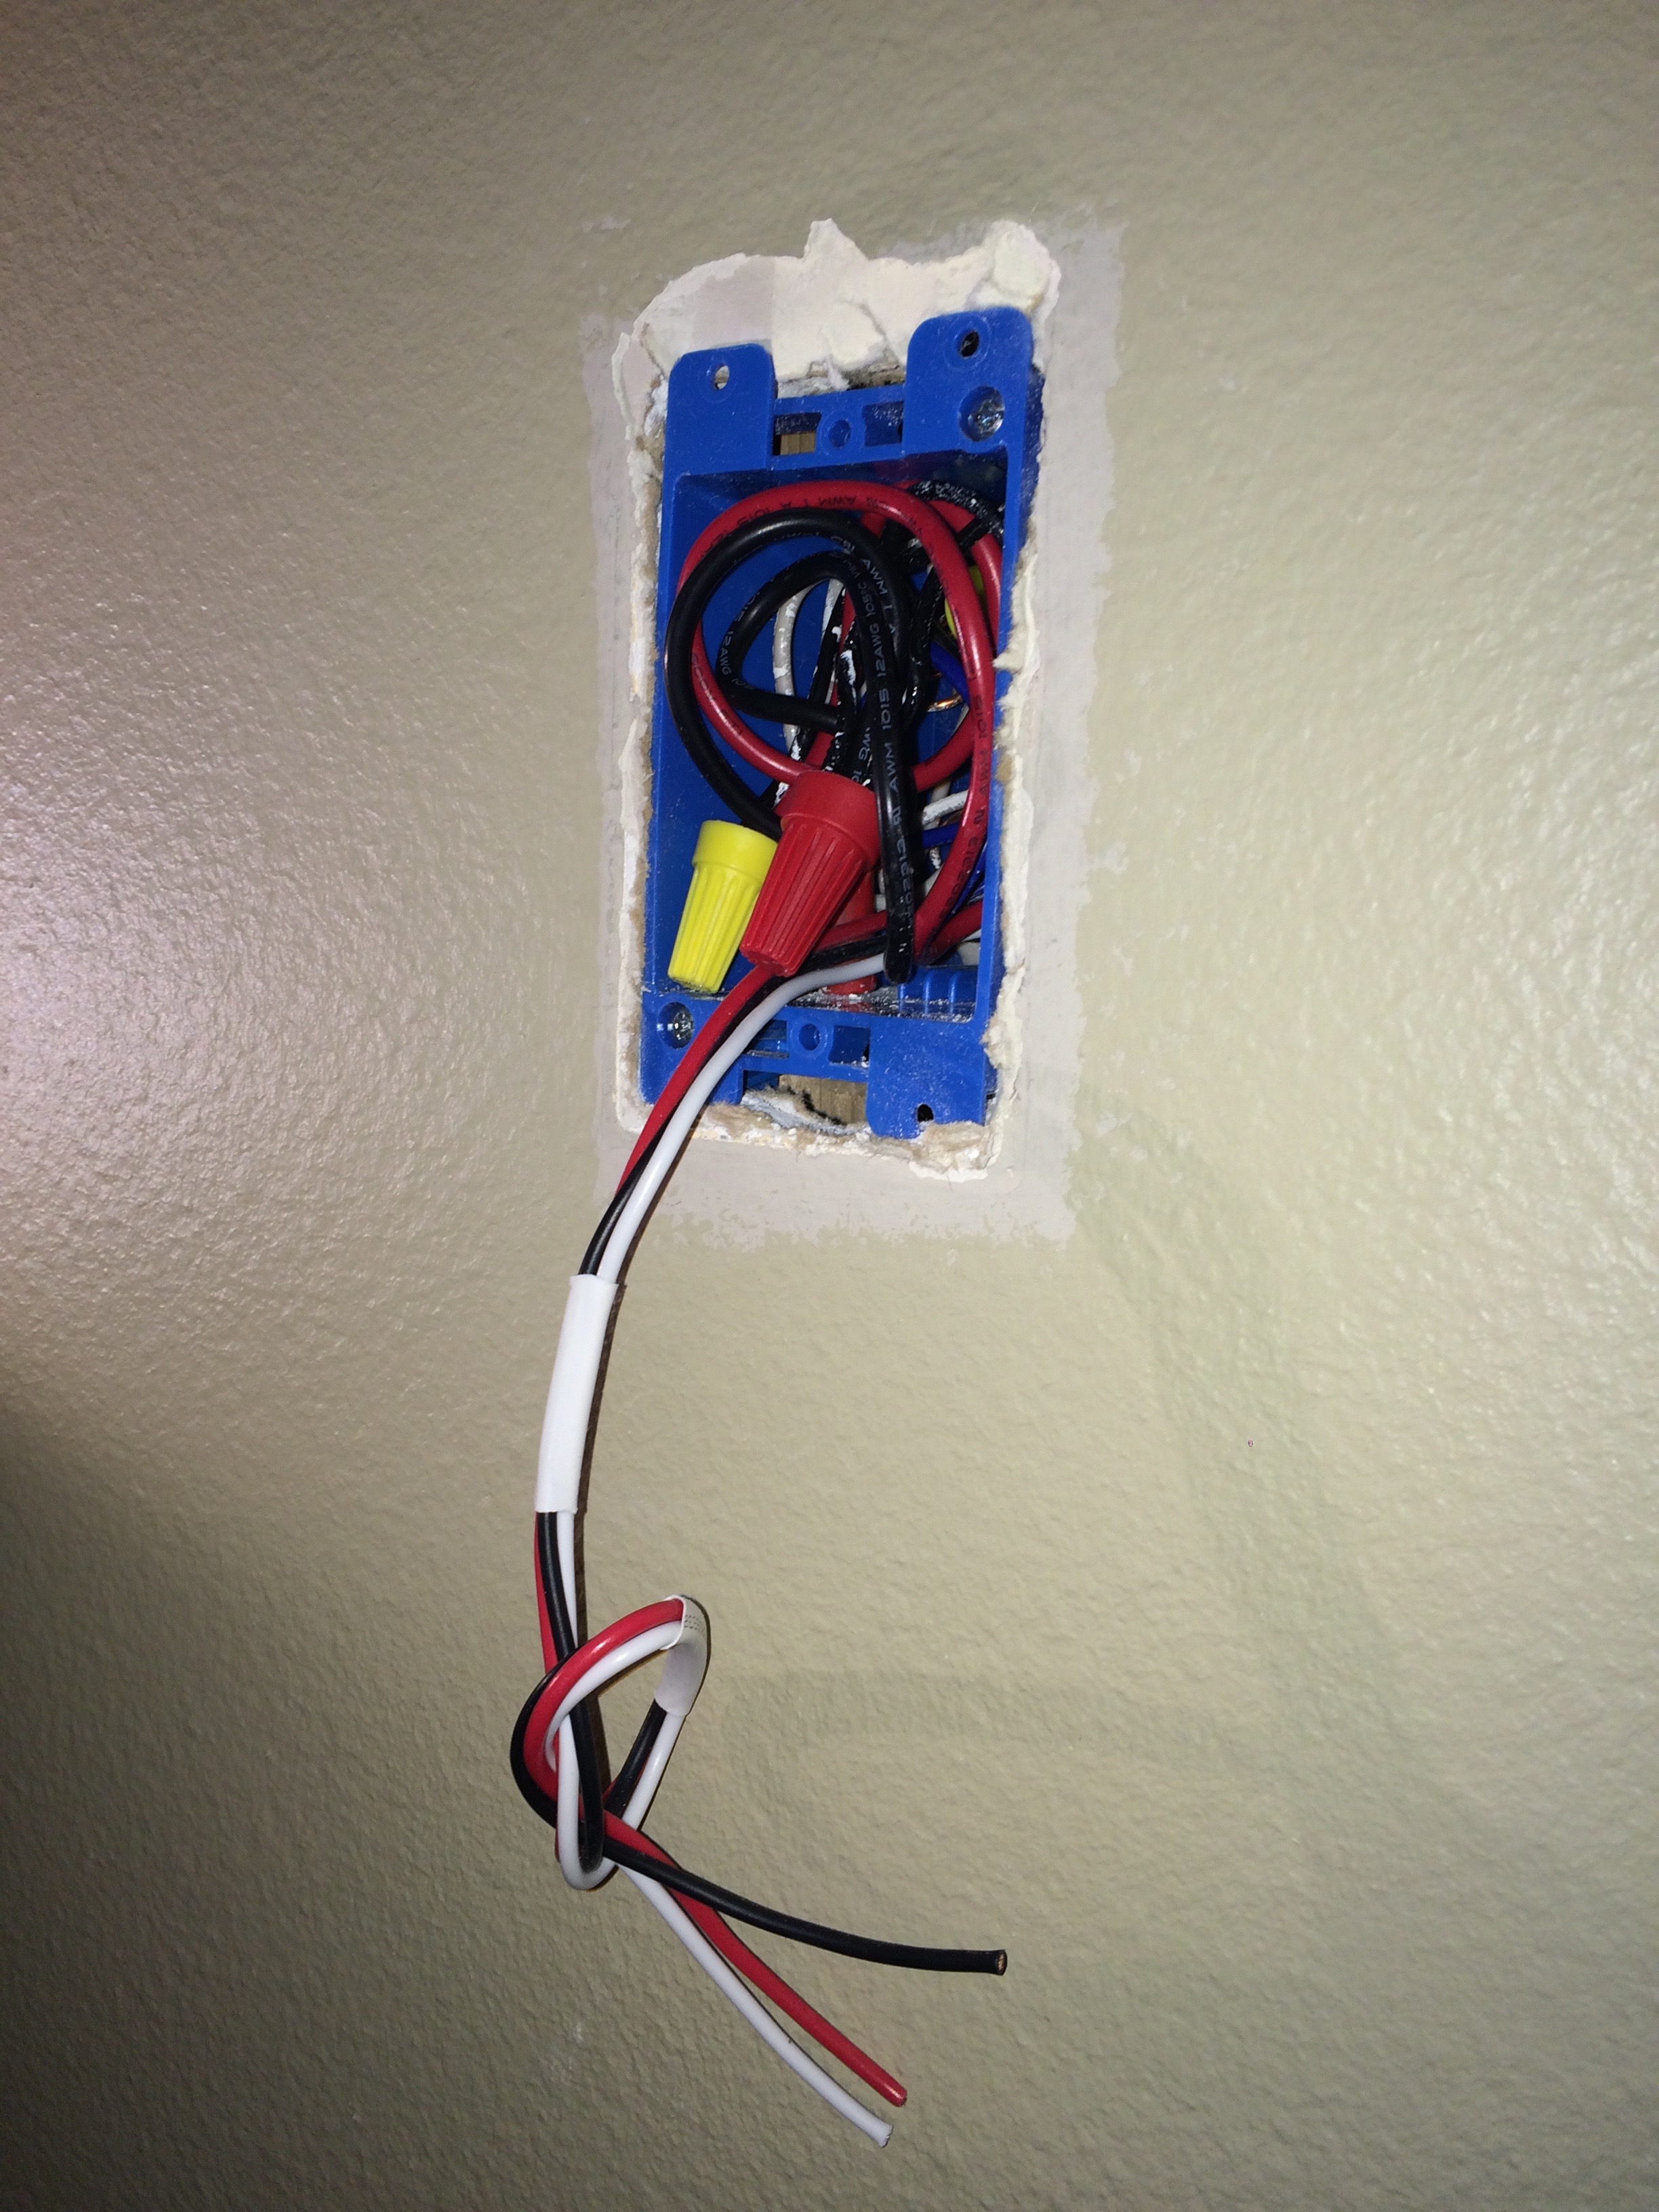
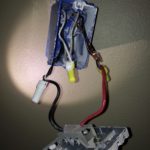
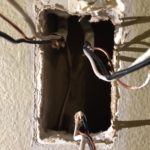
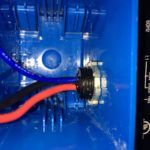
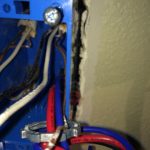
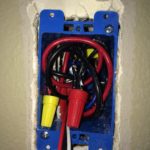
Identify lines
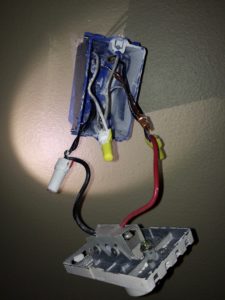
Separate and group the wires so as to be able to match them later:
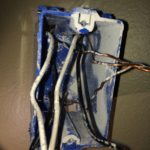
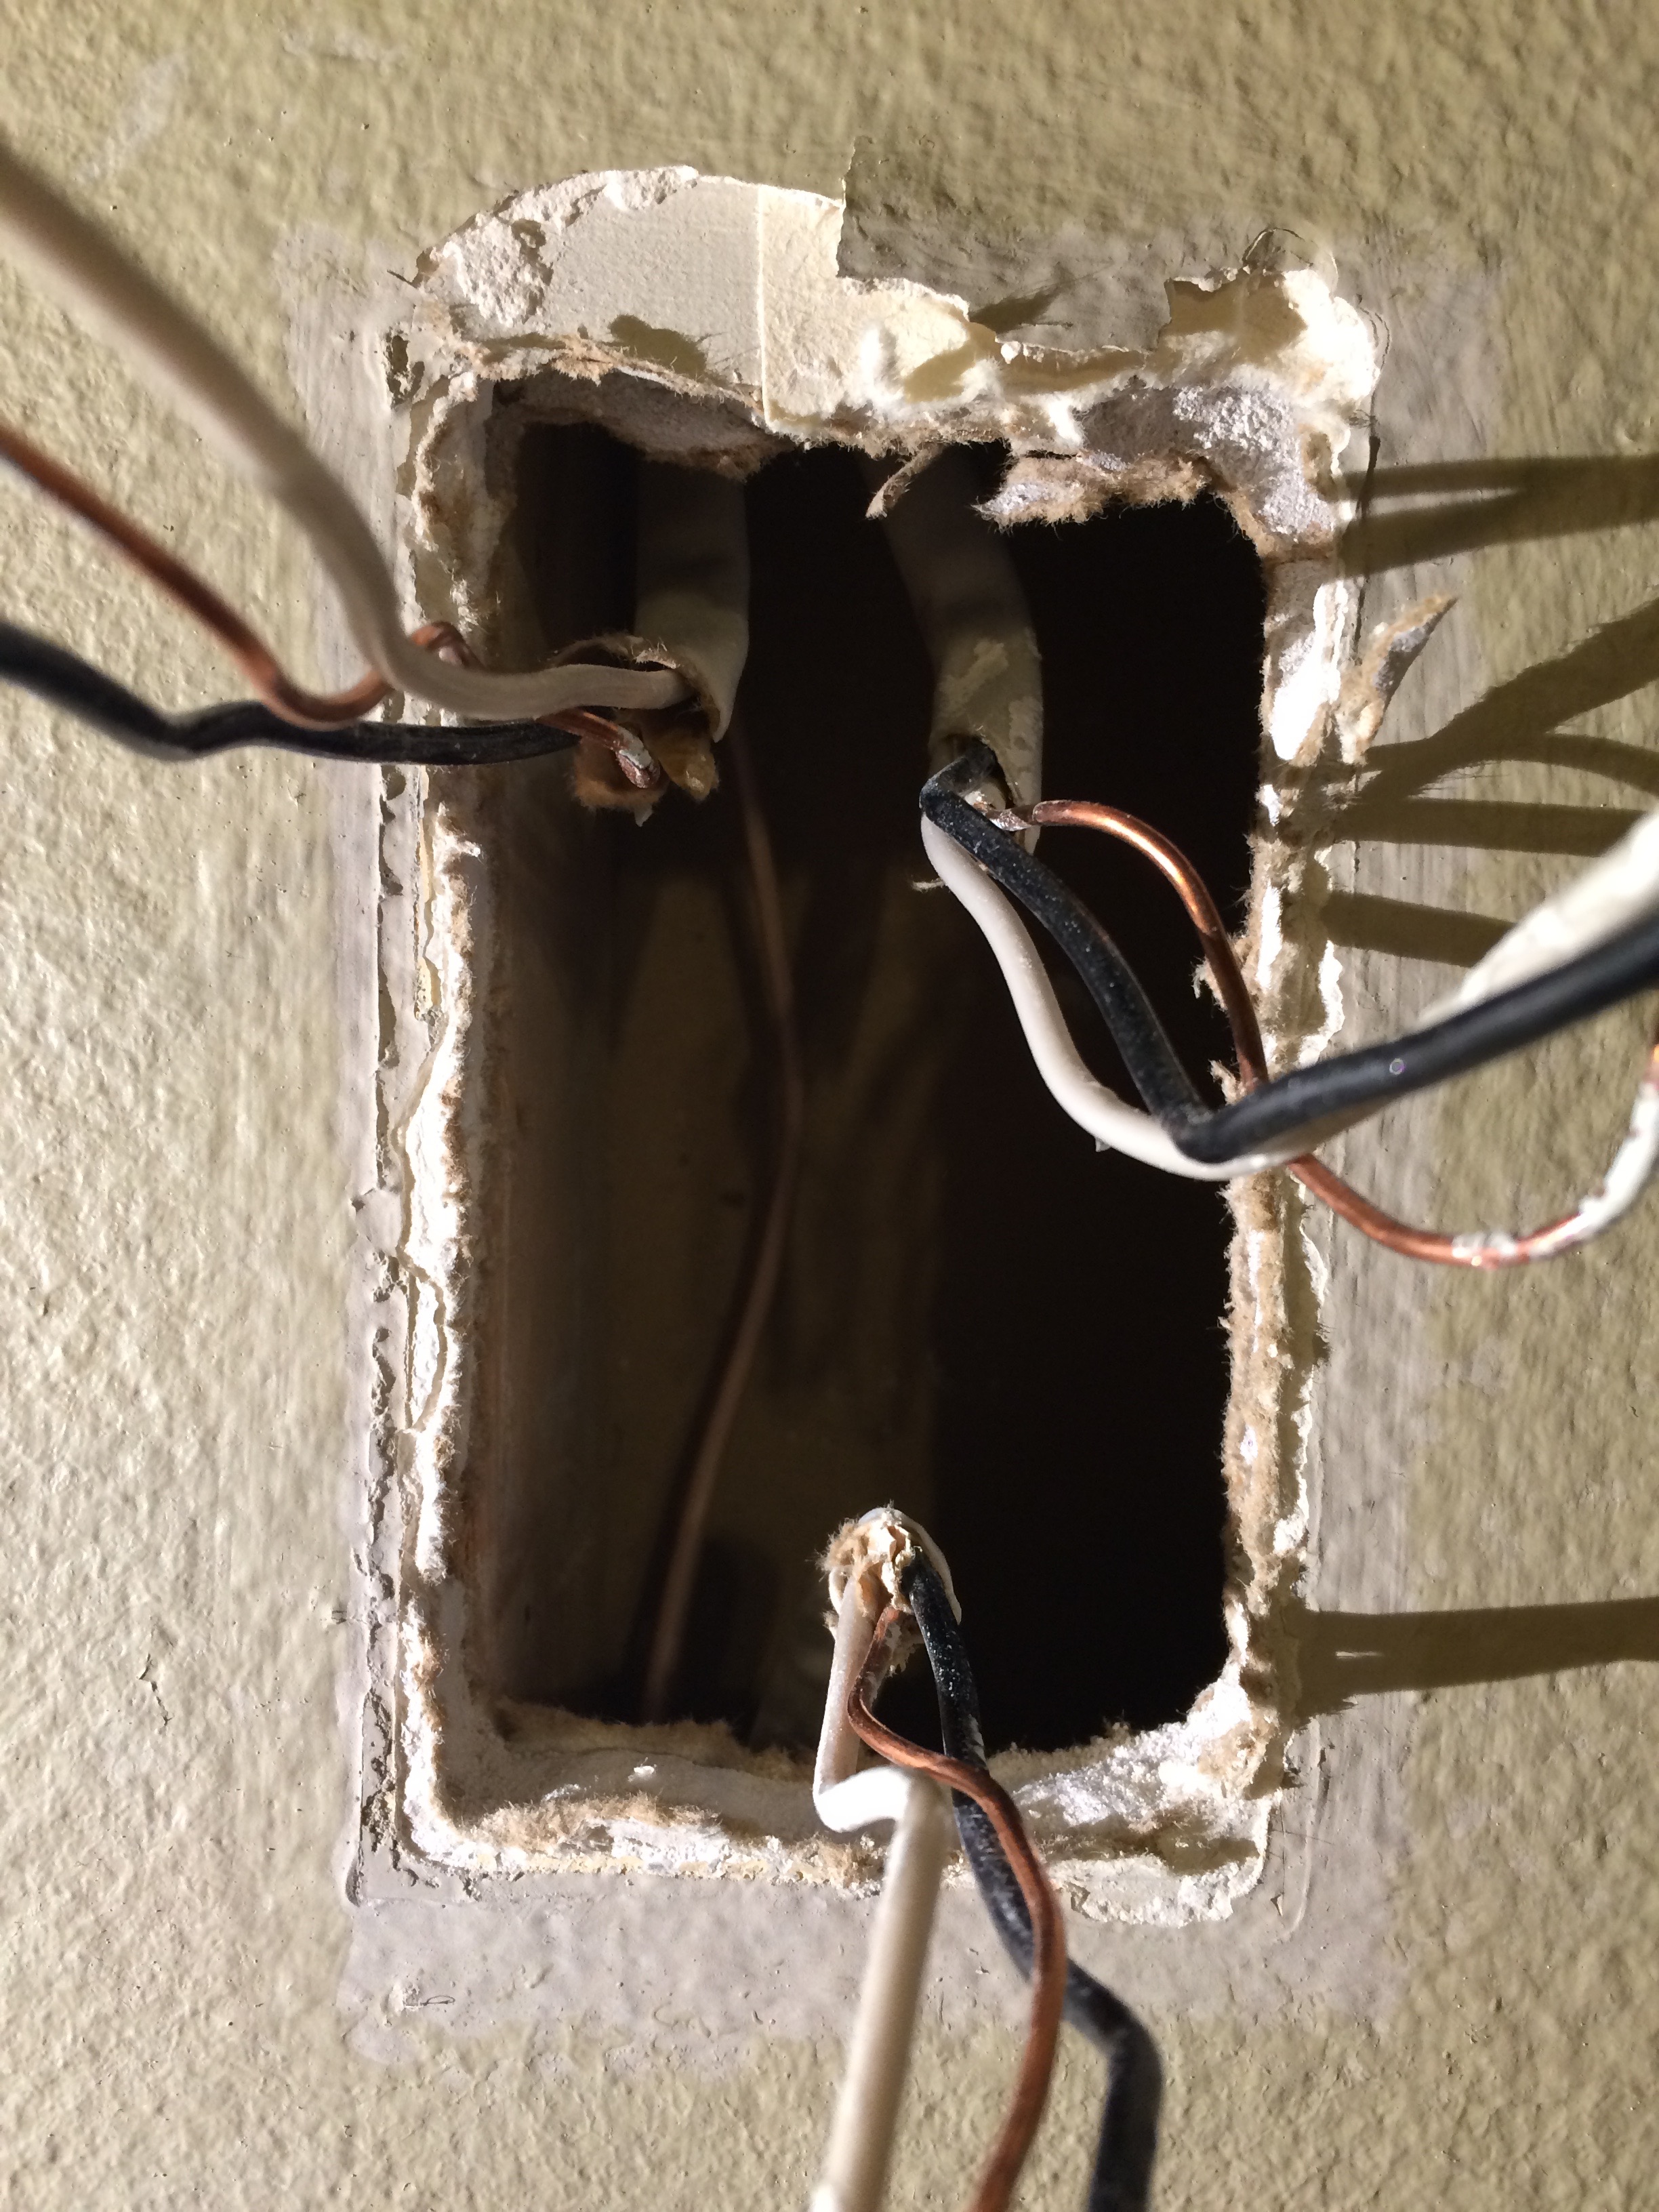
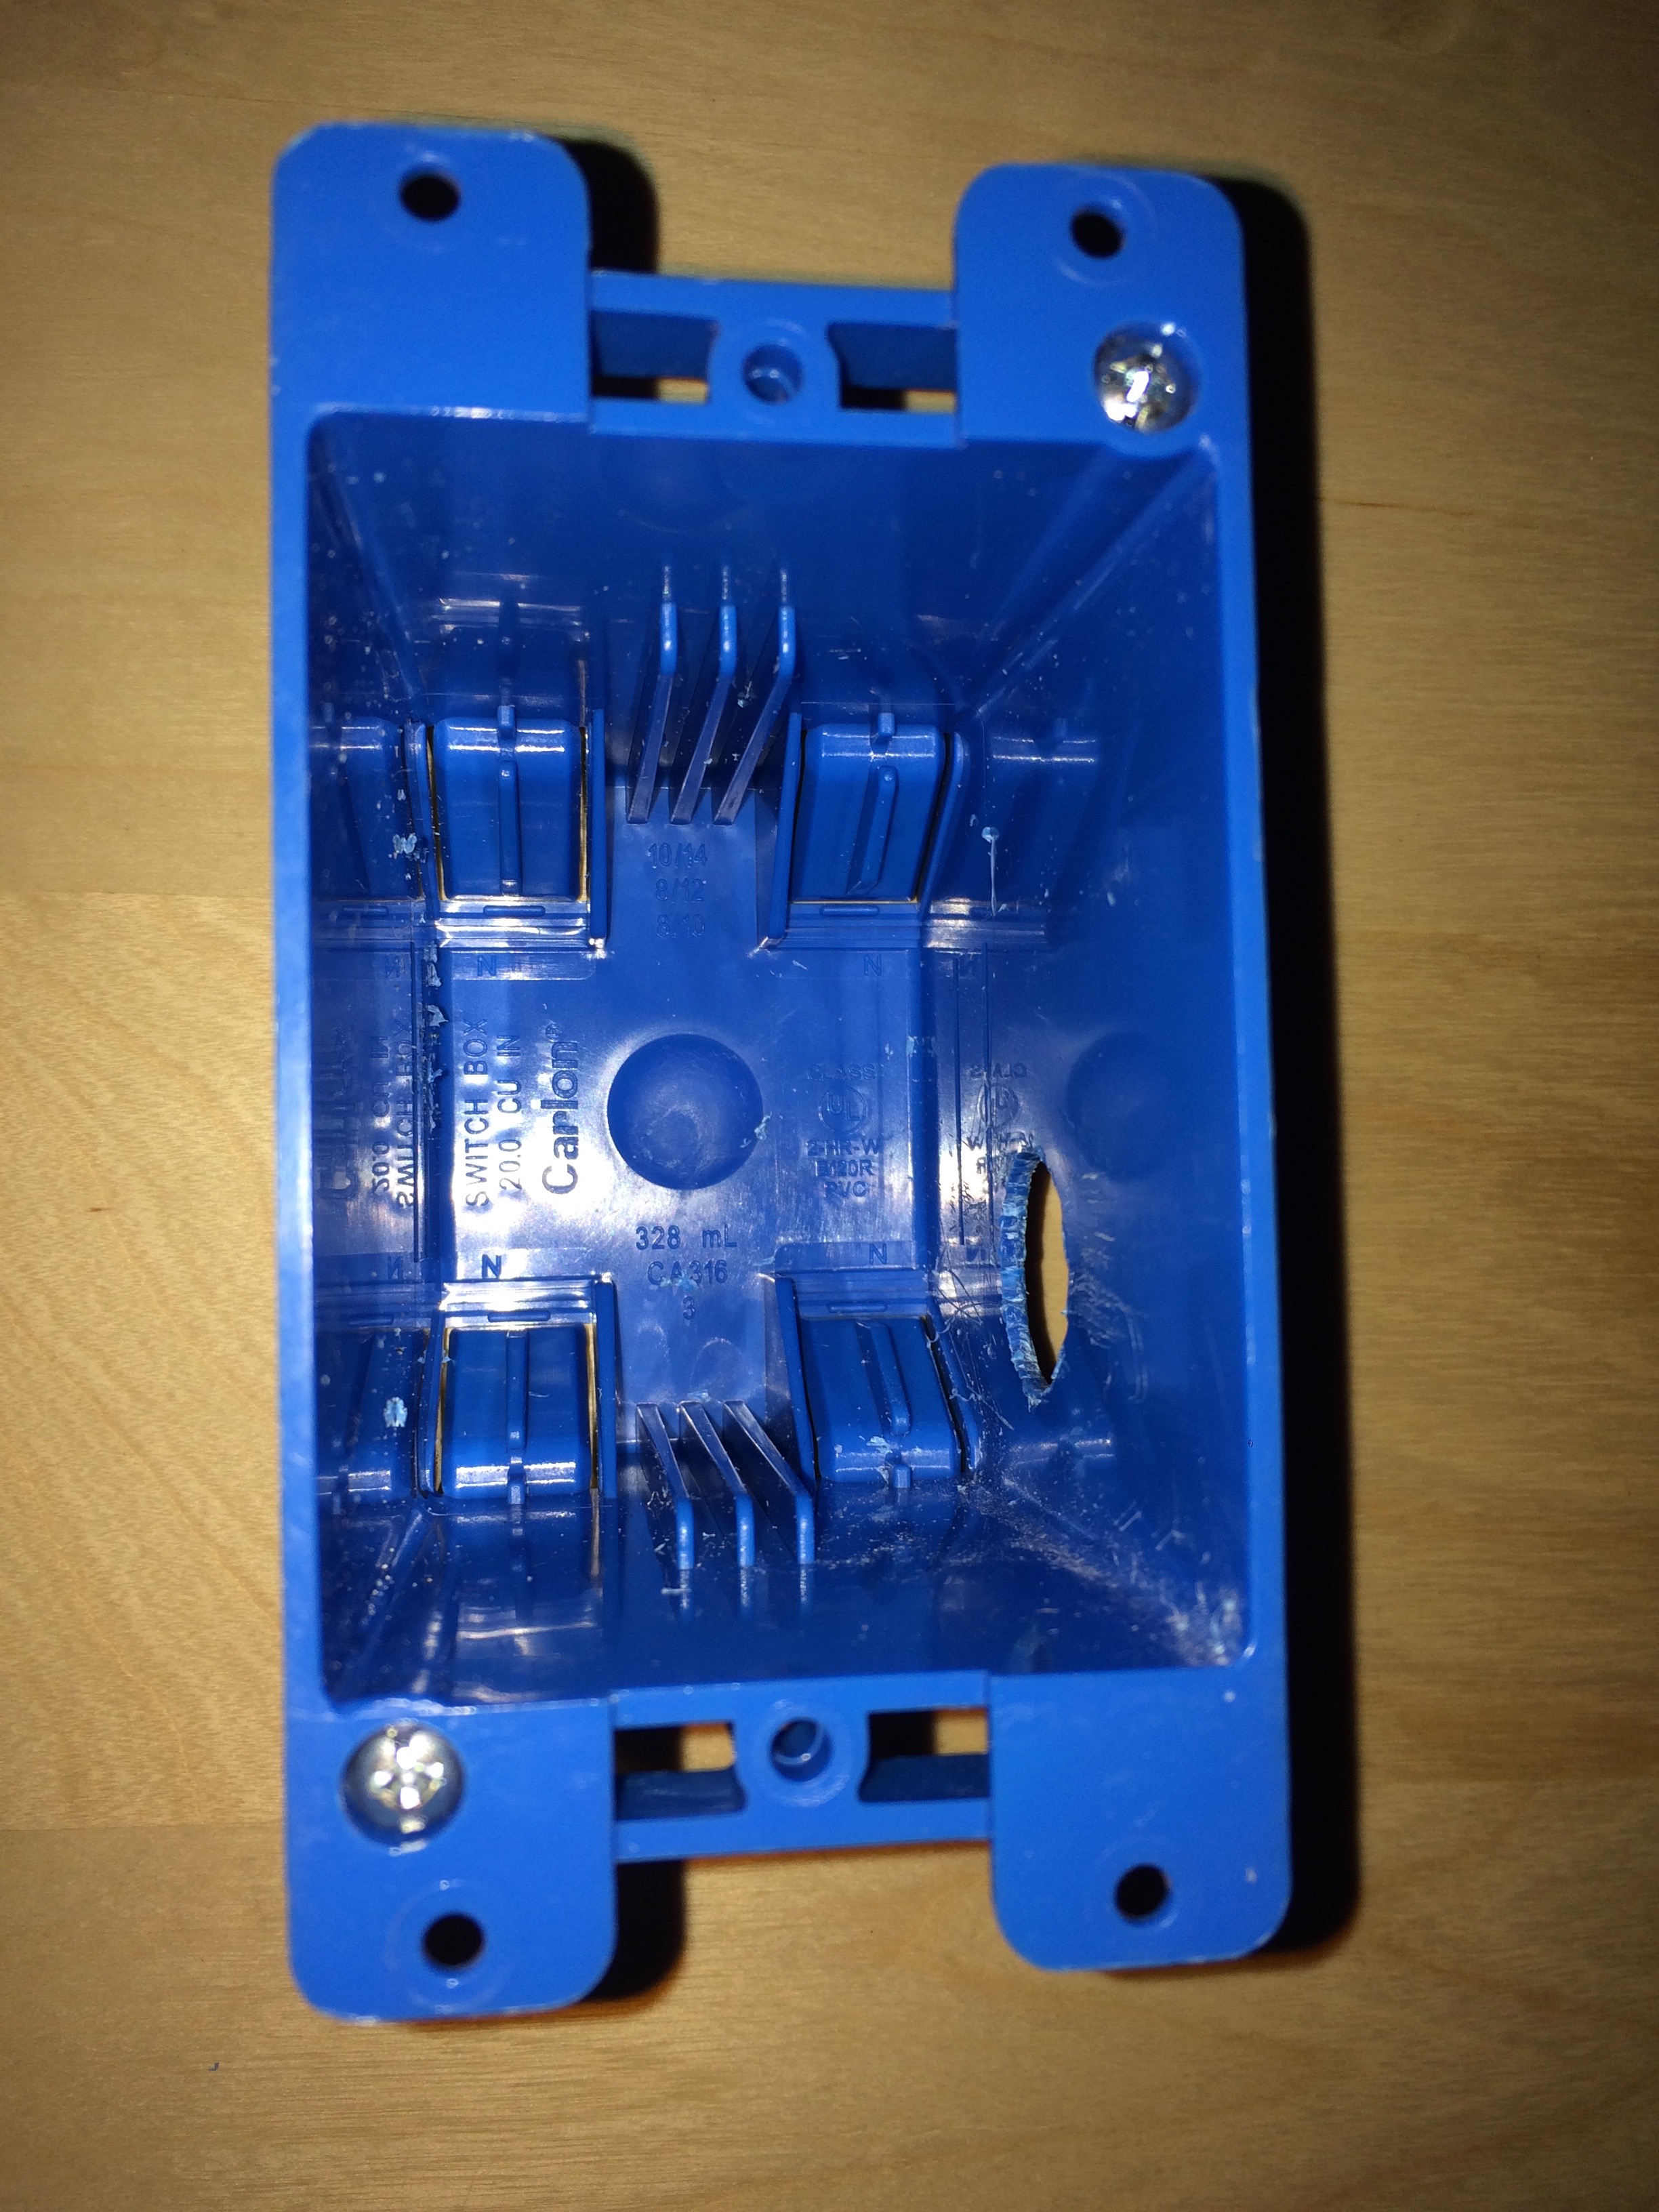
Remove the old box:
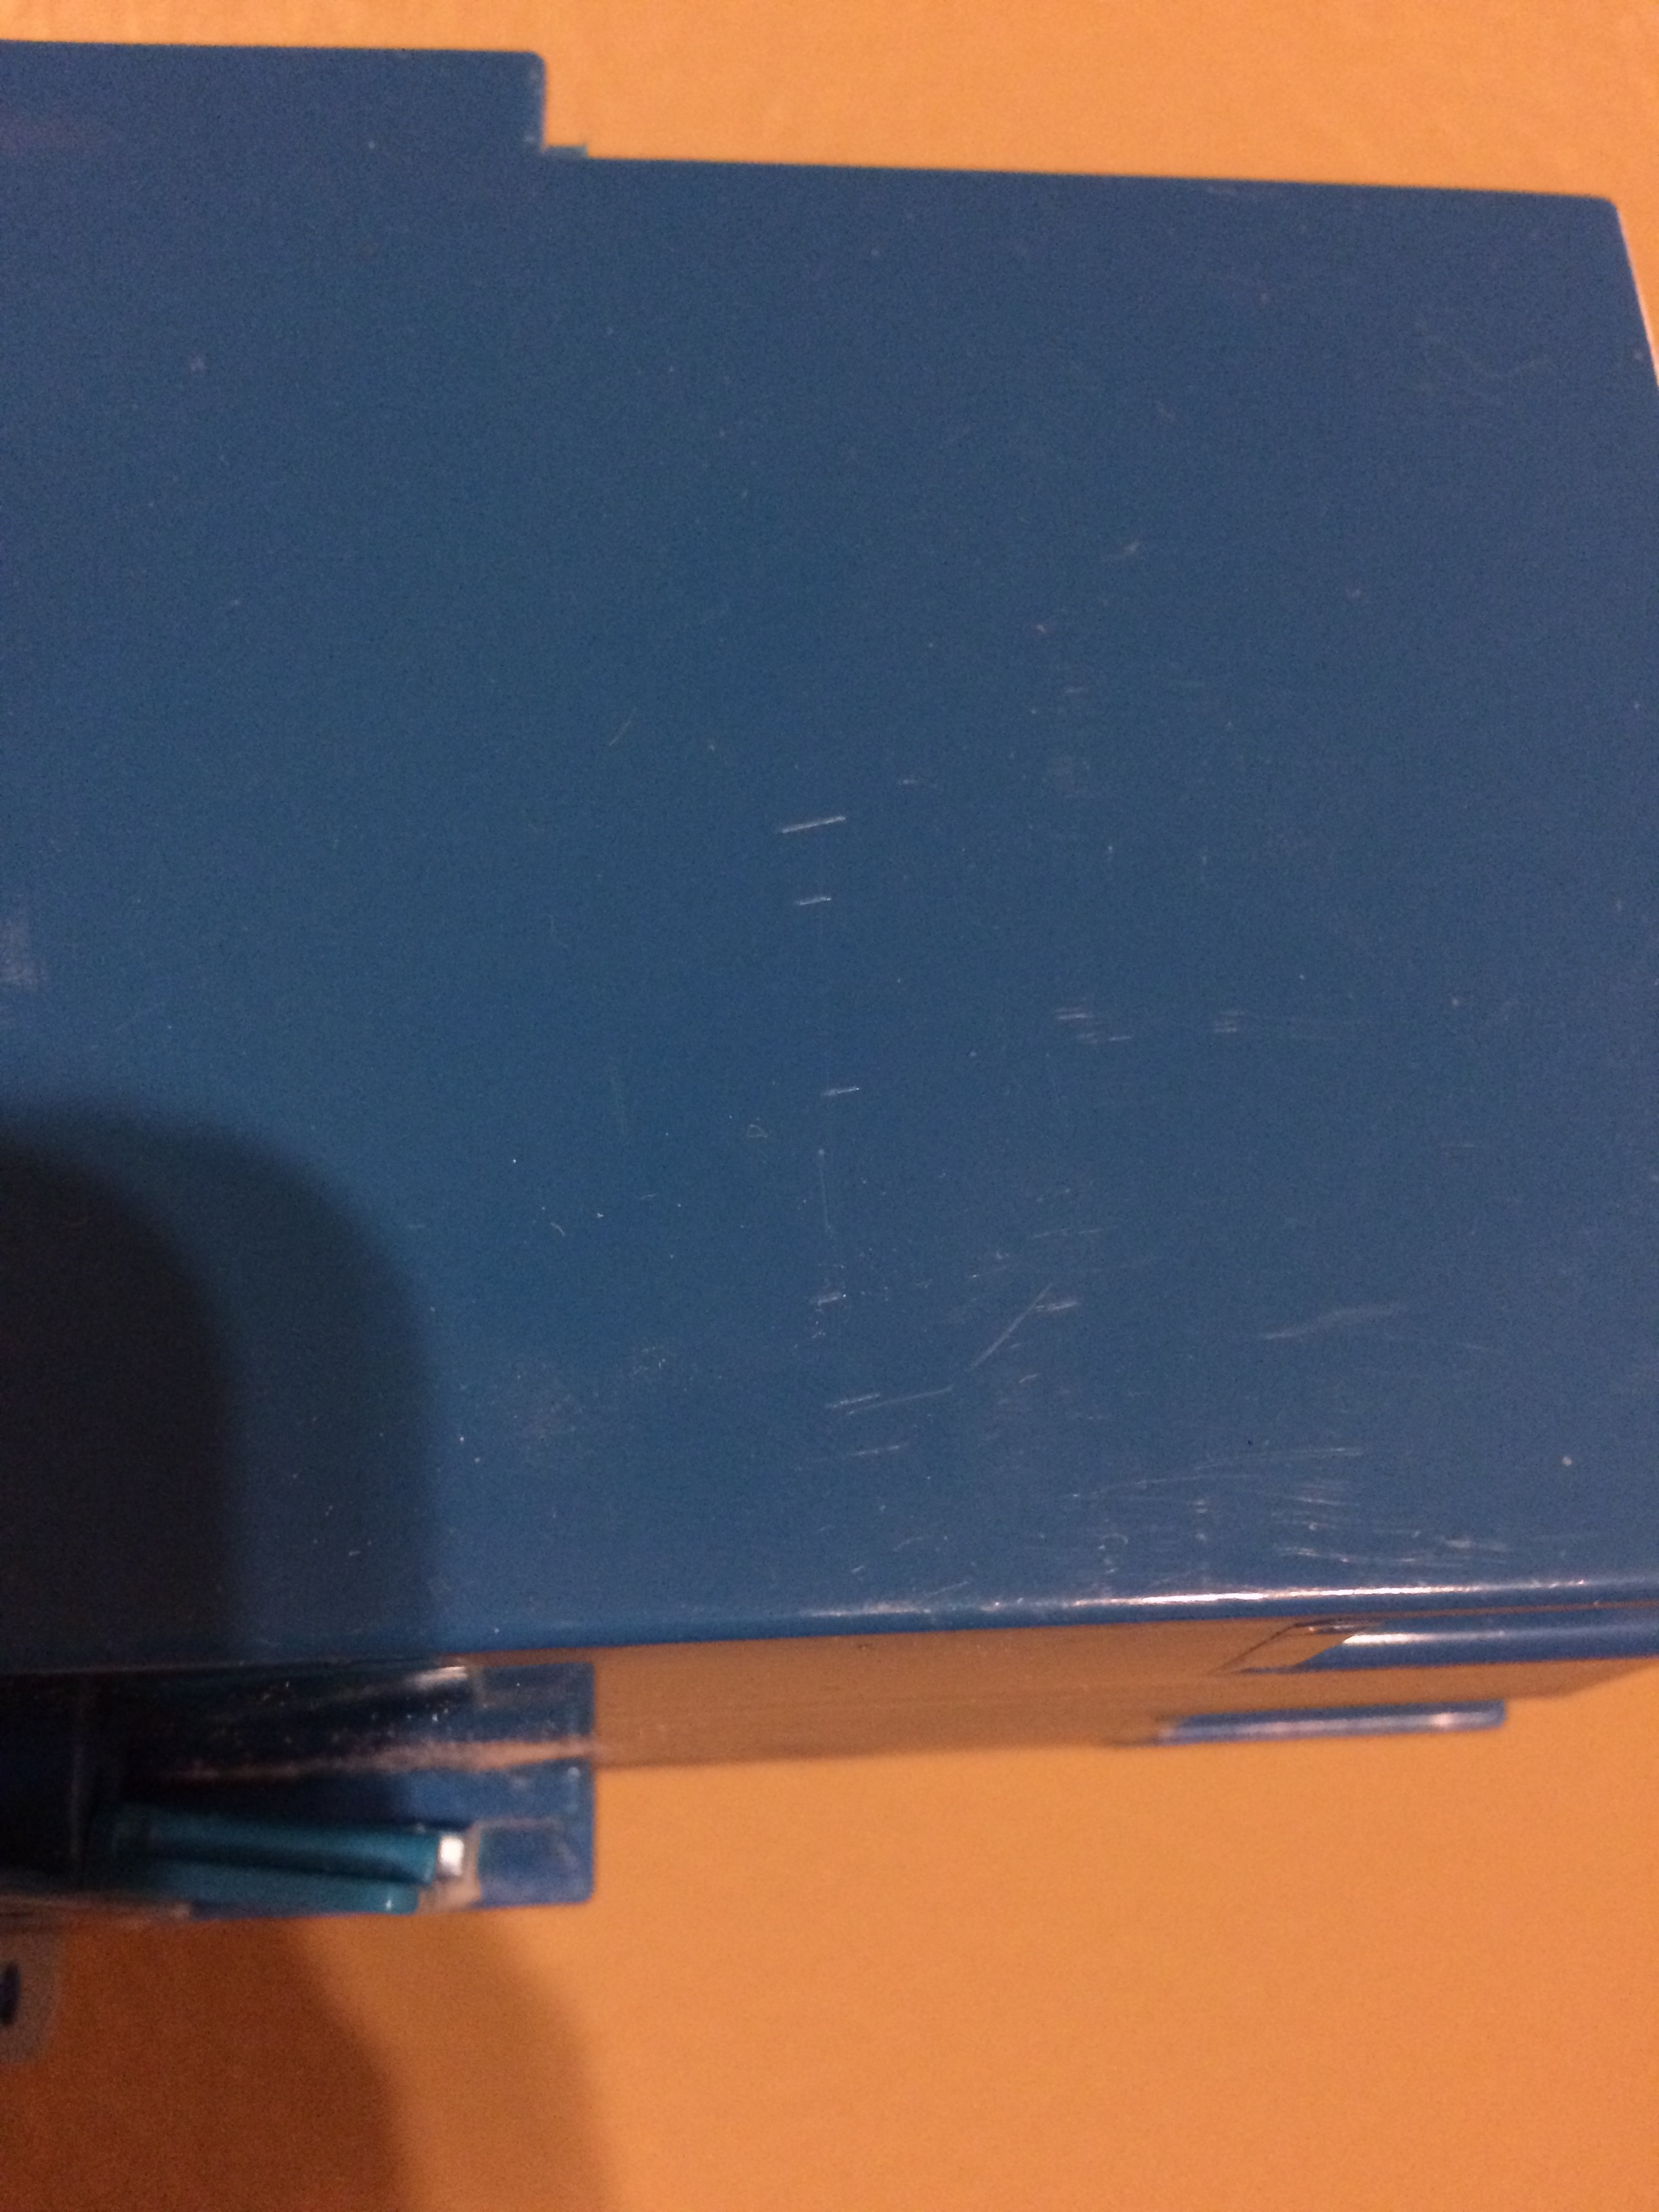
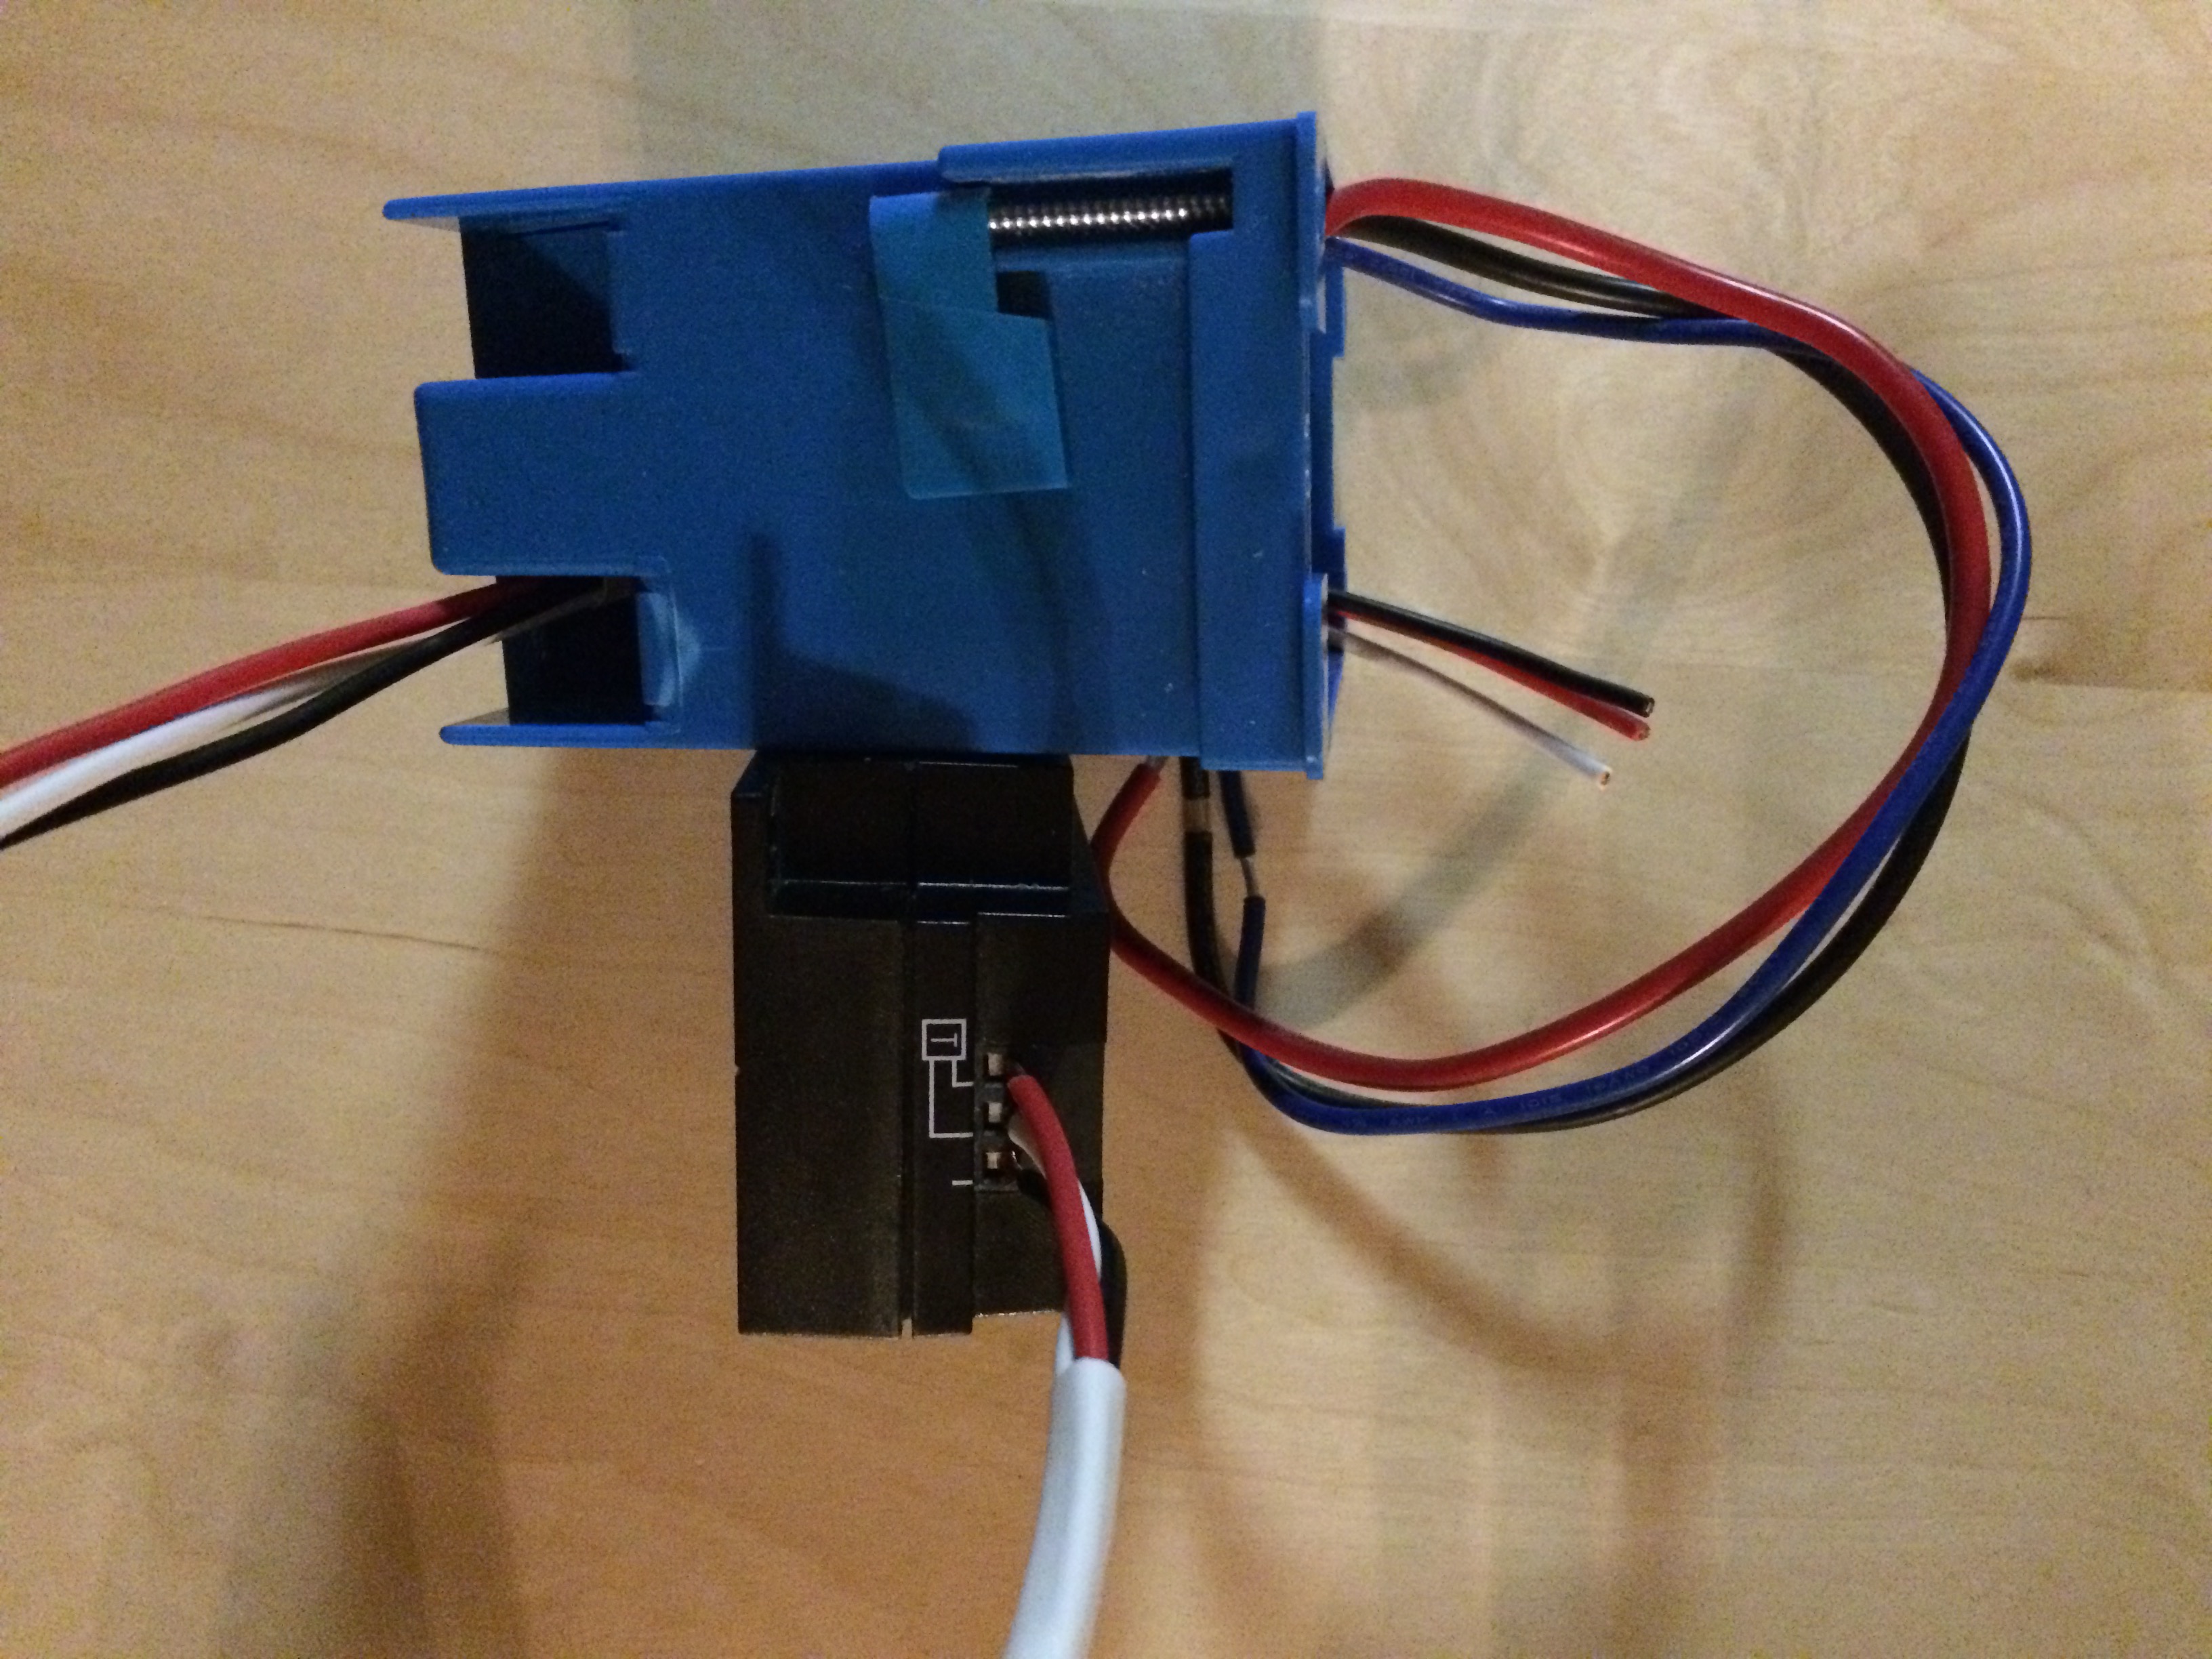
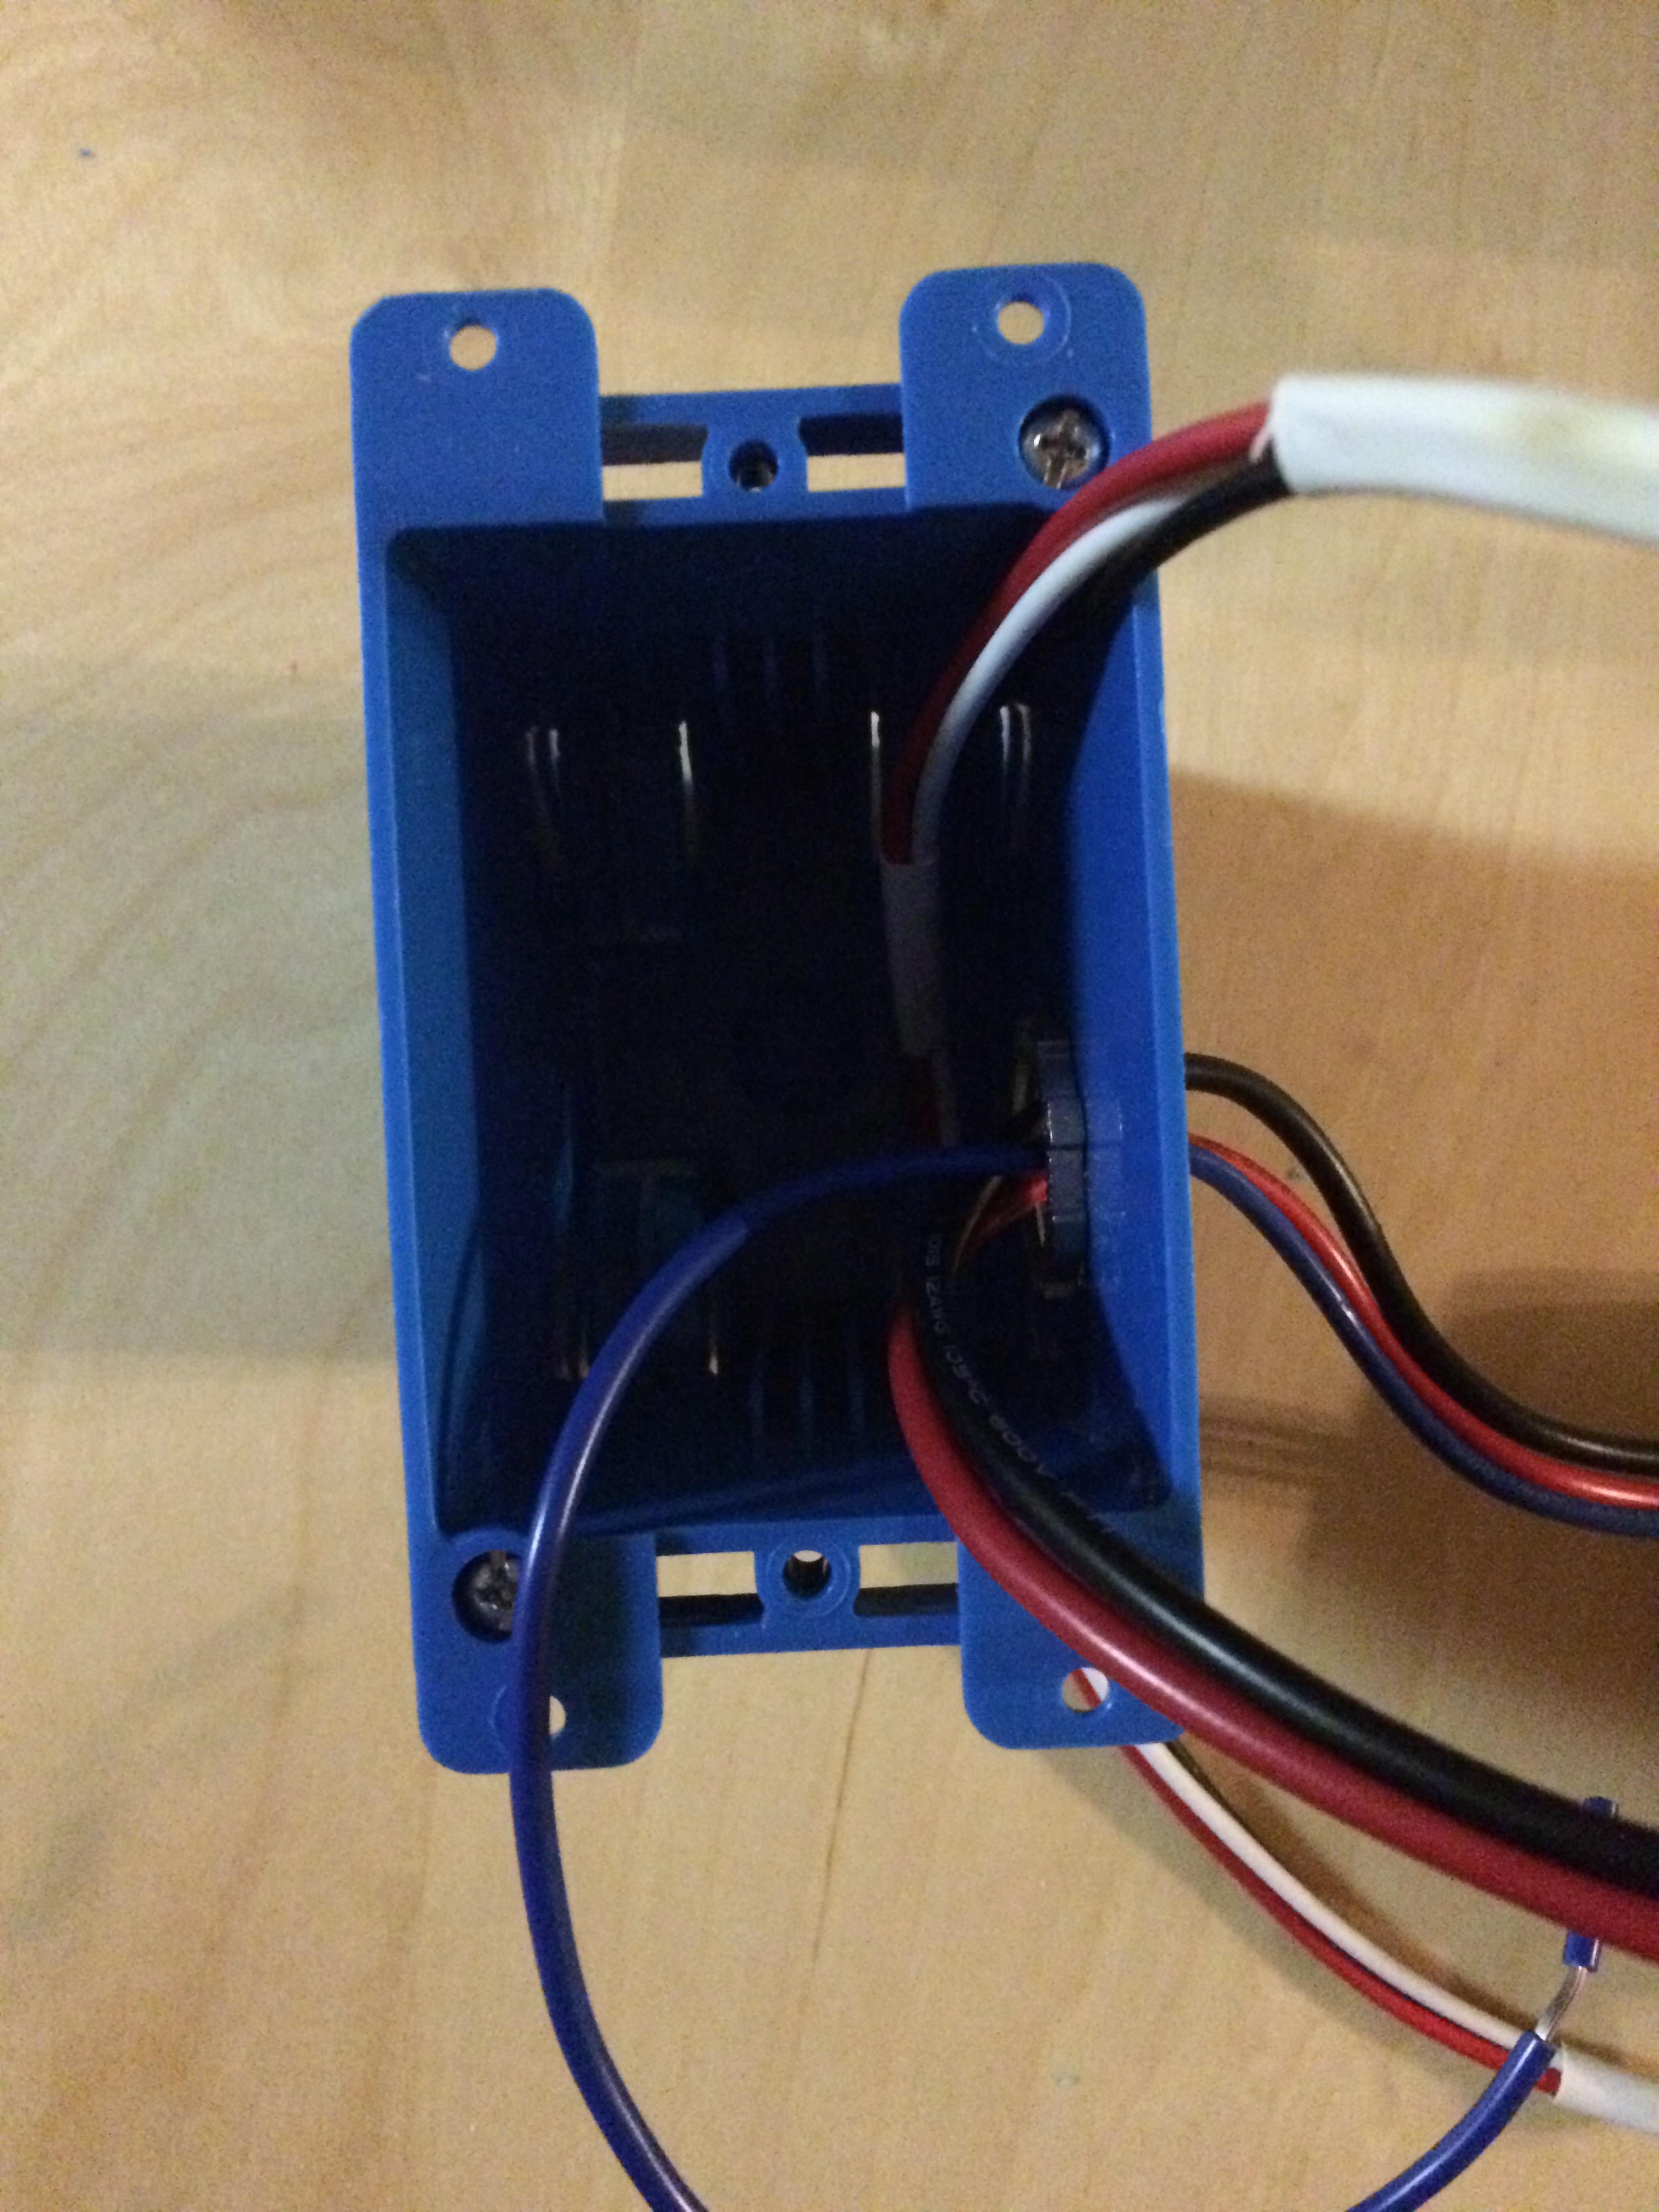
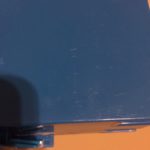
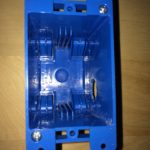
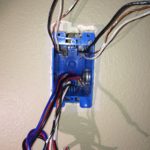
Prepare the new box
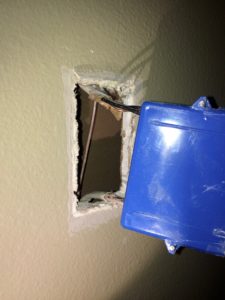
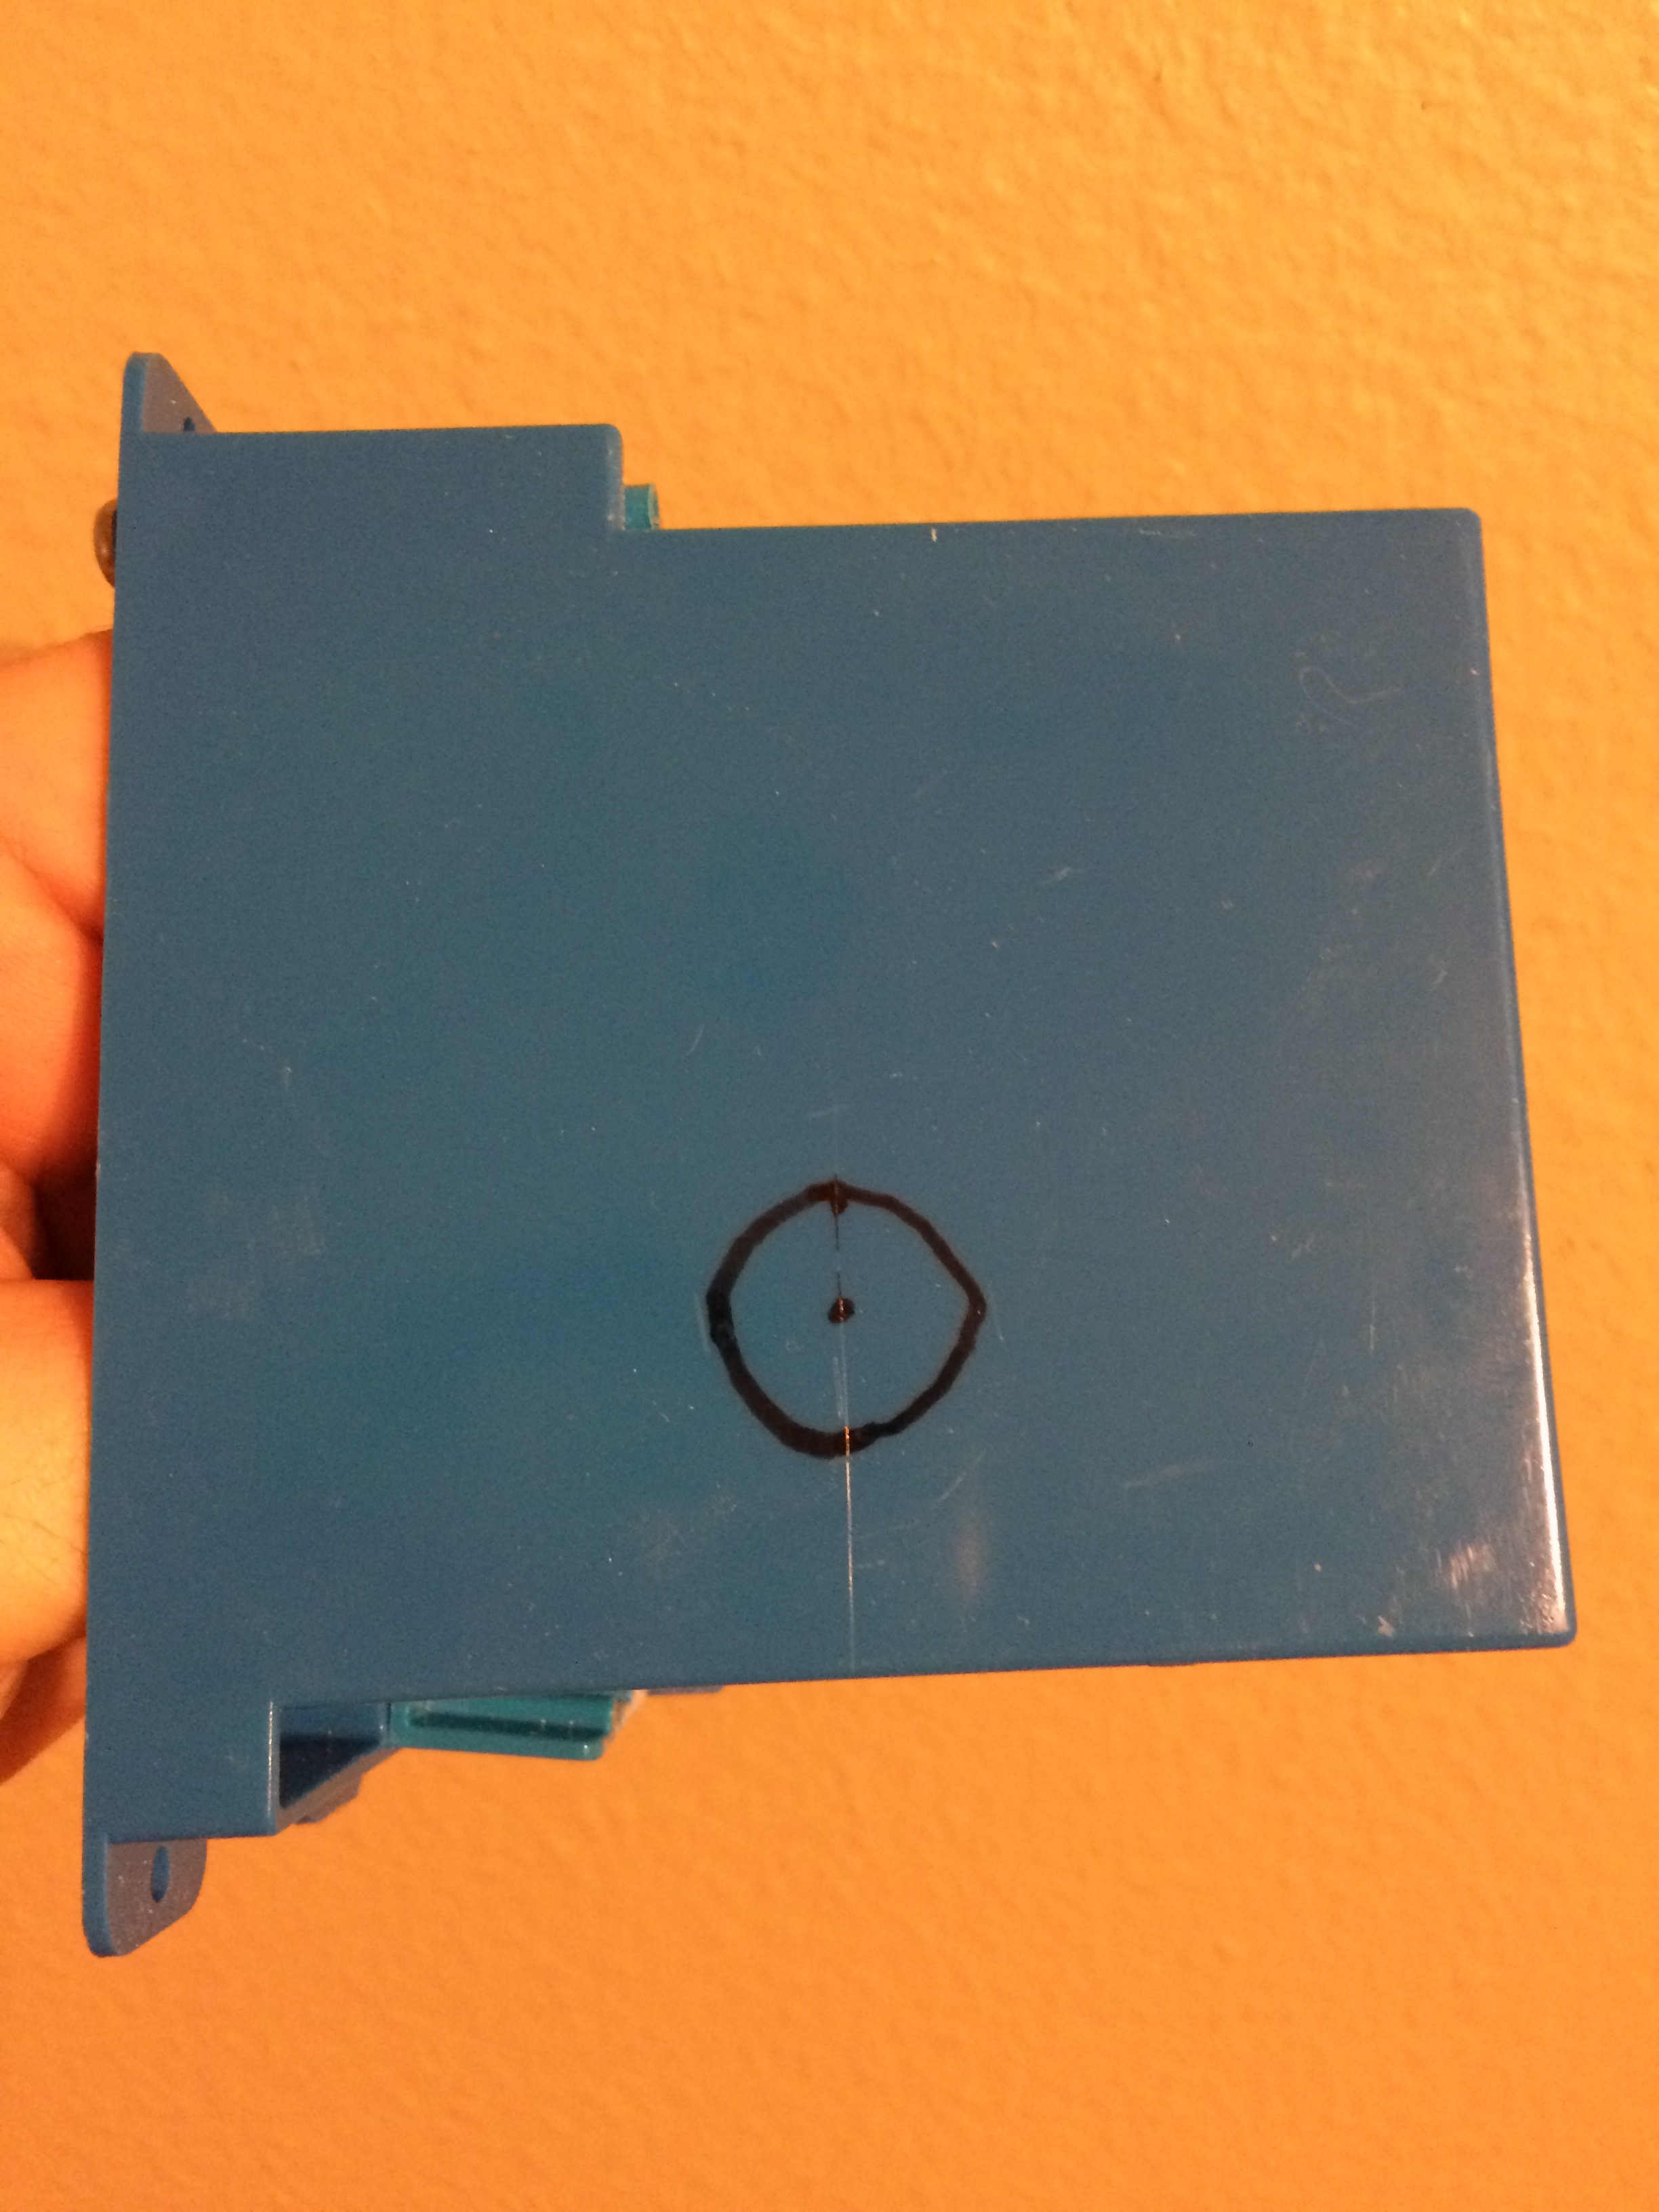
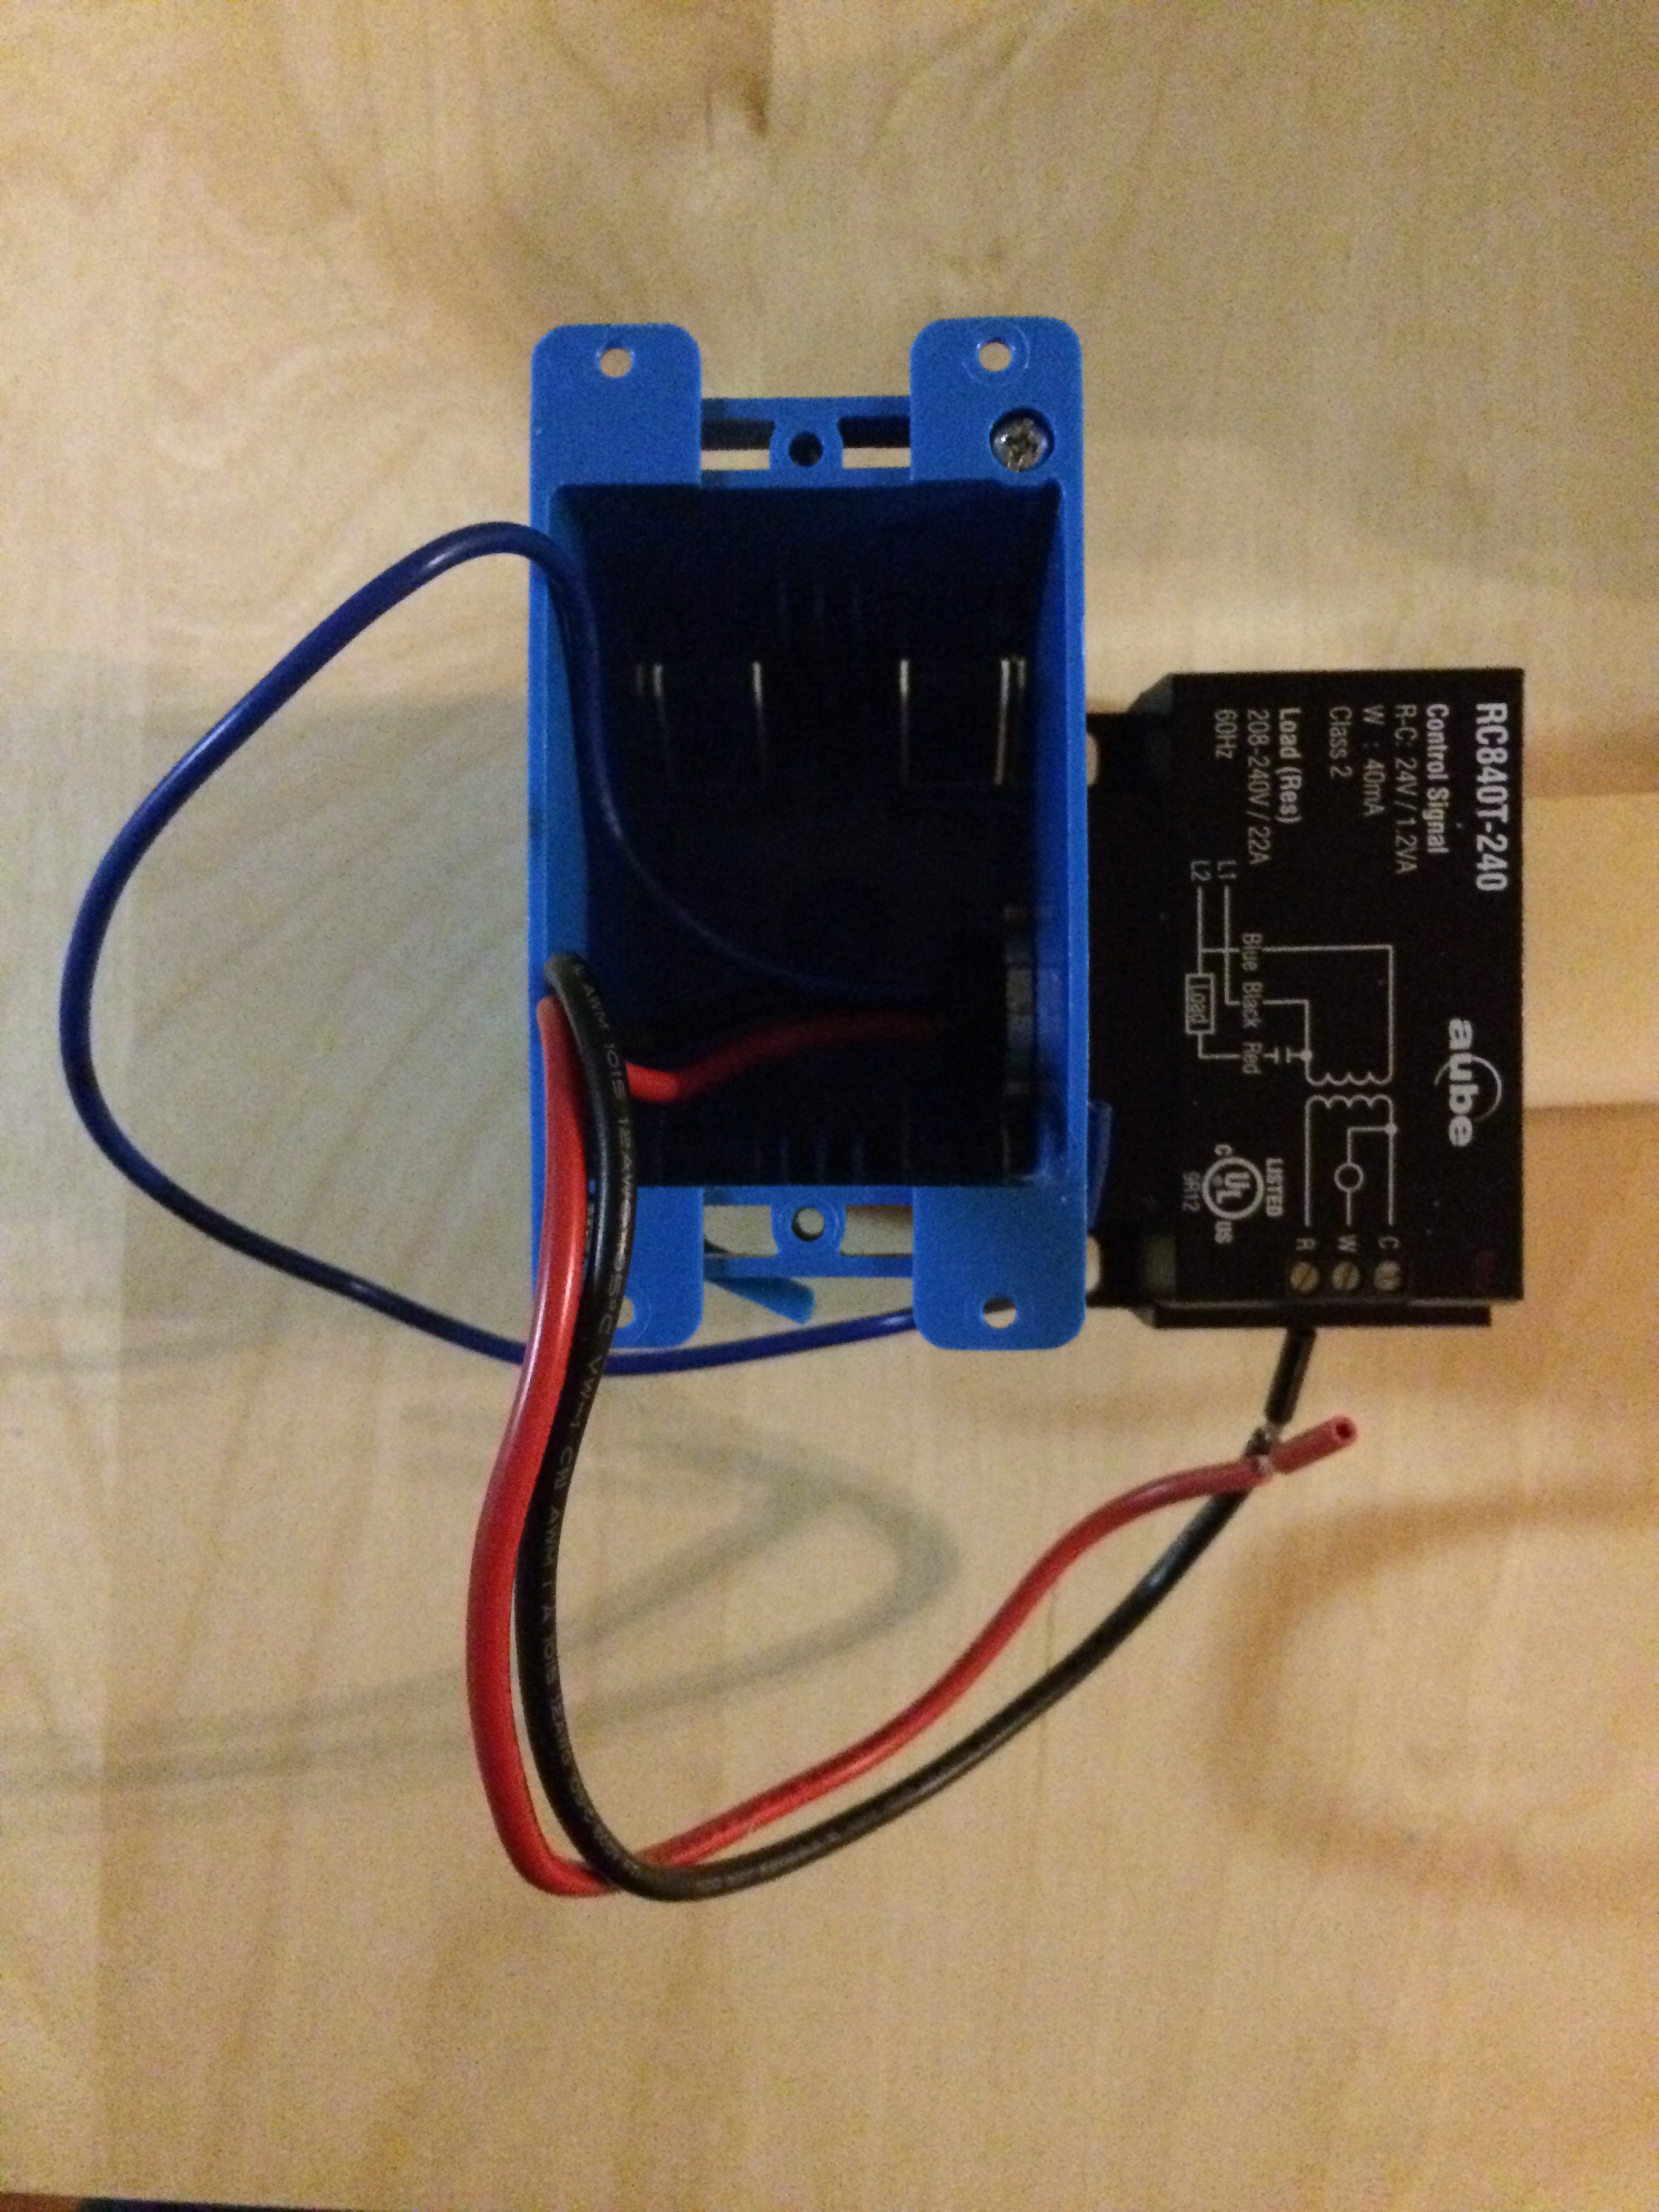
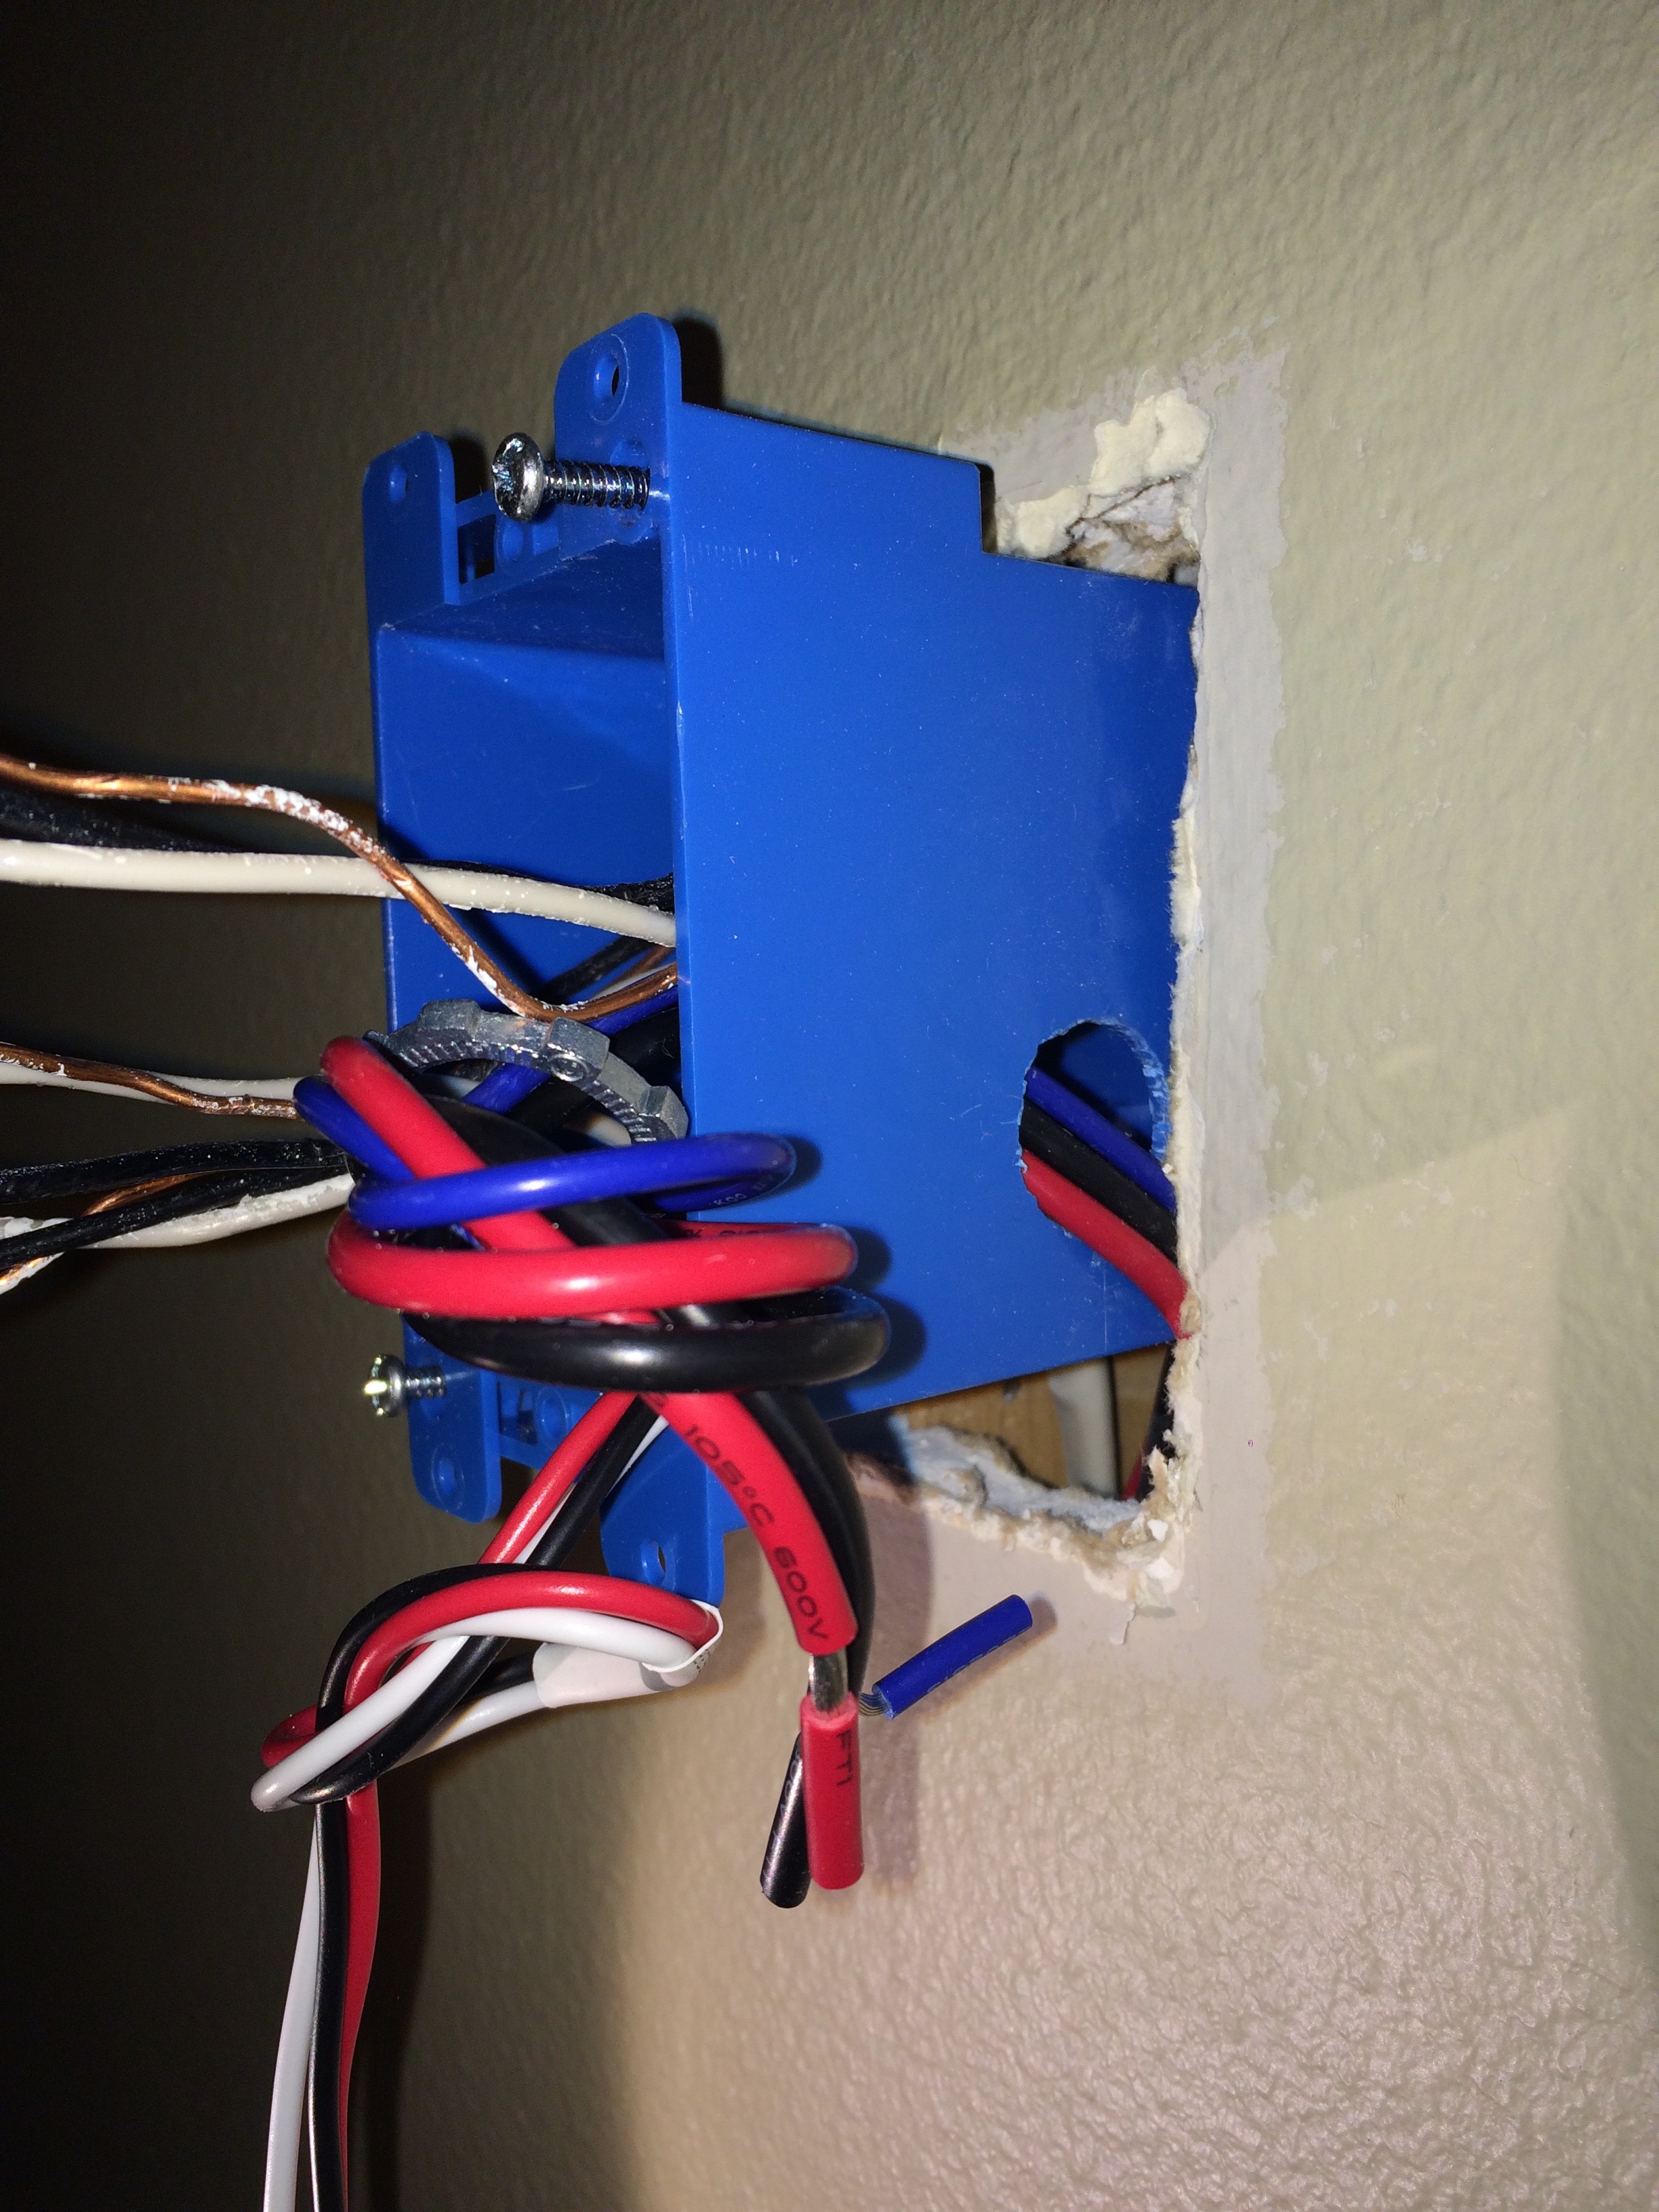
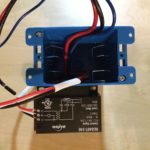
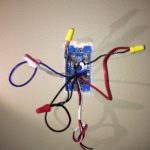
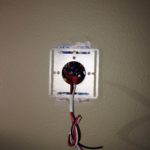
Get a new blue box that fits the previous one, deep as much as you can to drill a hole for the relay. Mark the position of the relay and make a hole in the plastic:
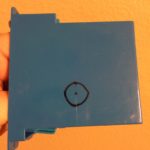
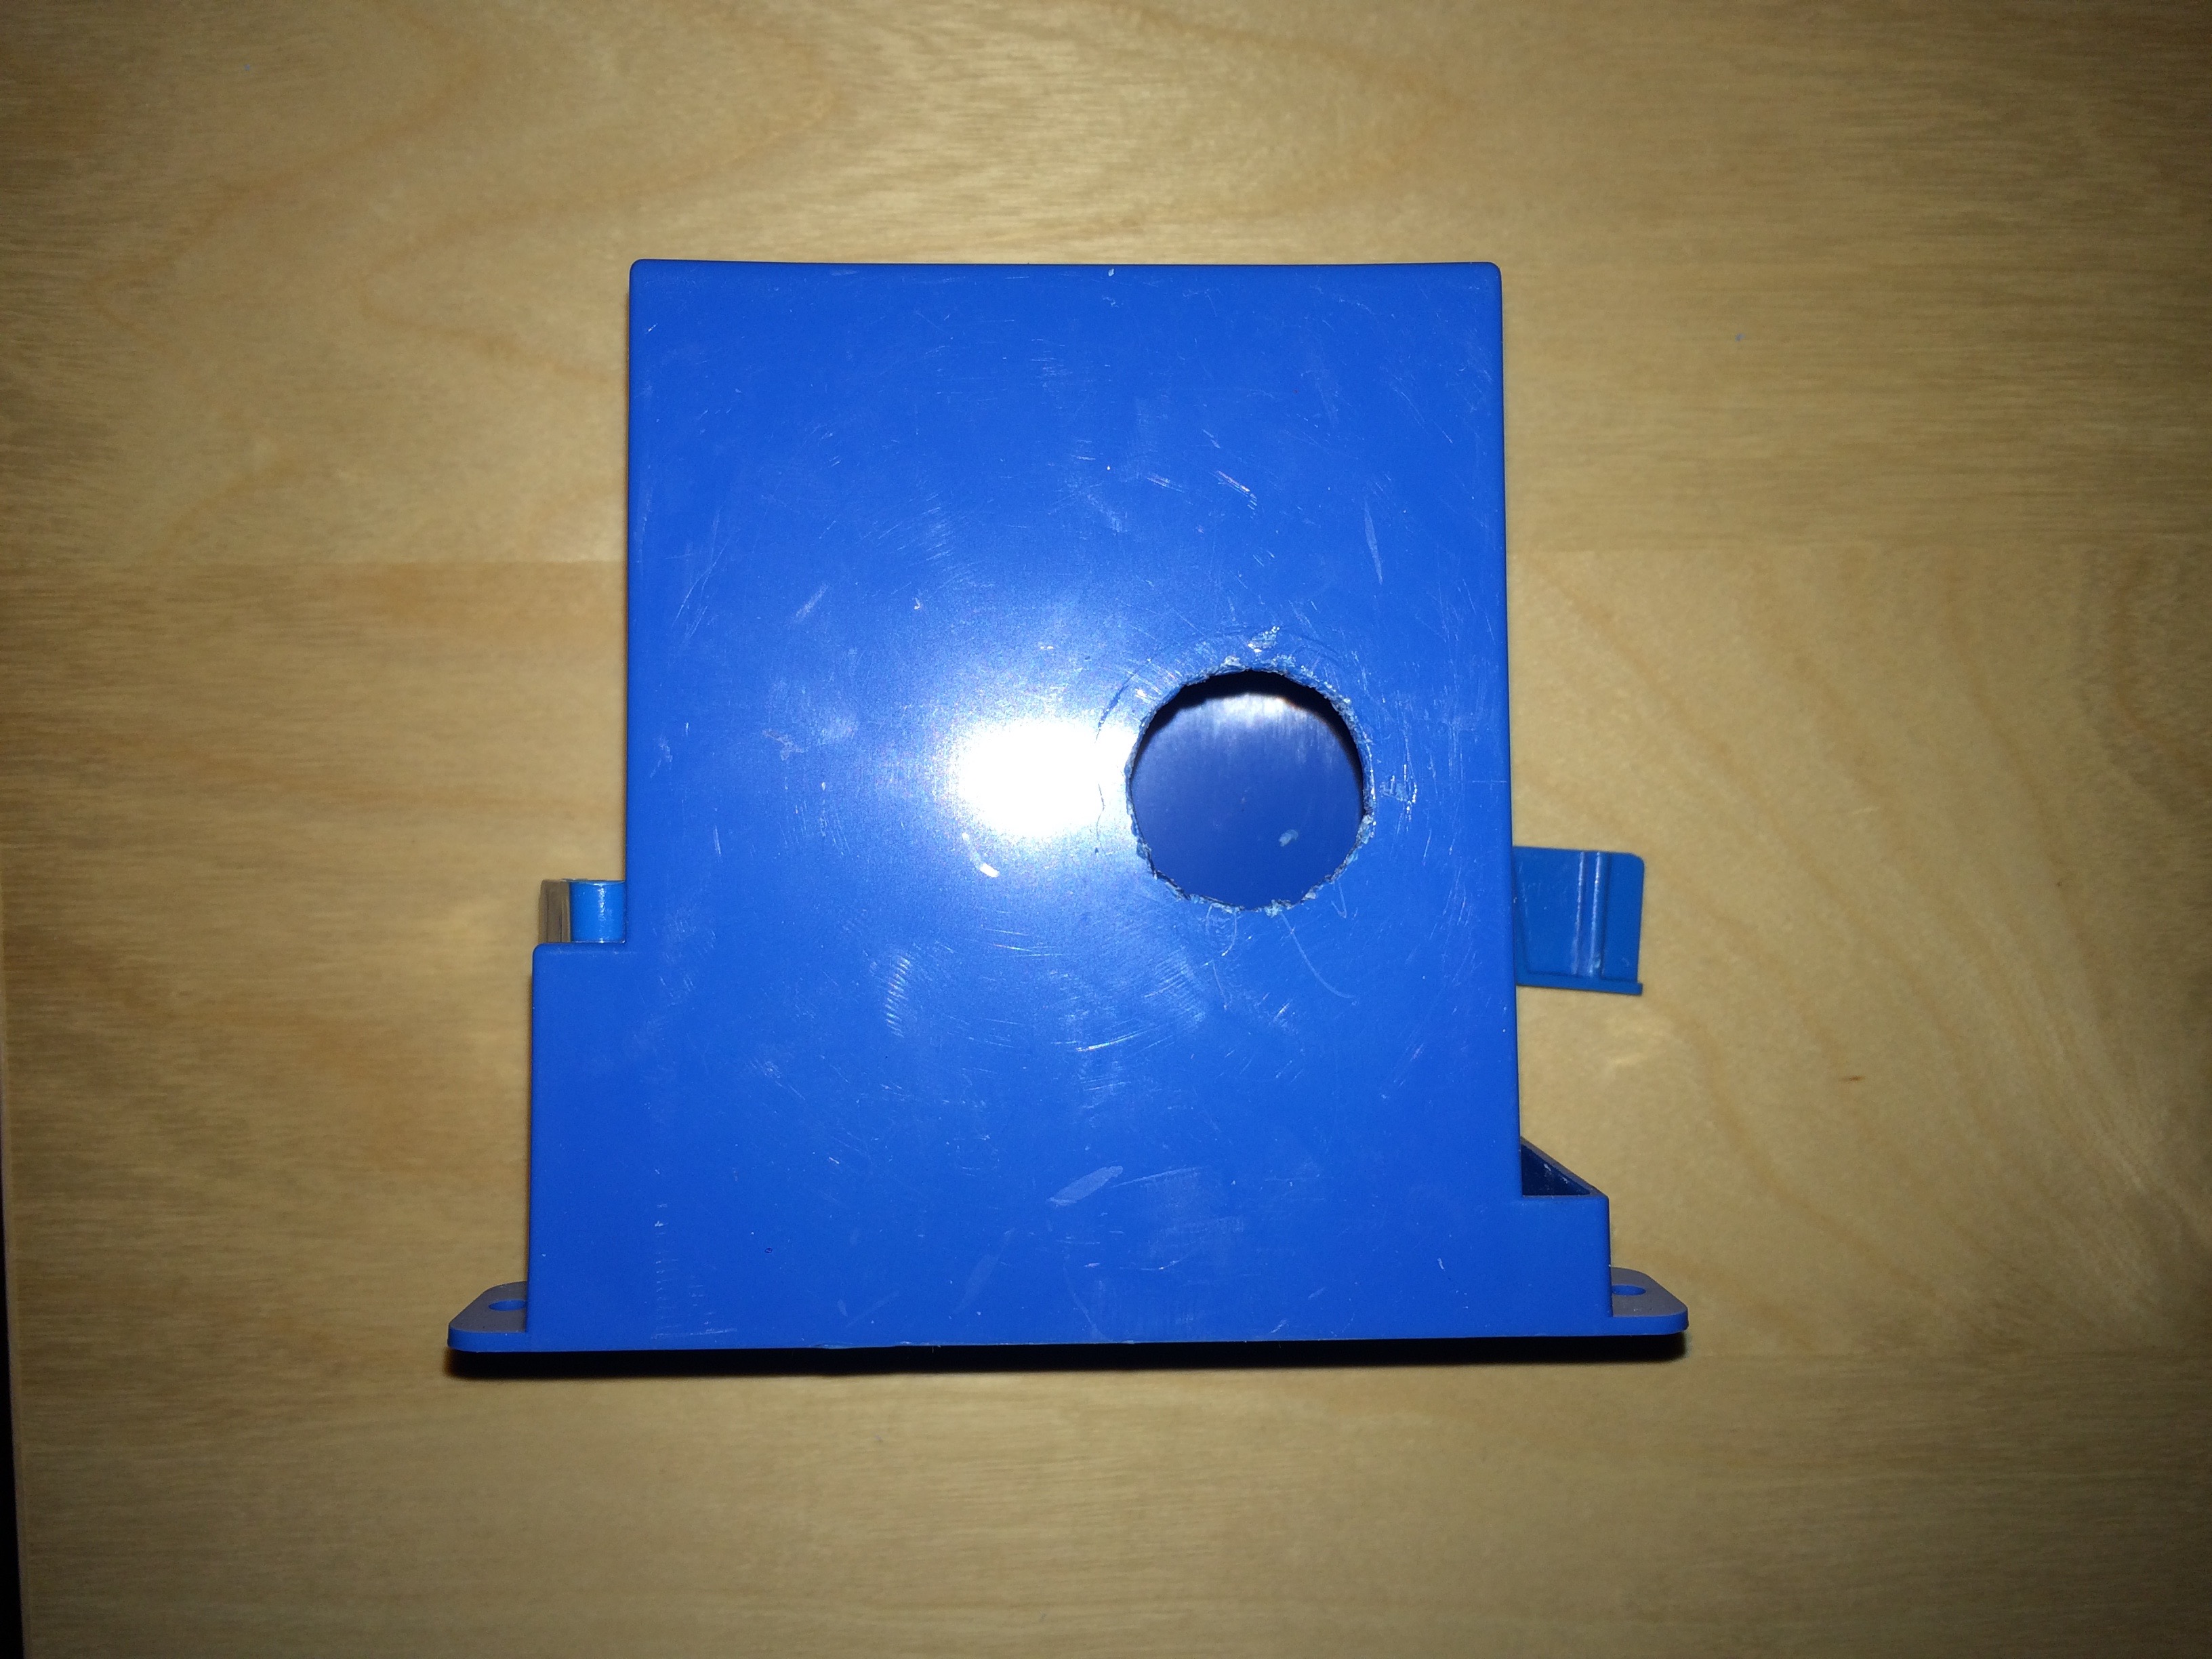
The final result is something like this:
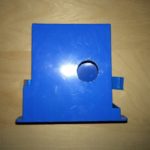
Note that the hole should be large enough to make the relay enter easily, but tight enough to tighten the relays to the plastic.
You can take the measure directly from the relay.
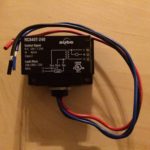
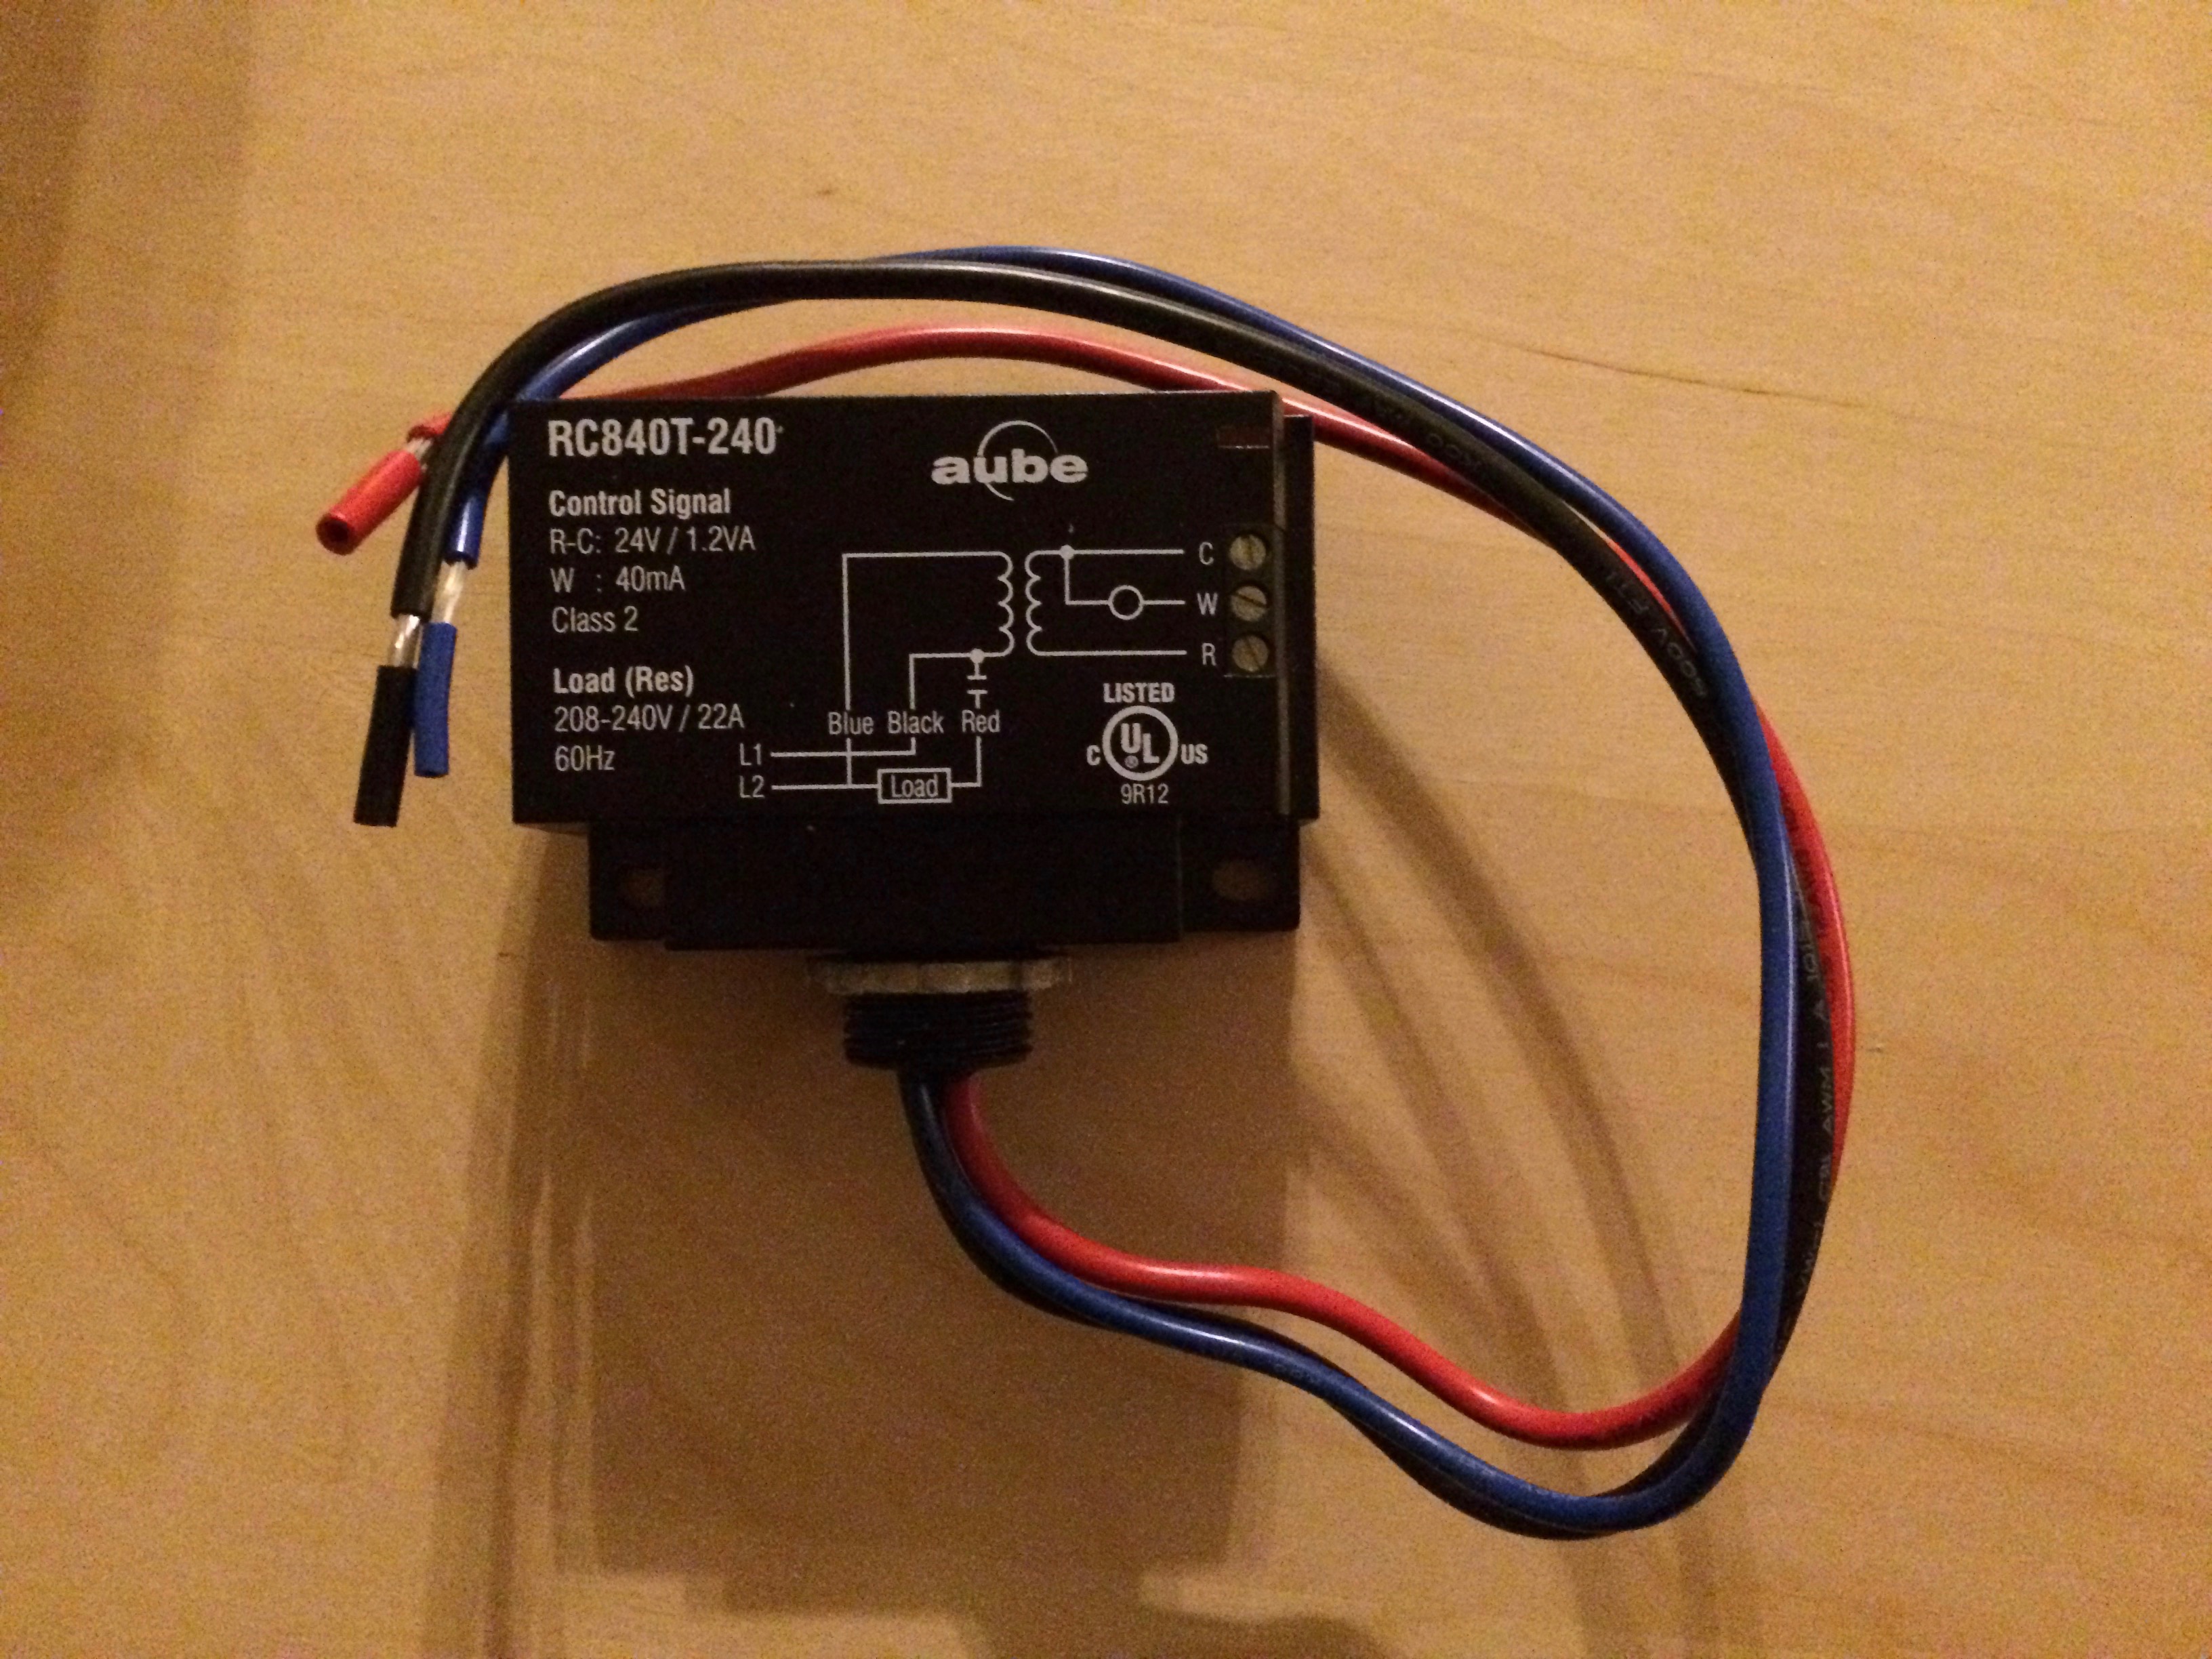
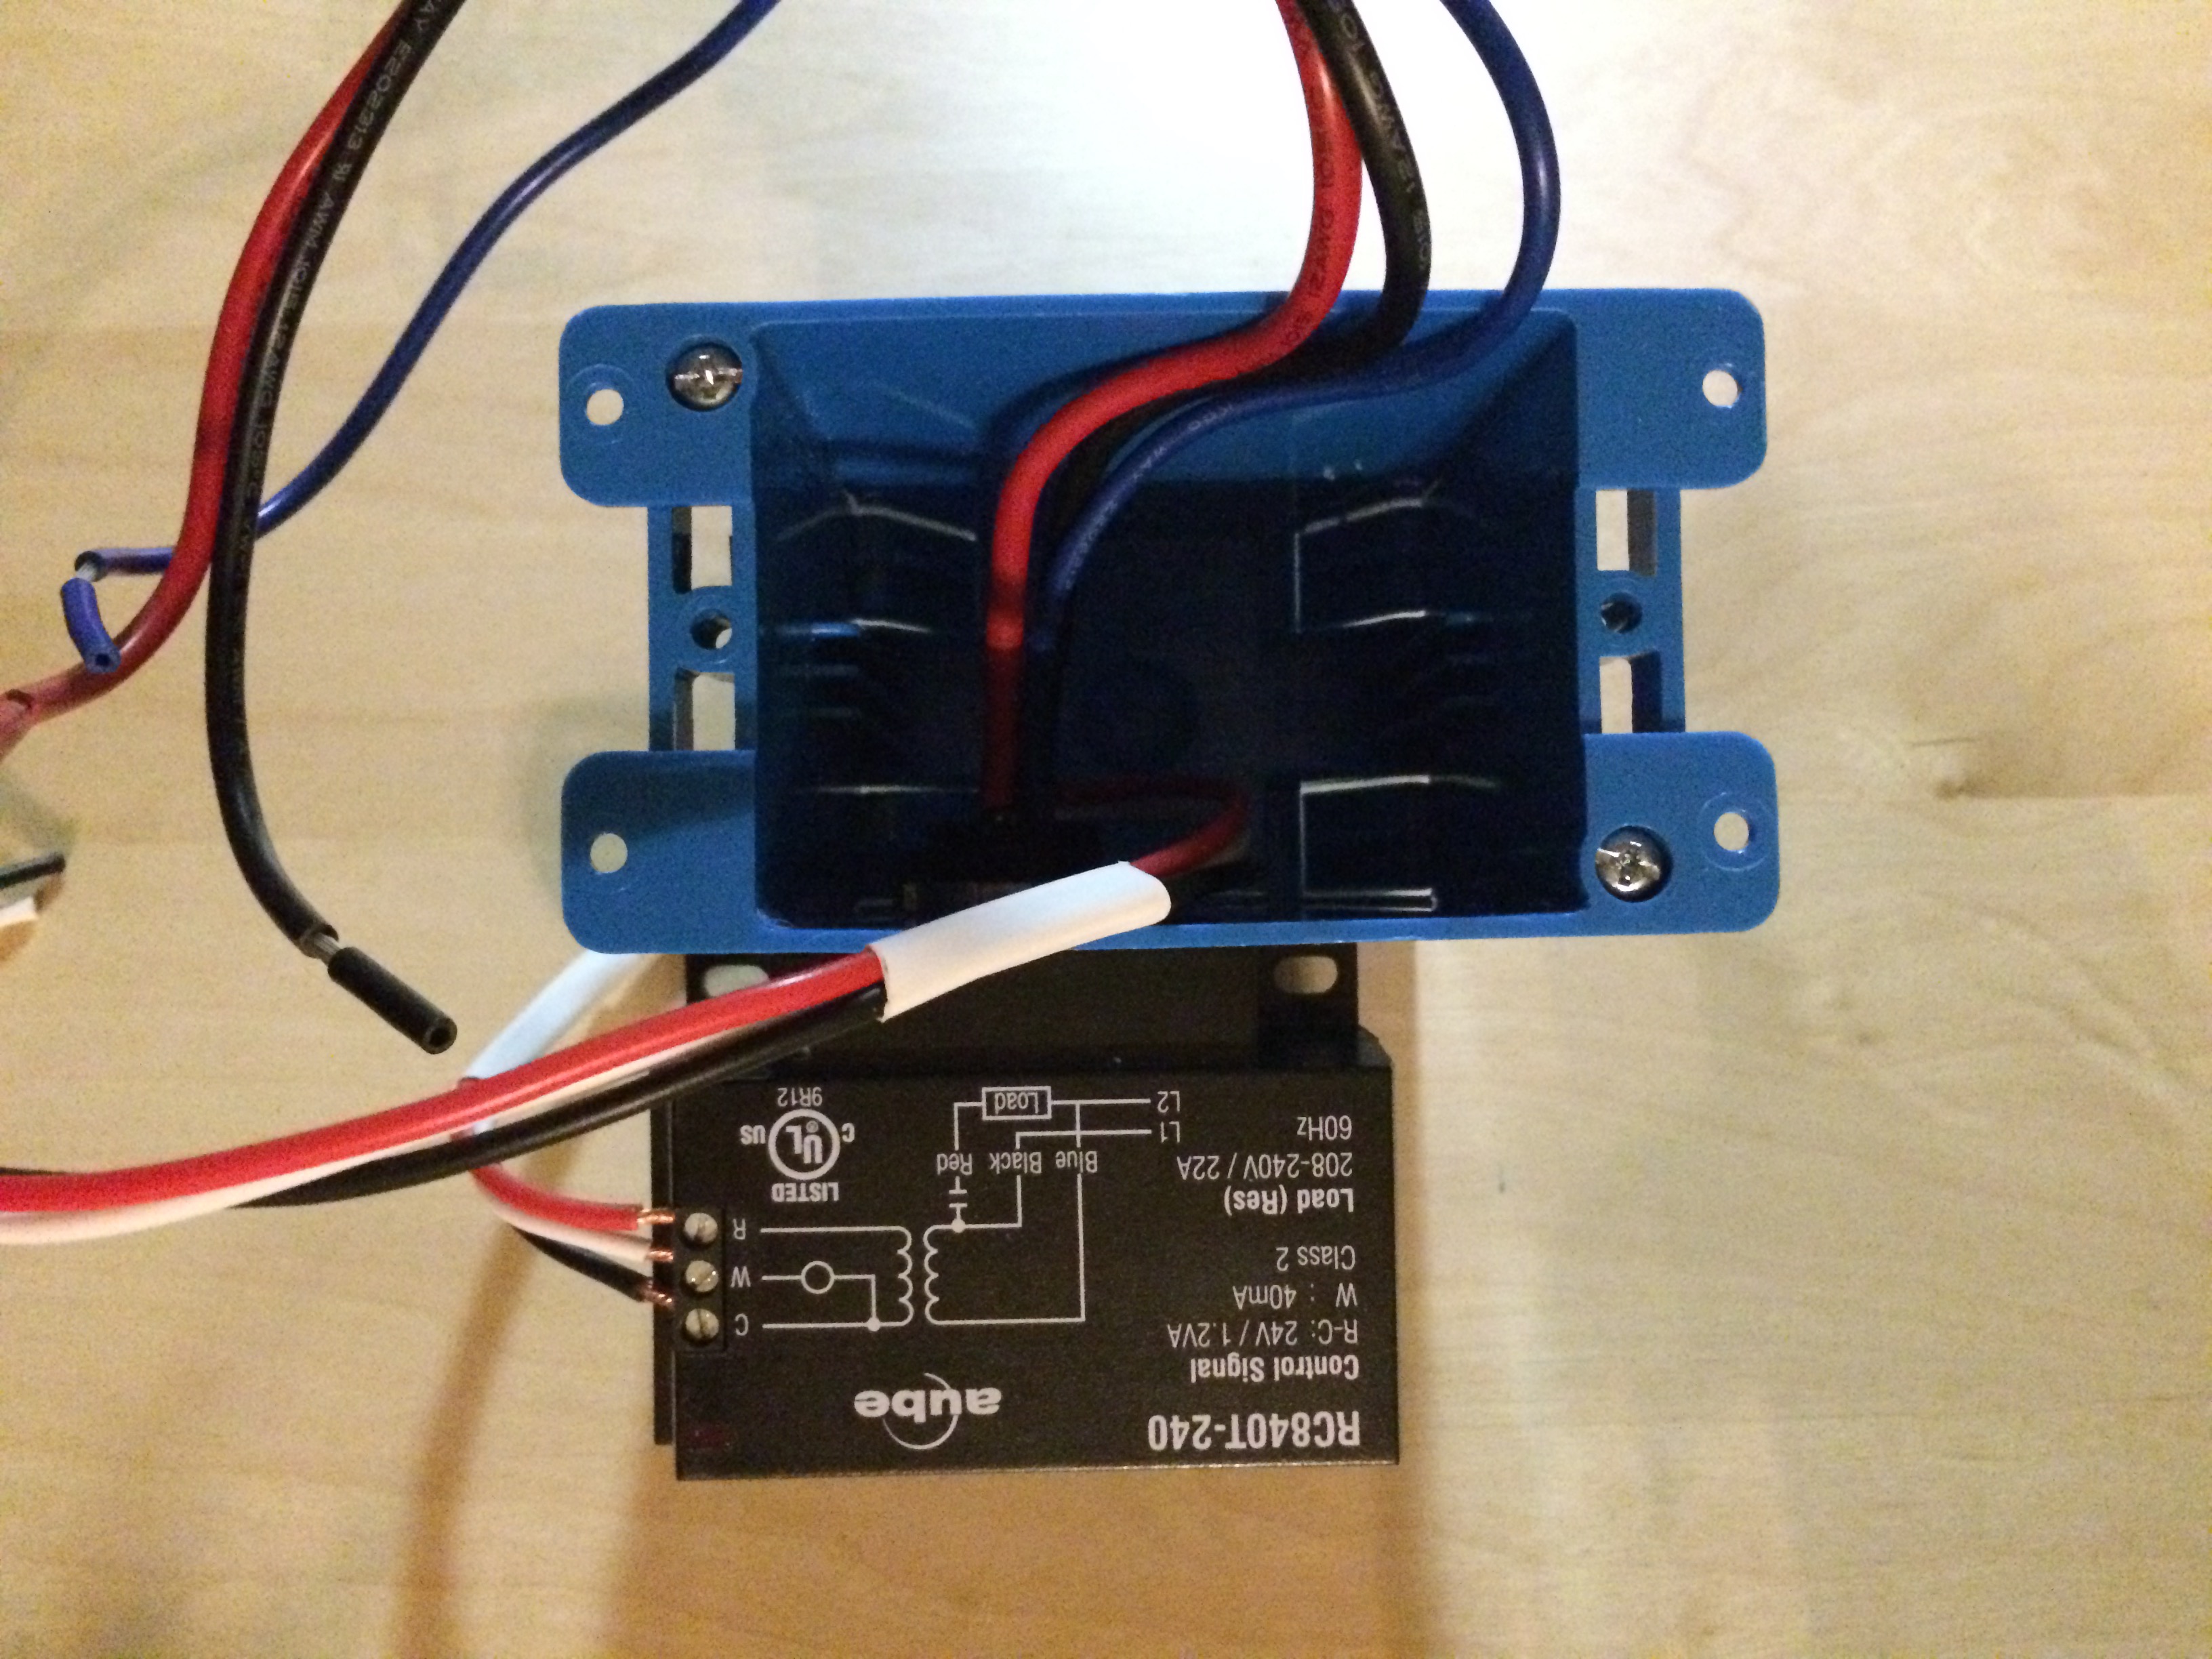
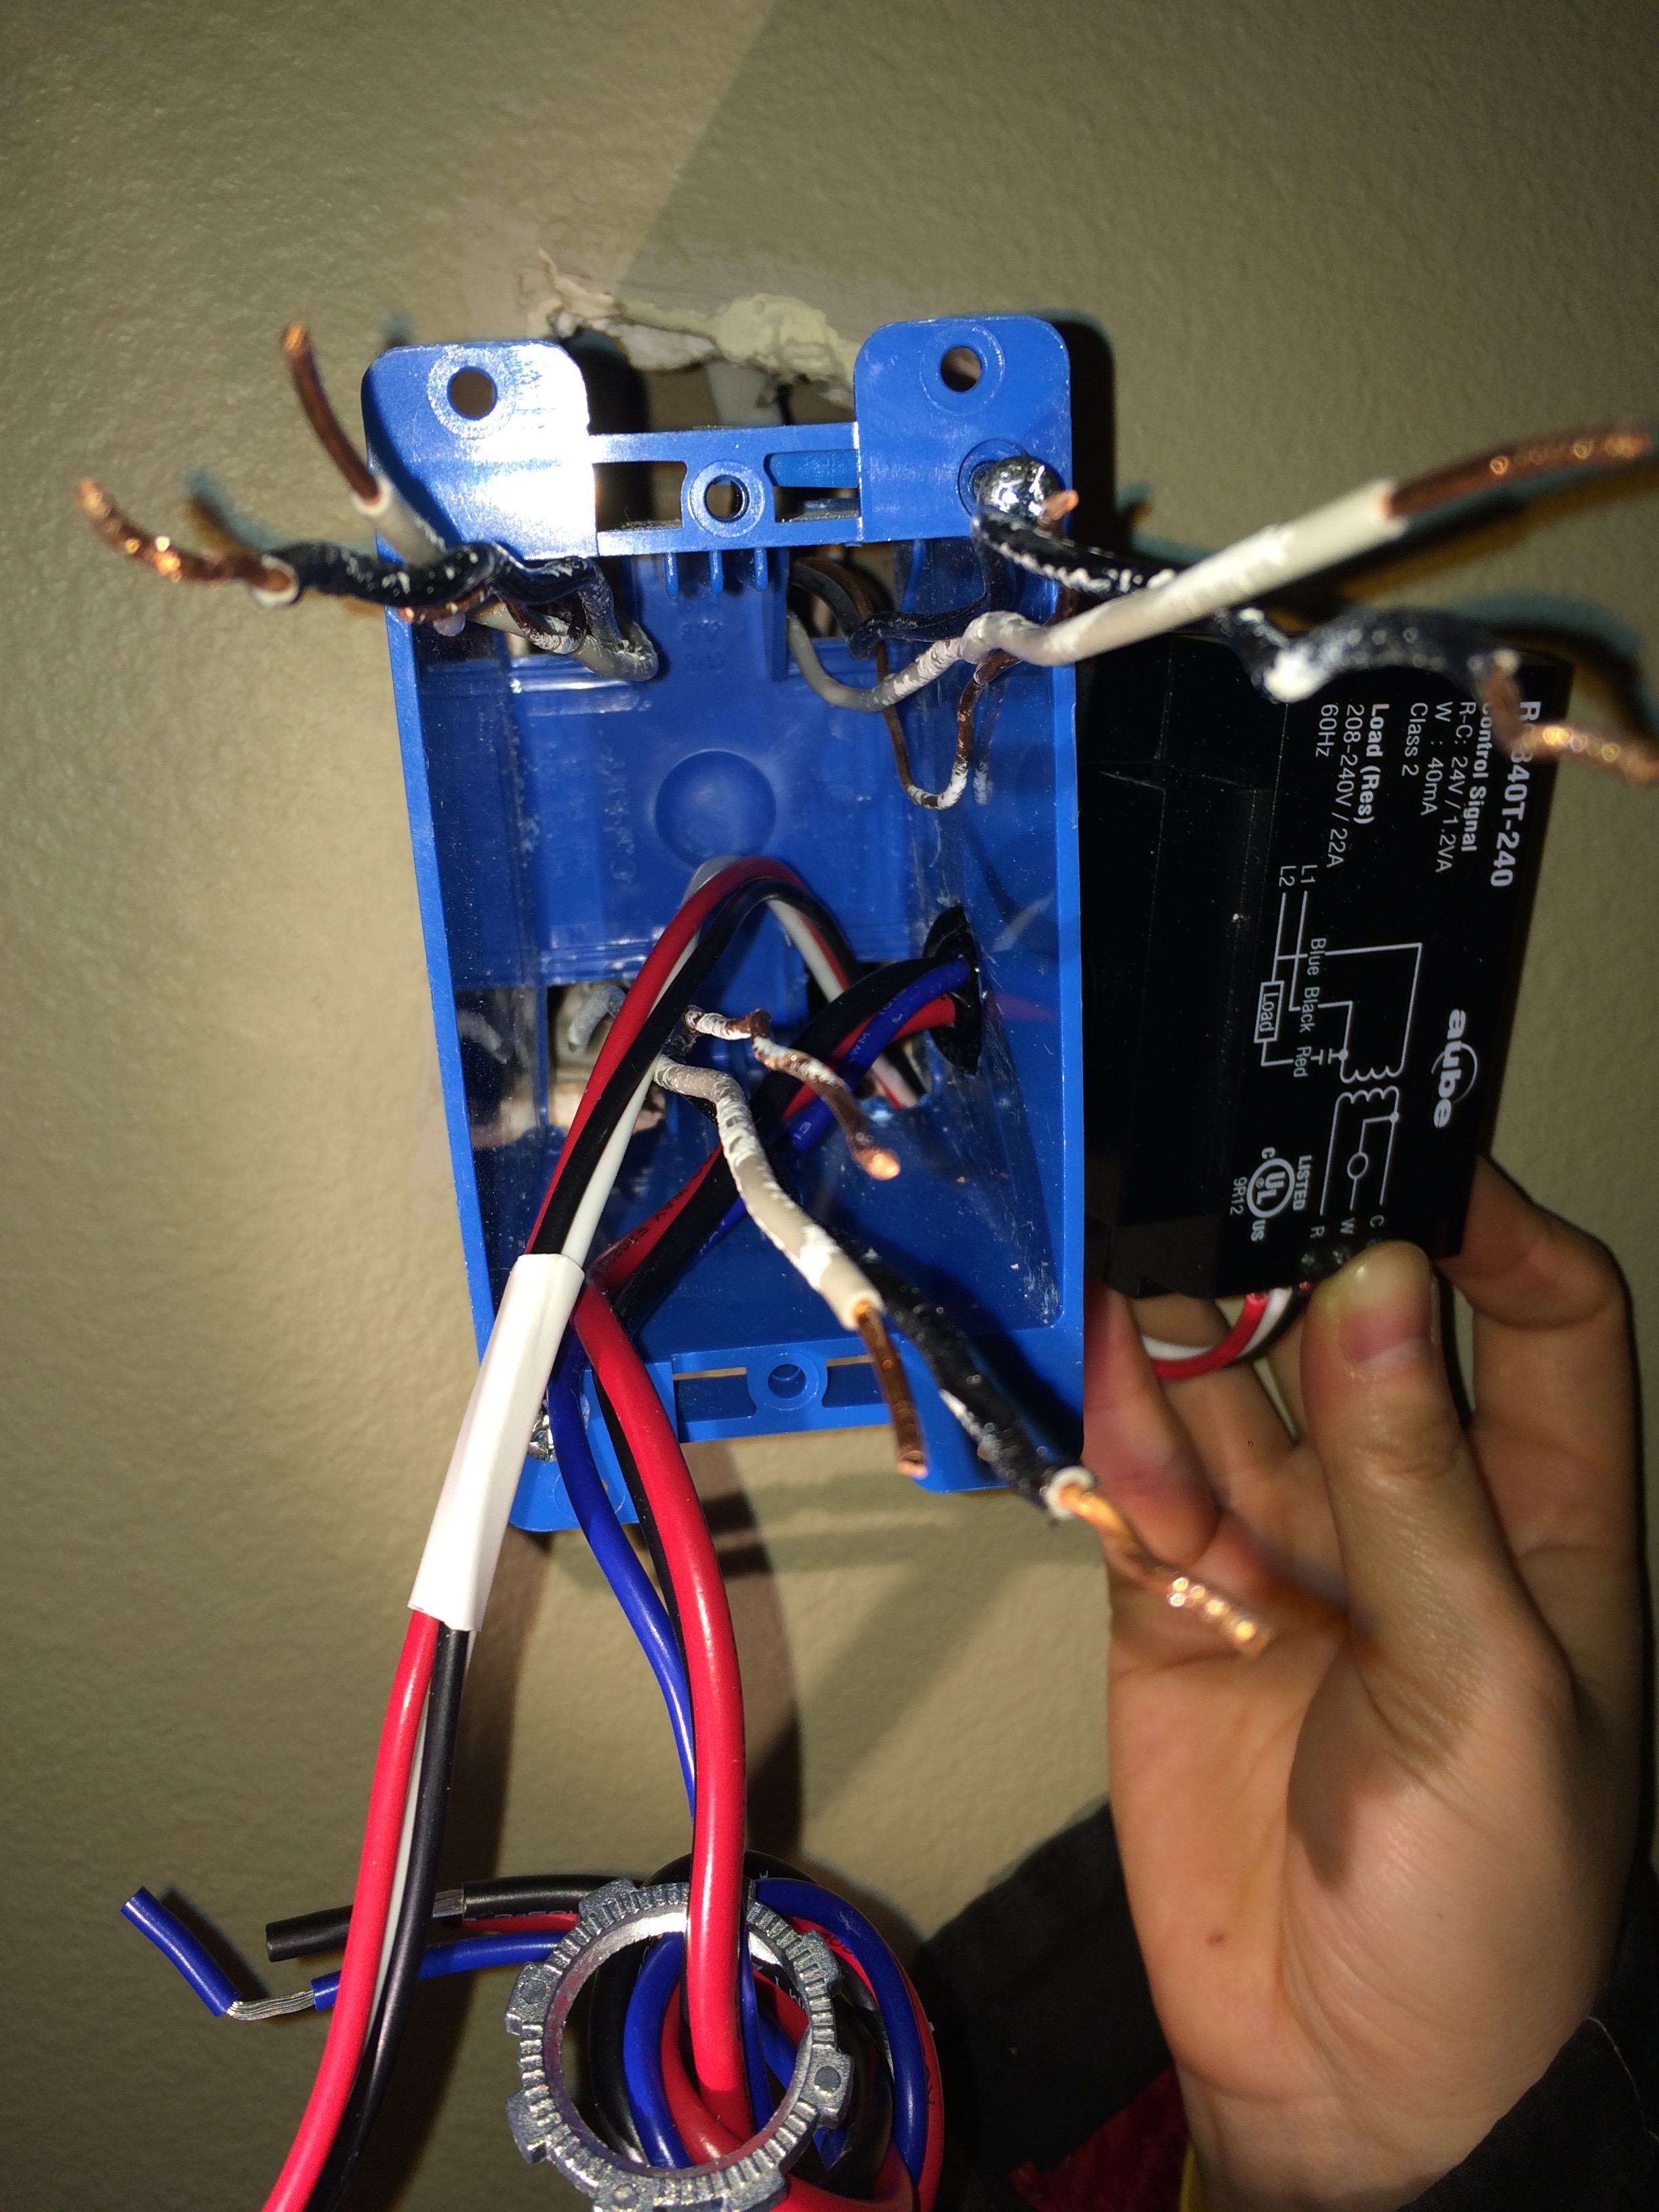
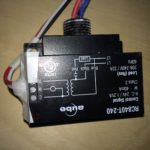
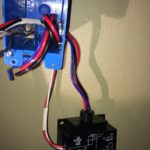
I used Aube RC840T-240 On/Off Switching Electric Heating Relay with Built-in 24 V Transformer but you might need something else basing on the wattage of your system.
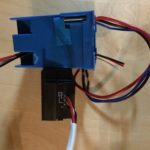
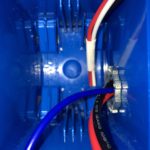
Final result should looks similar to the below:
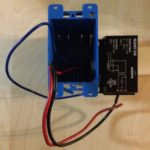
This is just an example of how it will look like… Let’s detach the relay from the box.
Insulation
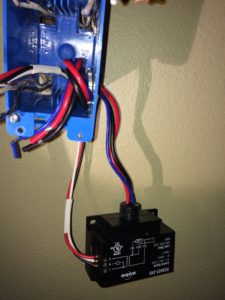
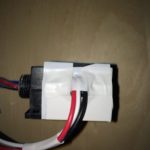
The high-voltage cables of the relays come out directly into the box, but the low-voltage output of the power adapter, which we need to power the Nest thermostat, are outside of the box. Let’s fix that.
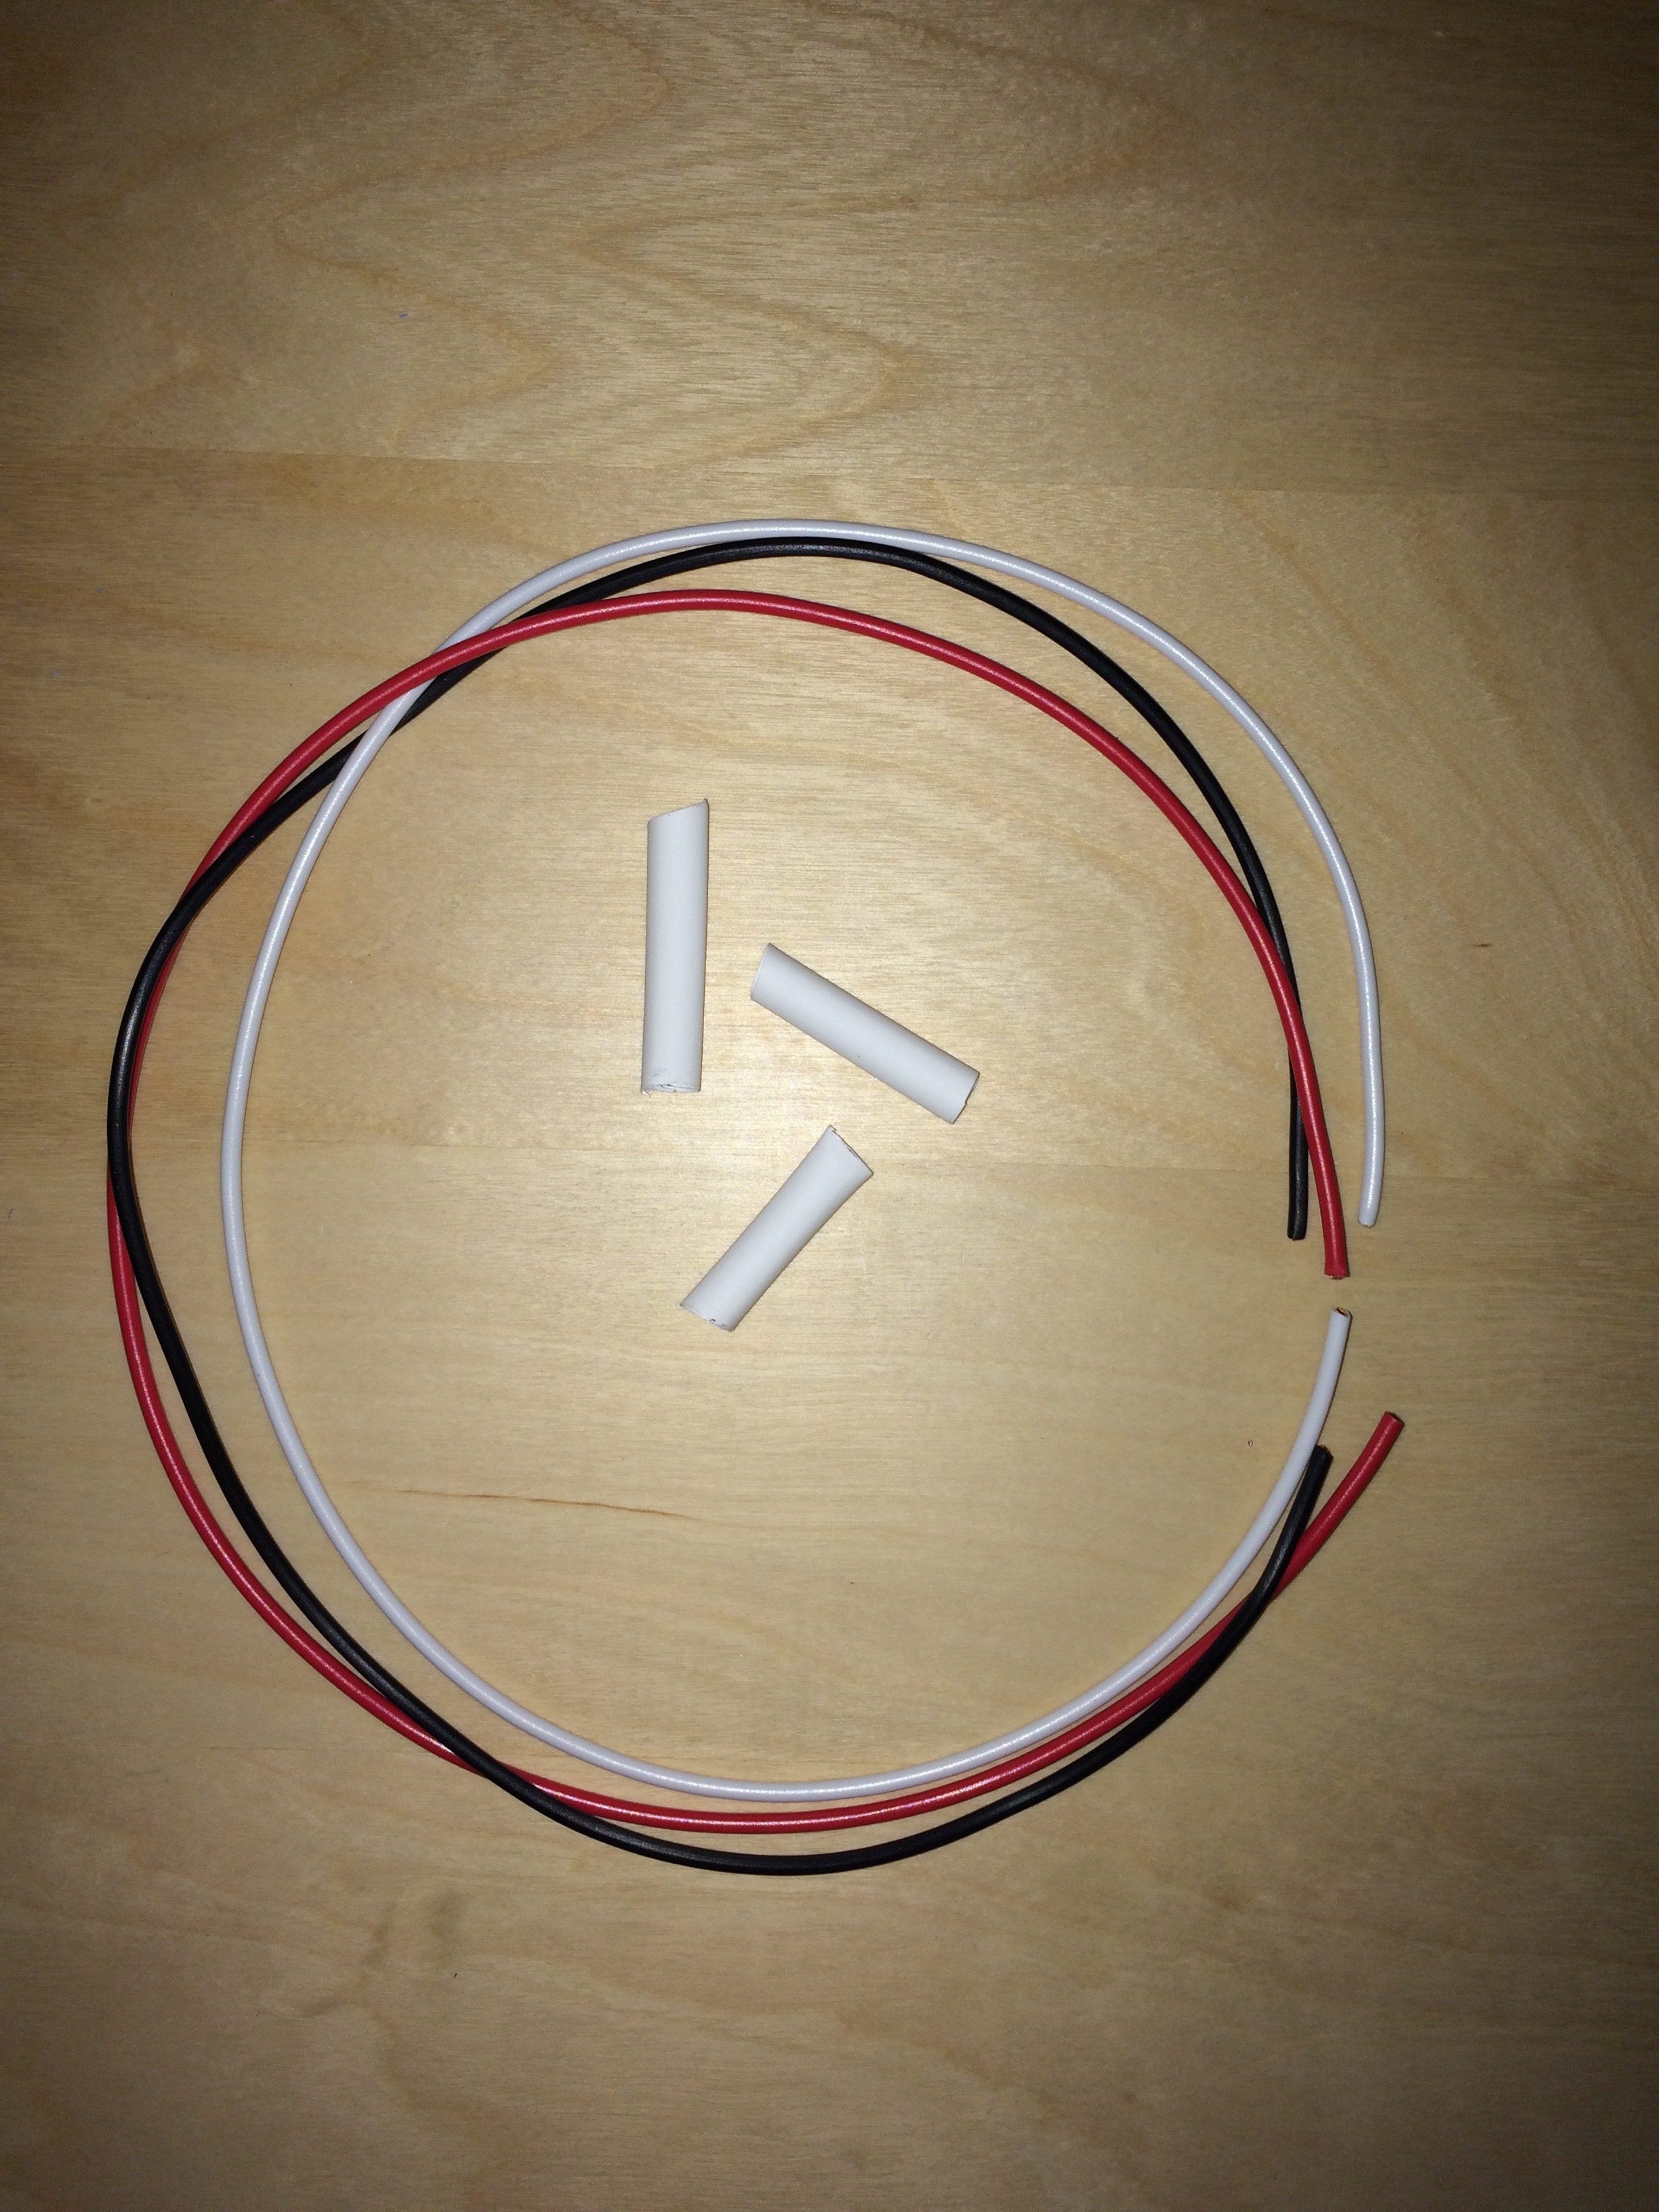
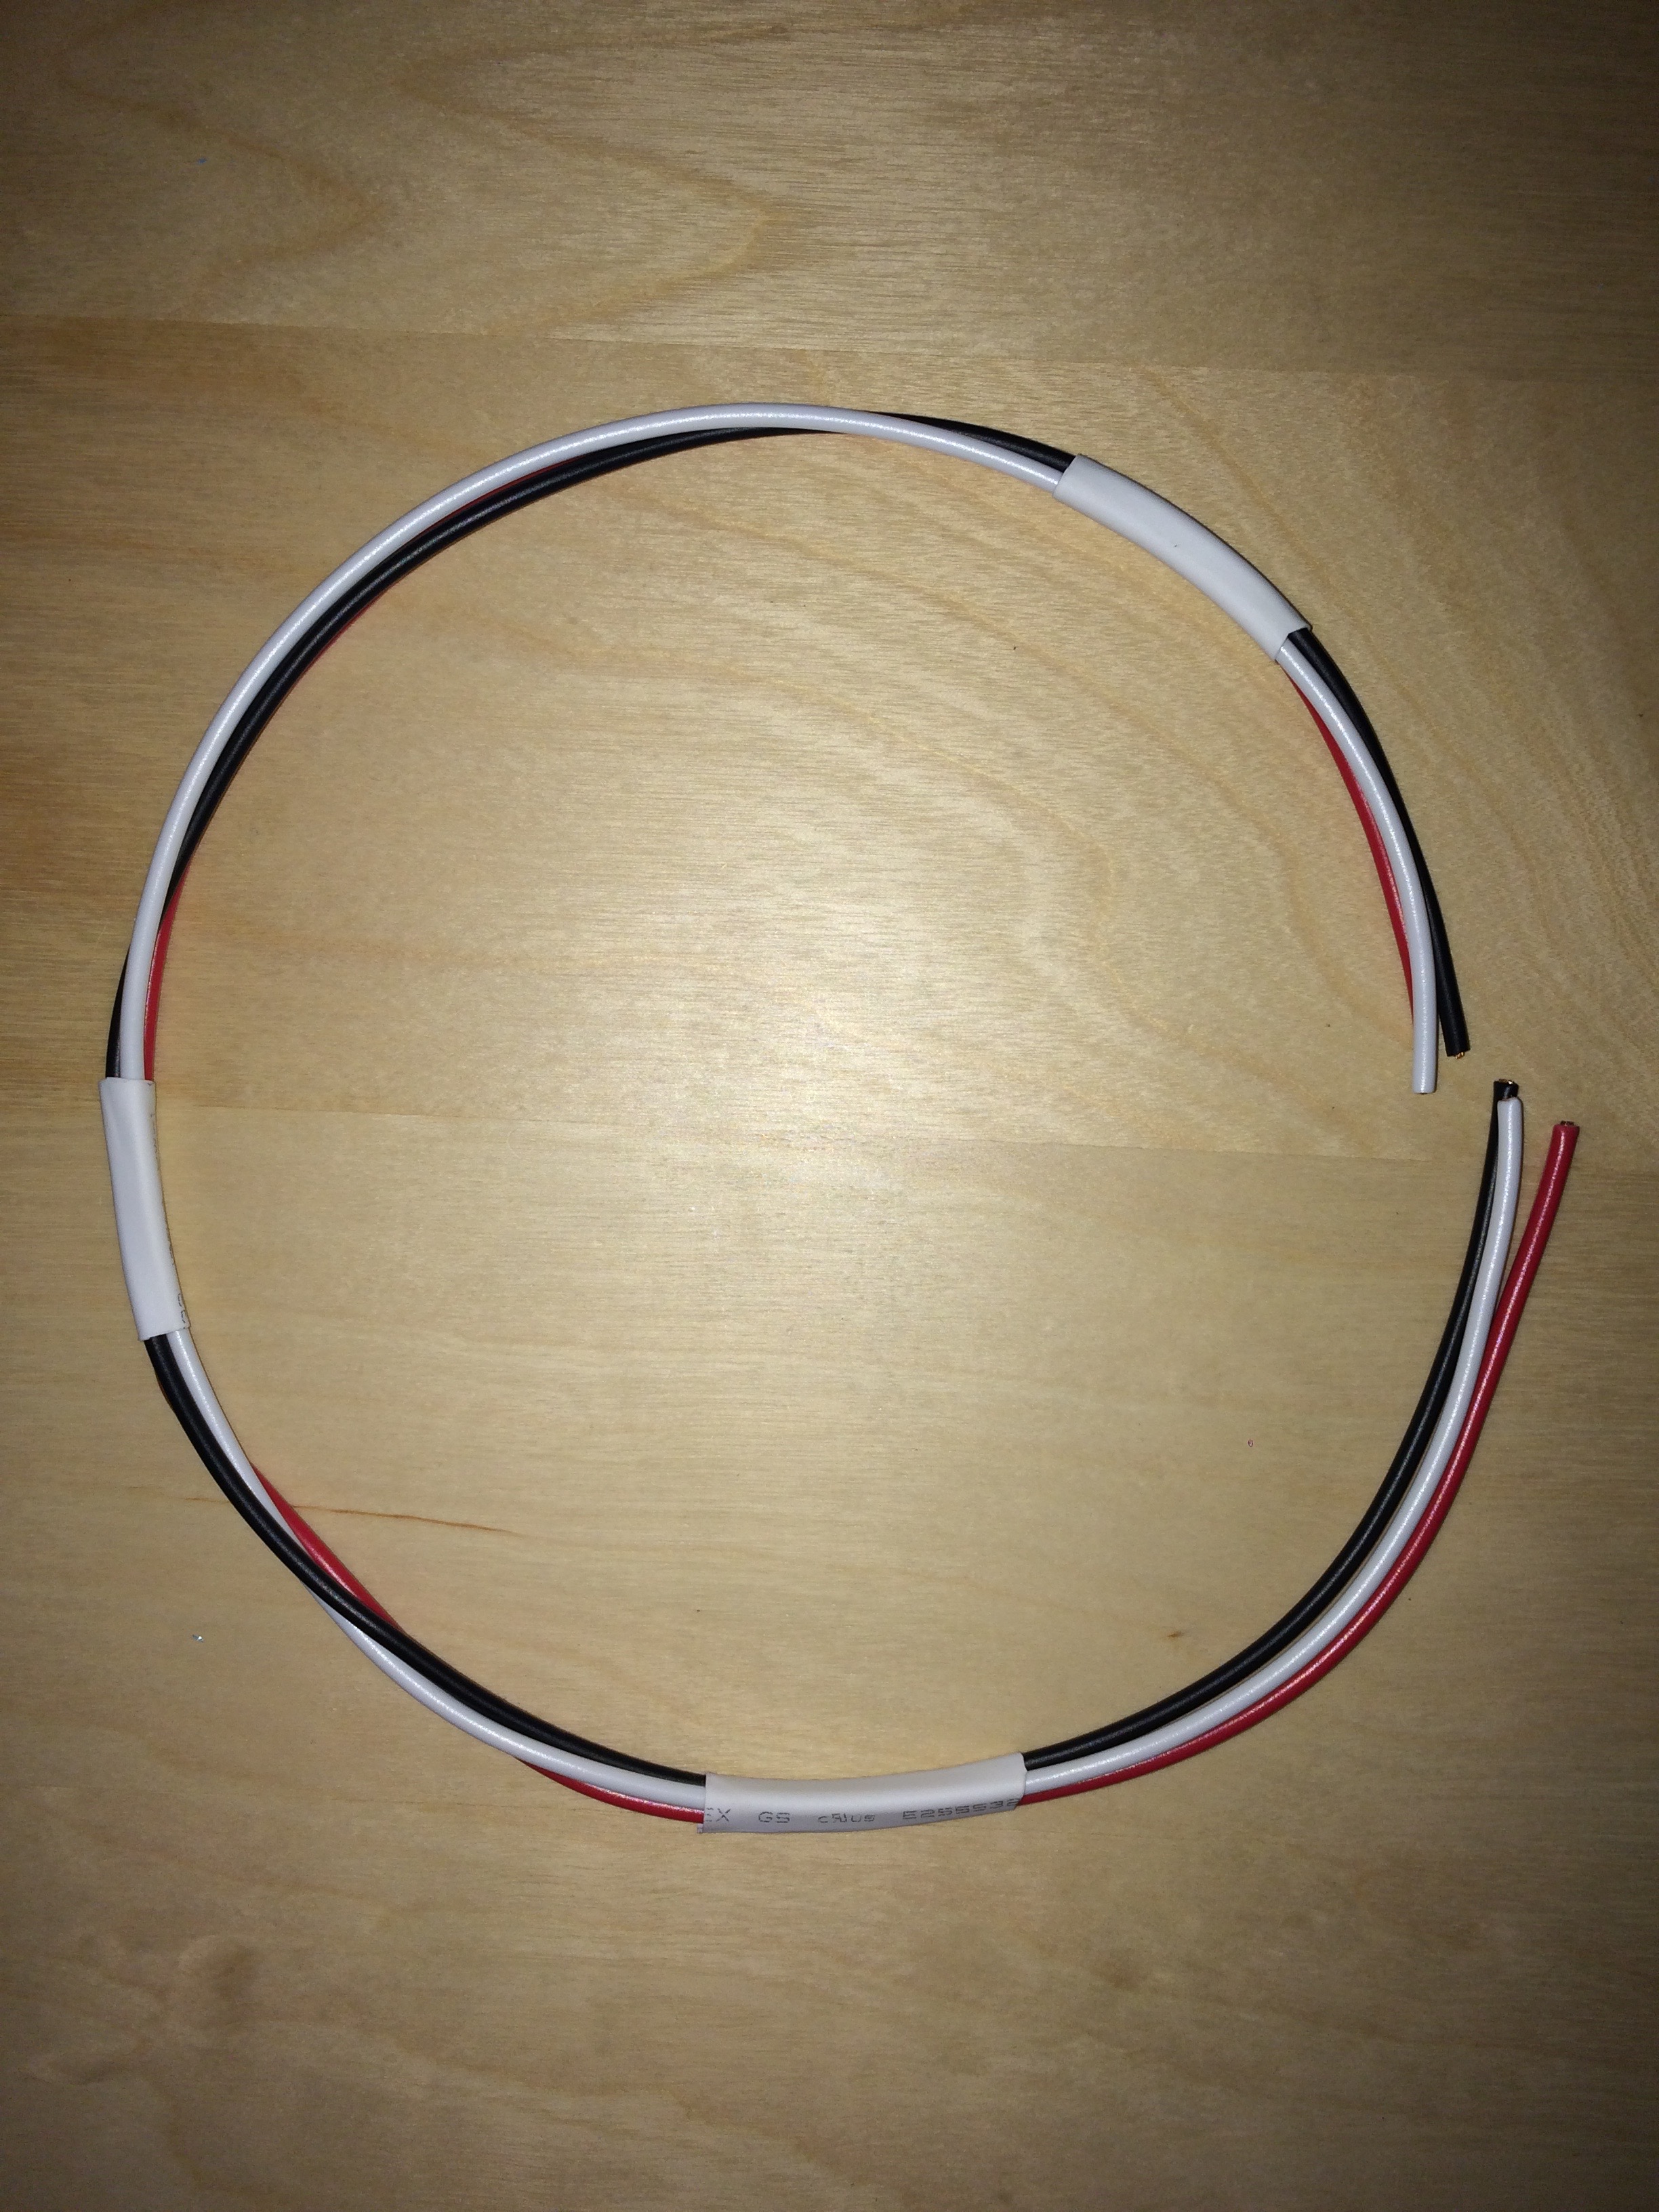
Create a one feet piece of cable to bring the 24V power inside the electric box:
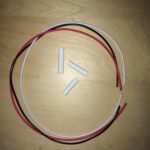
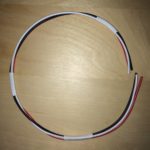
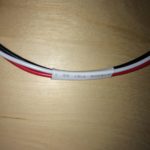
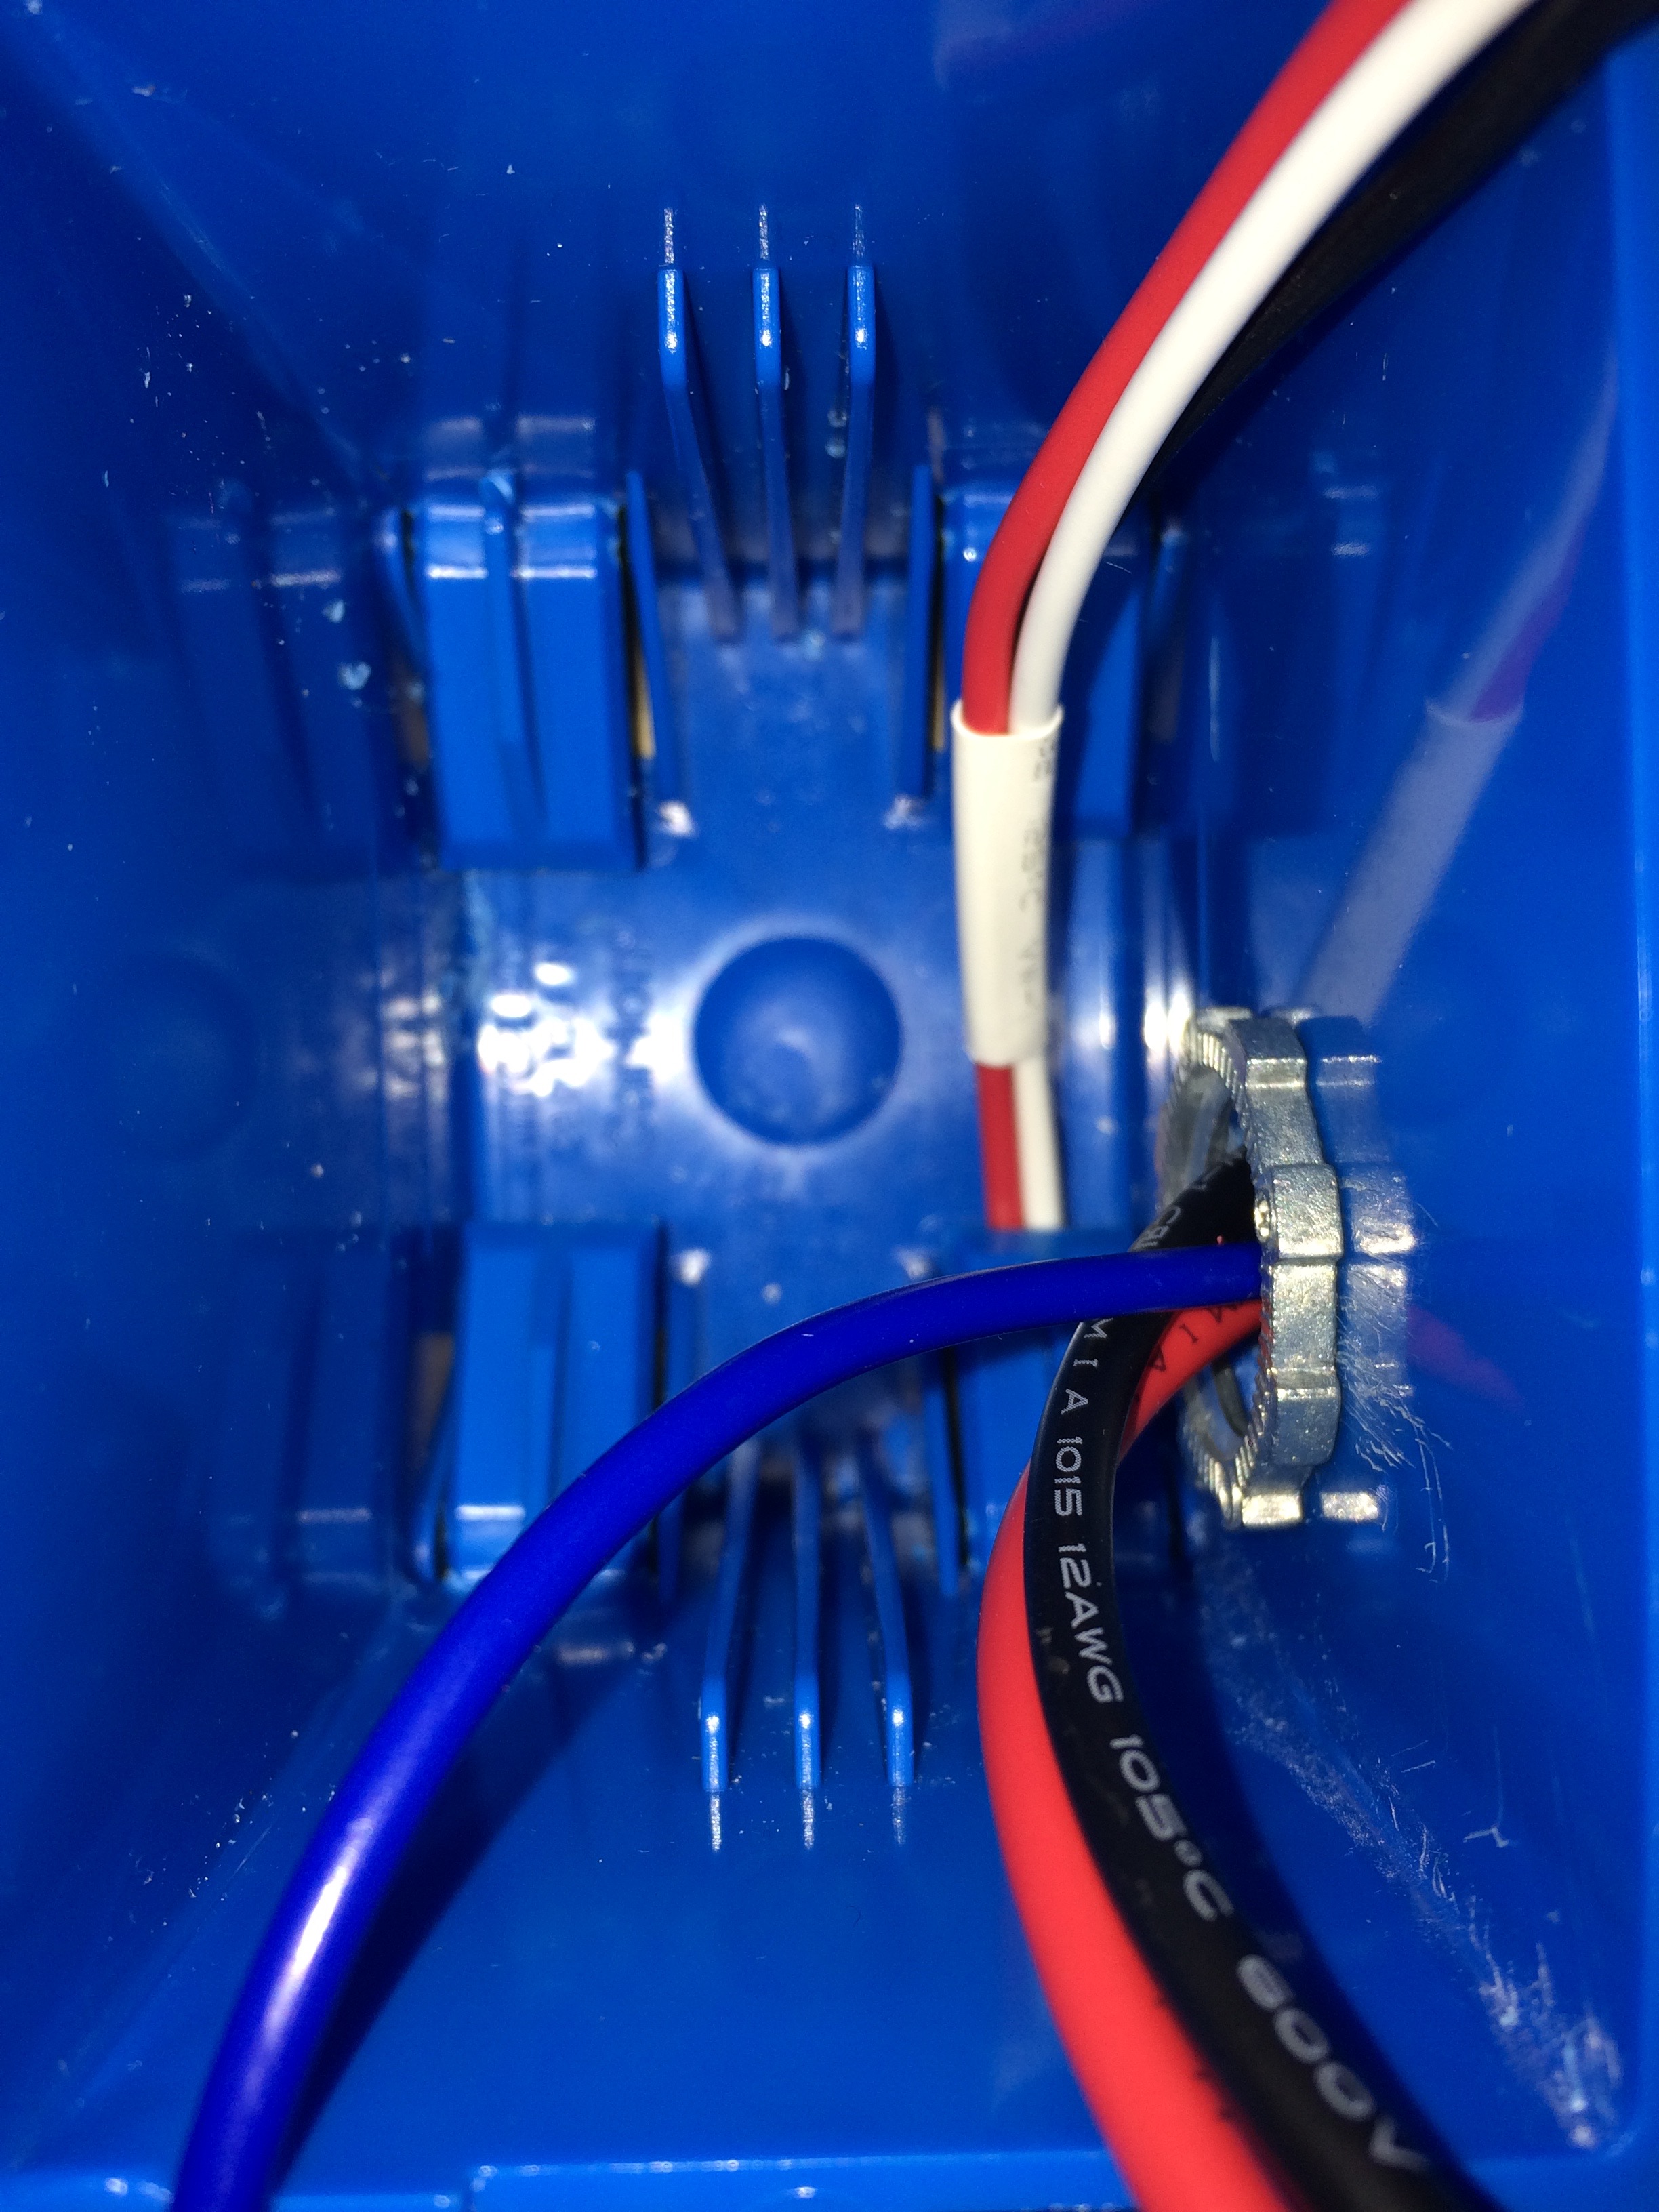
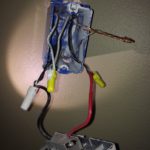
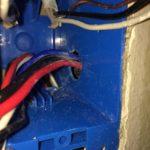
You can check the color match in the images below:
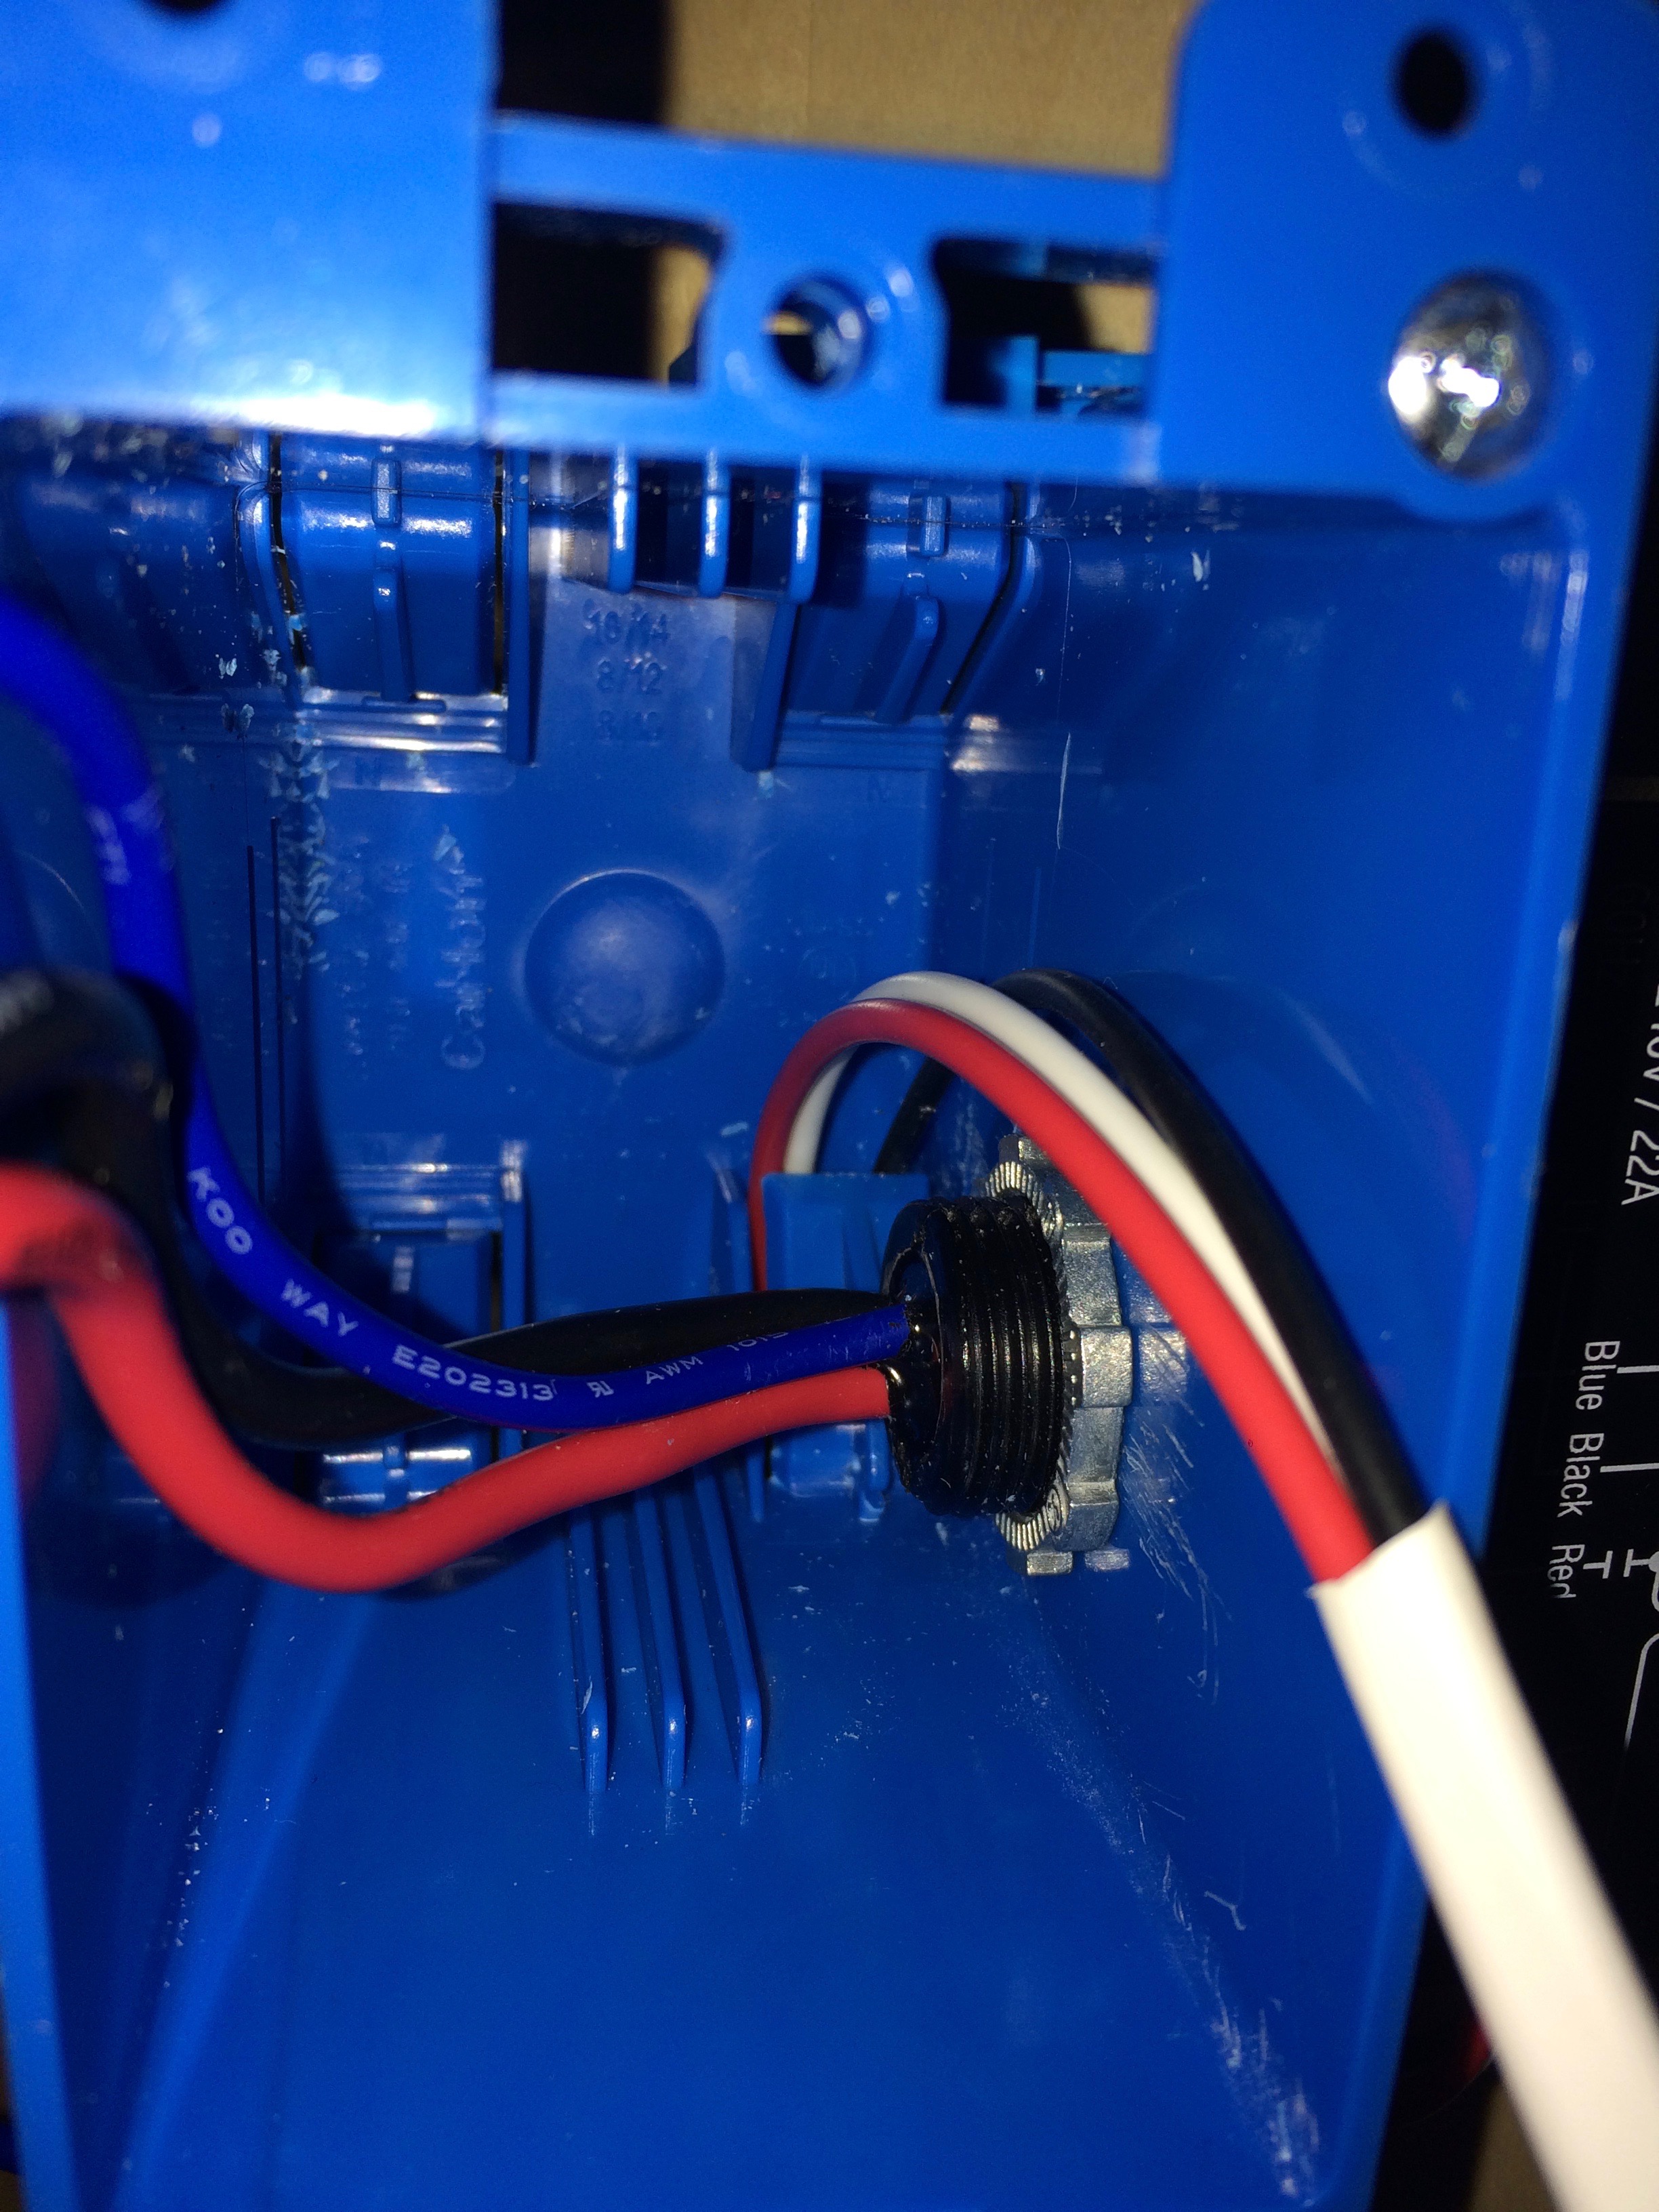
Then you pass the cables through one of the opening of the box. I used the closest to the relay:
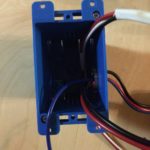
You should also insulate the relays (although it’s low voltage):
Installation
This is the most delicate part, and what does the trick.
Essentially we must insert the relay first, detached from the box, then the blue box, and finally pull the high-voltage cables gently from the inside of the blue box so as to make the relay go into the correct position. Let’s go step by step.
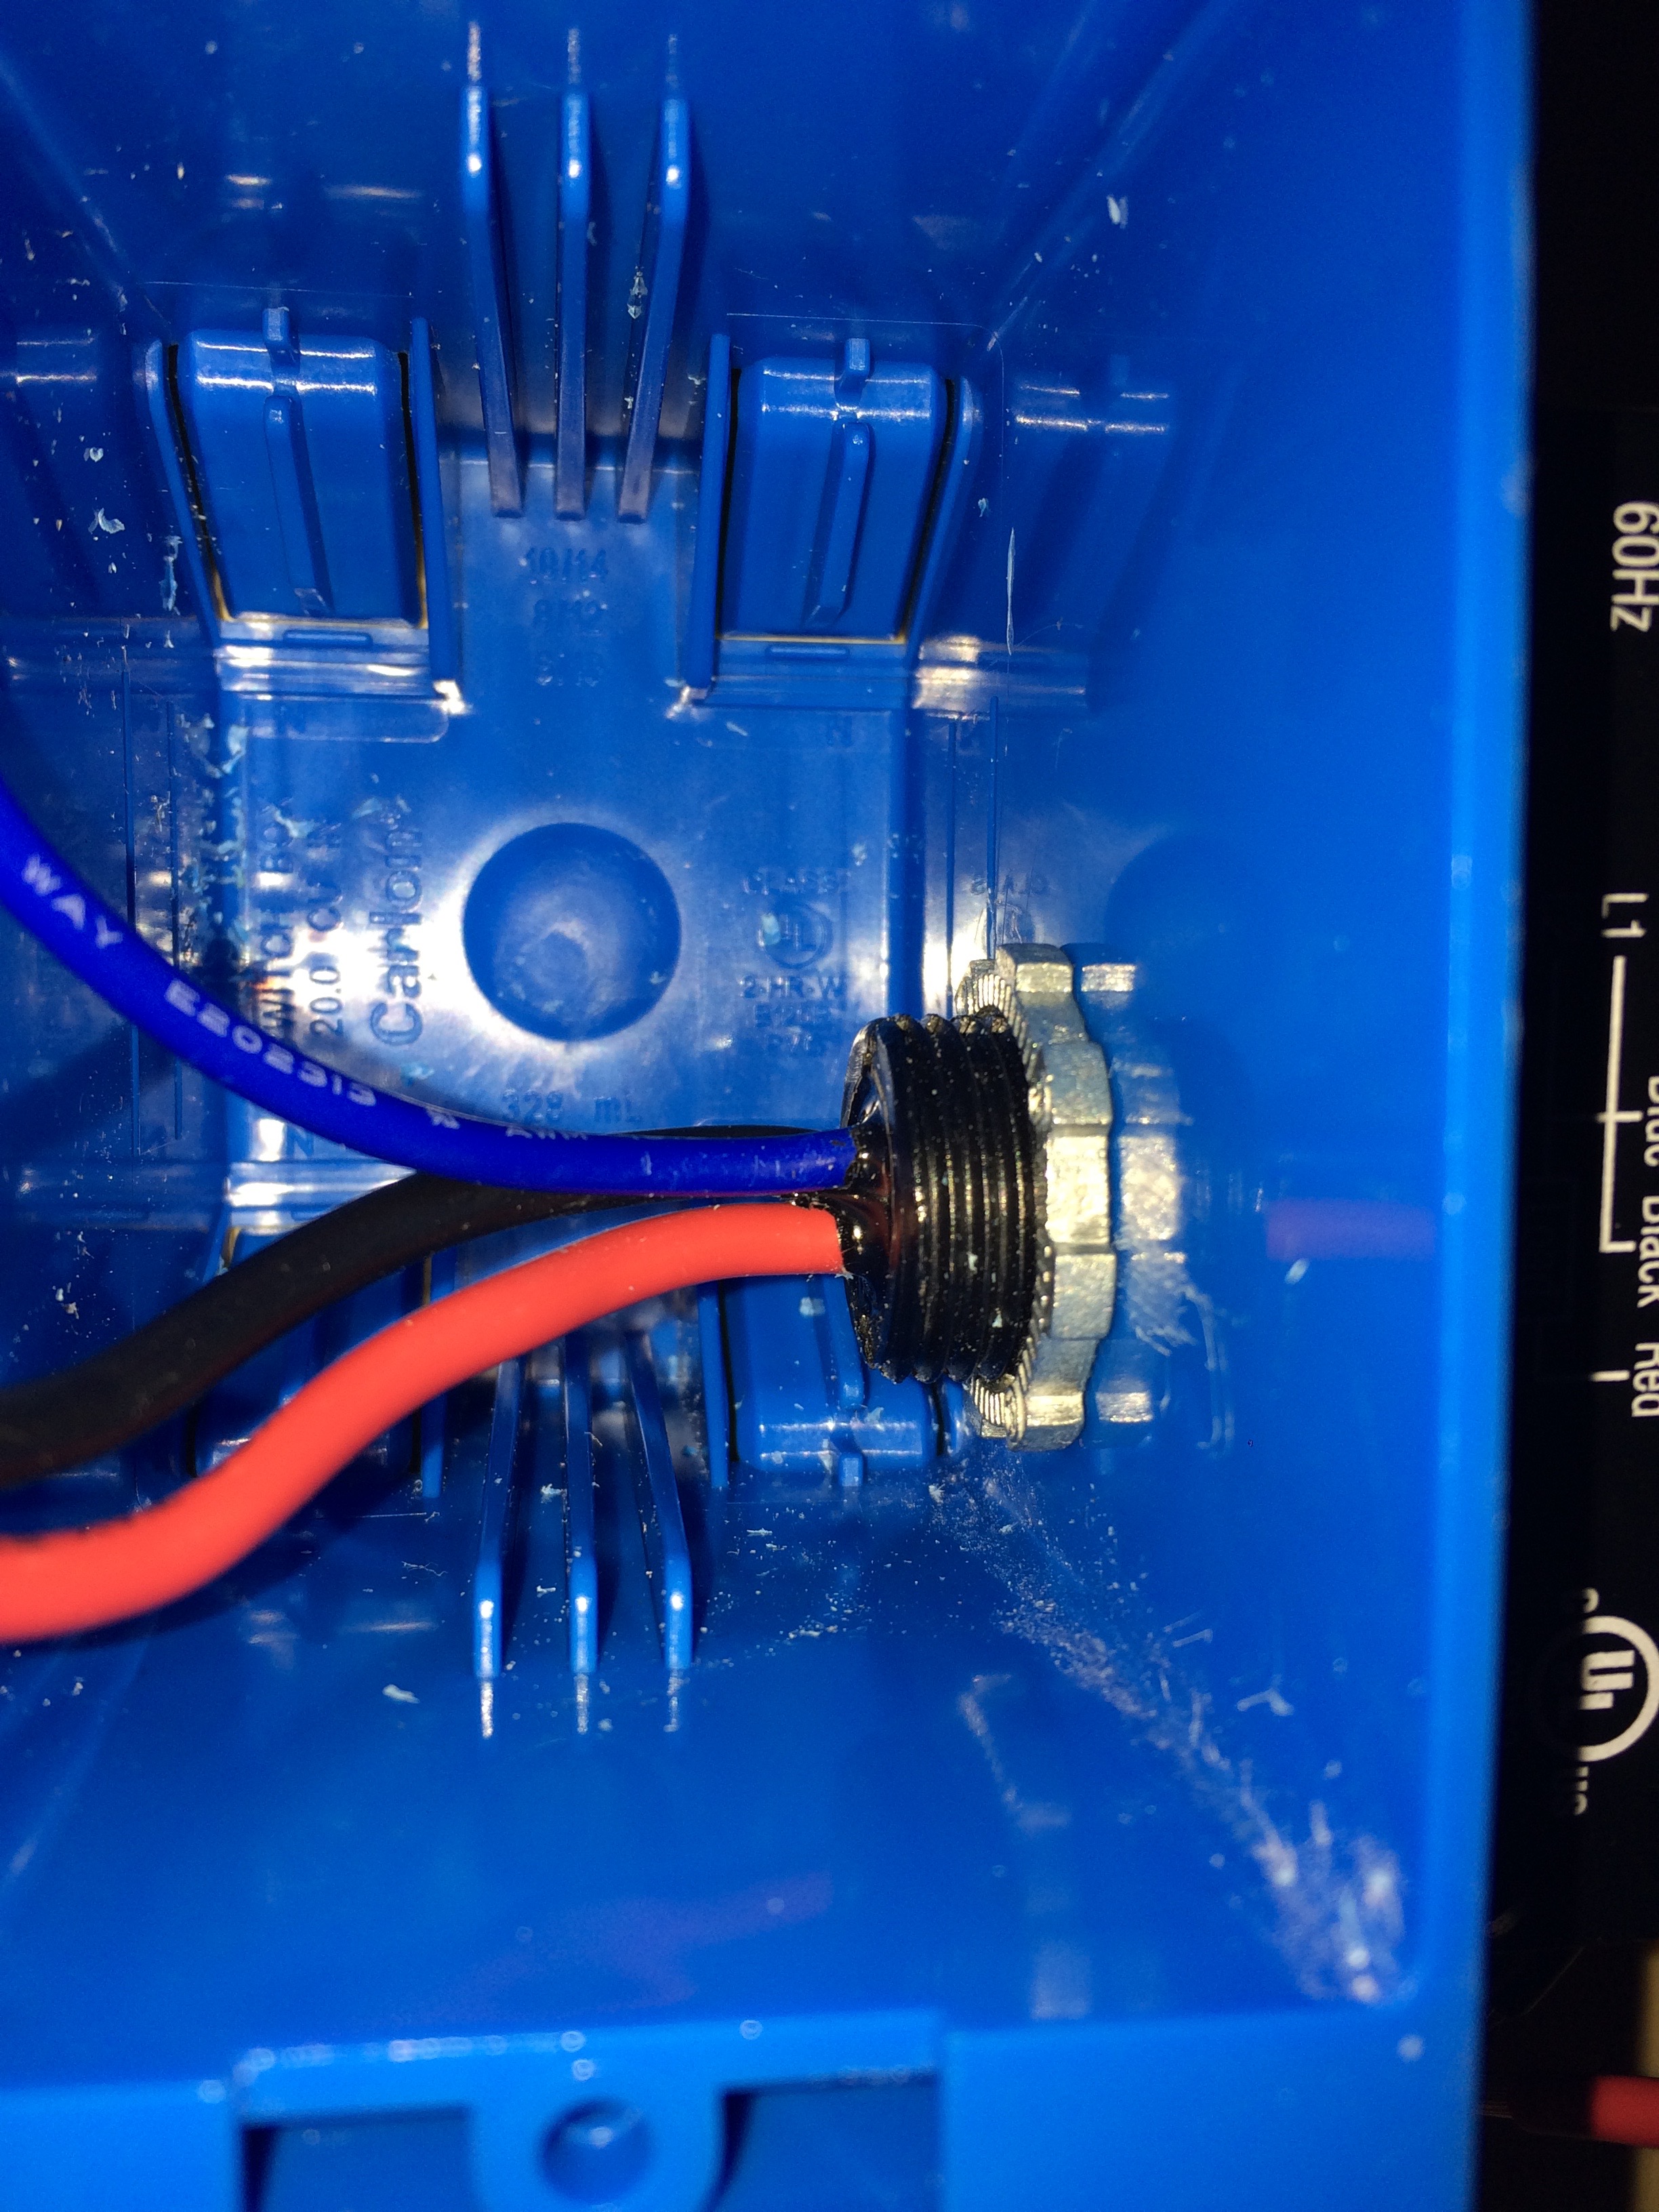
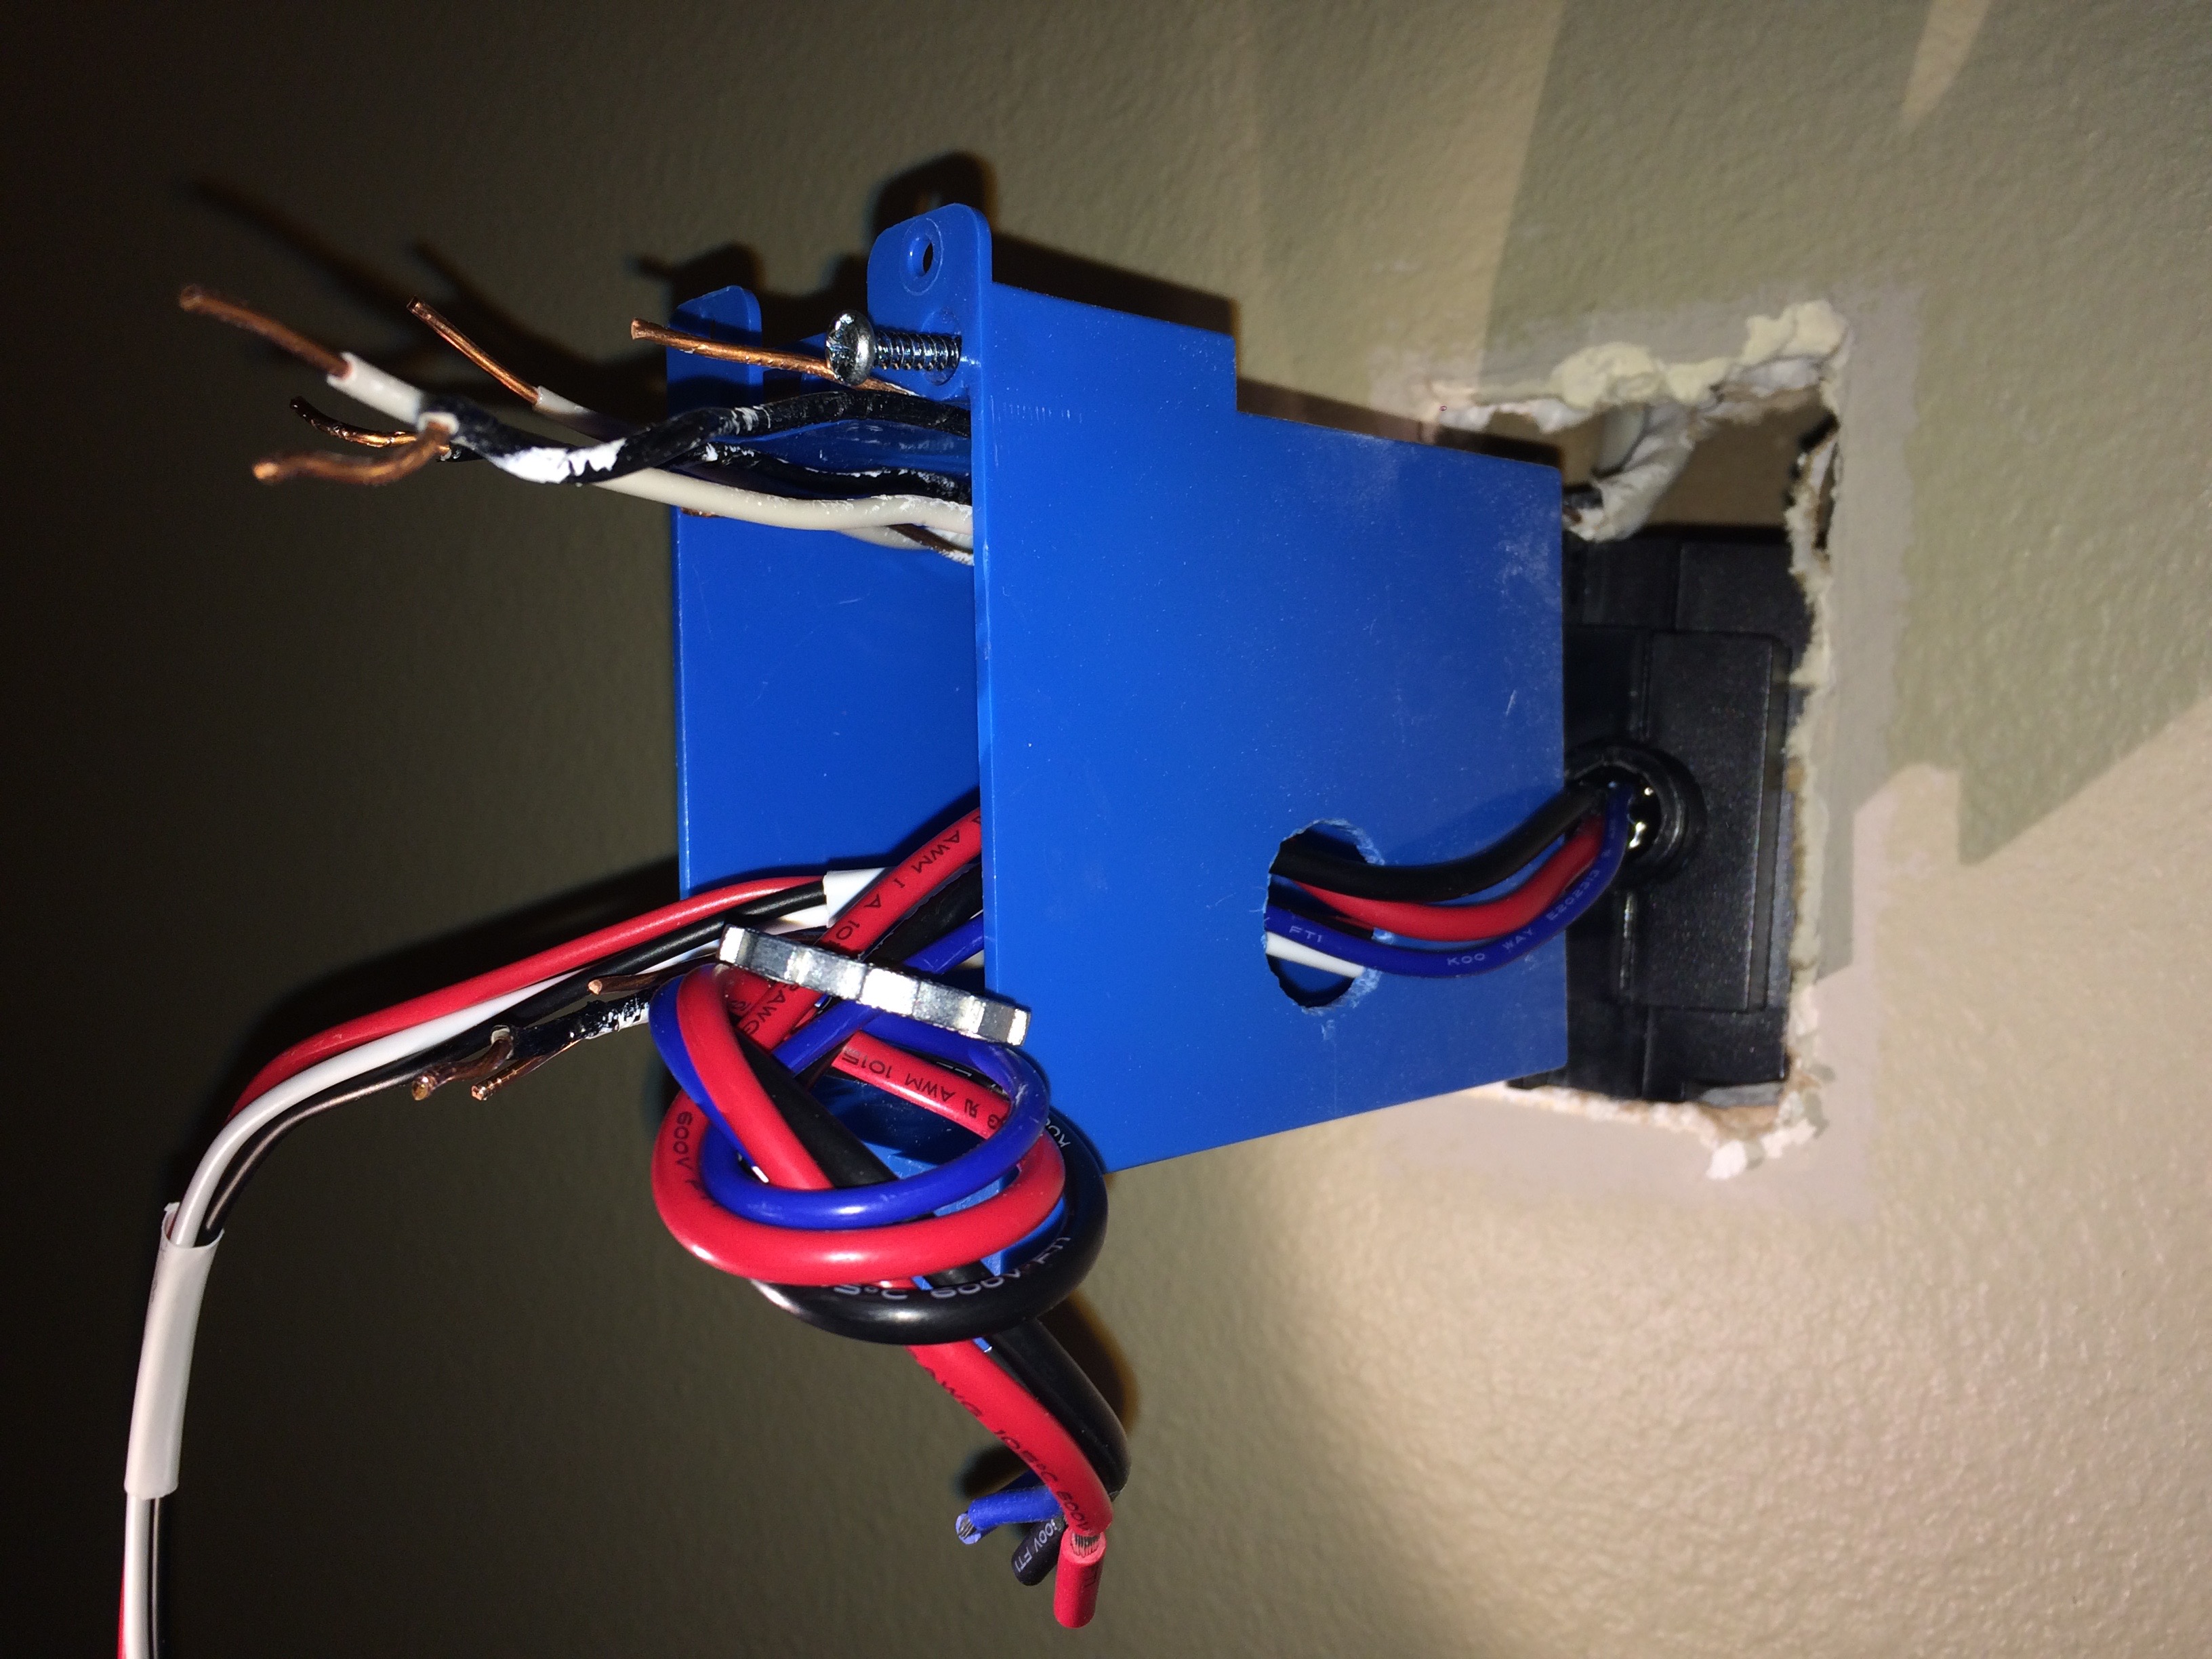
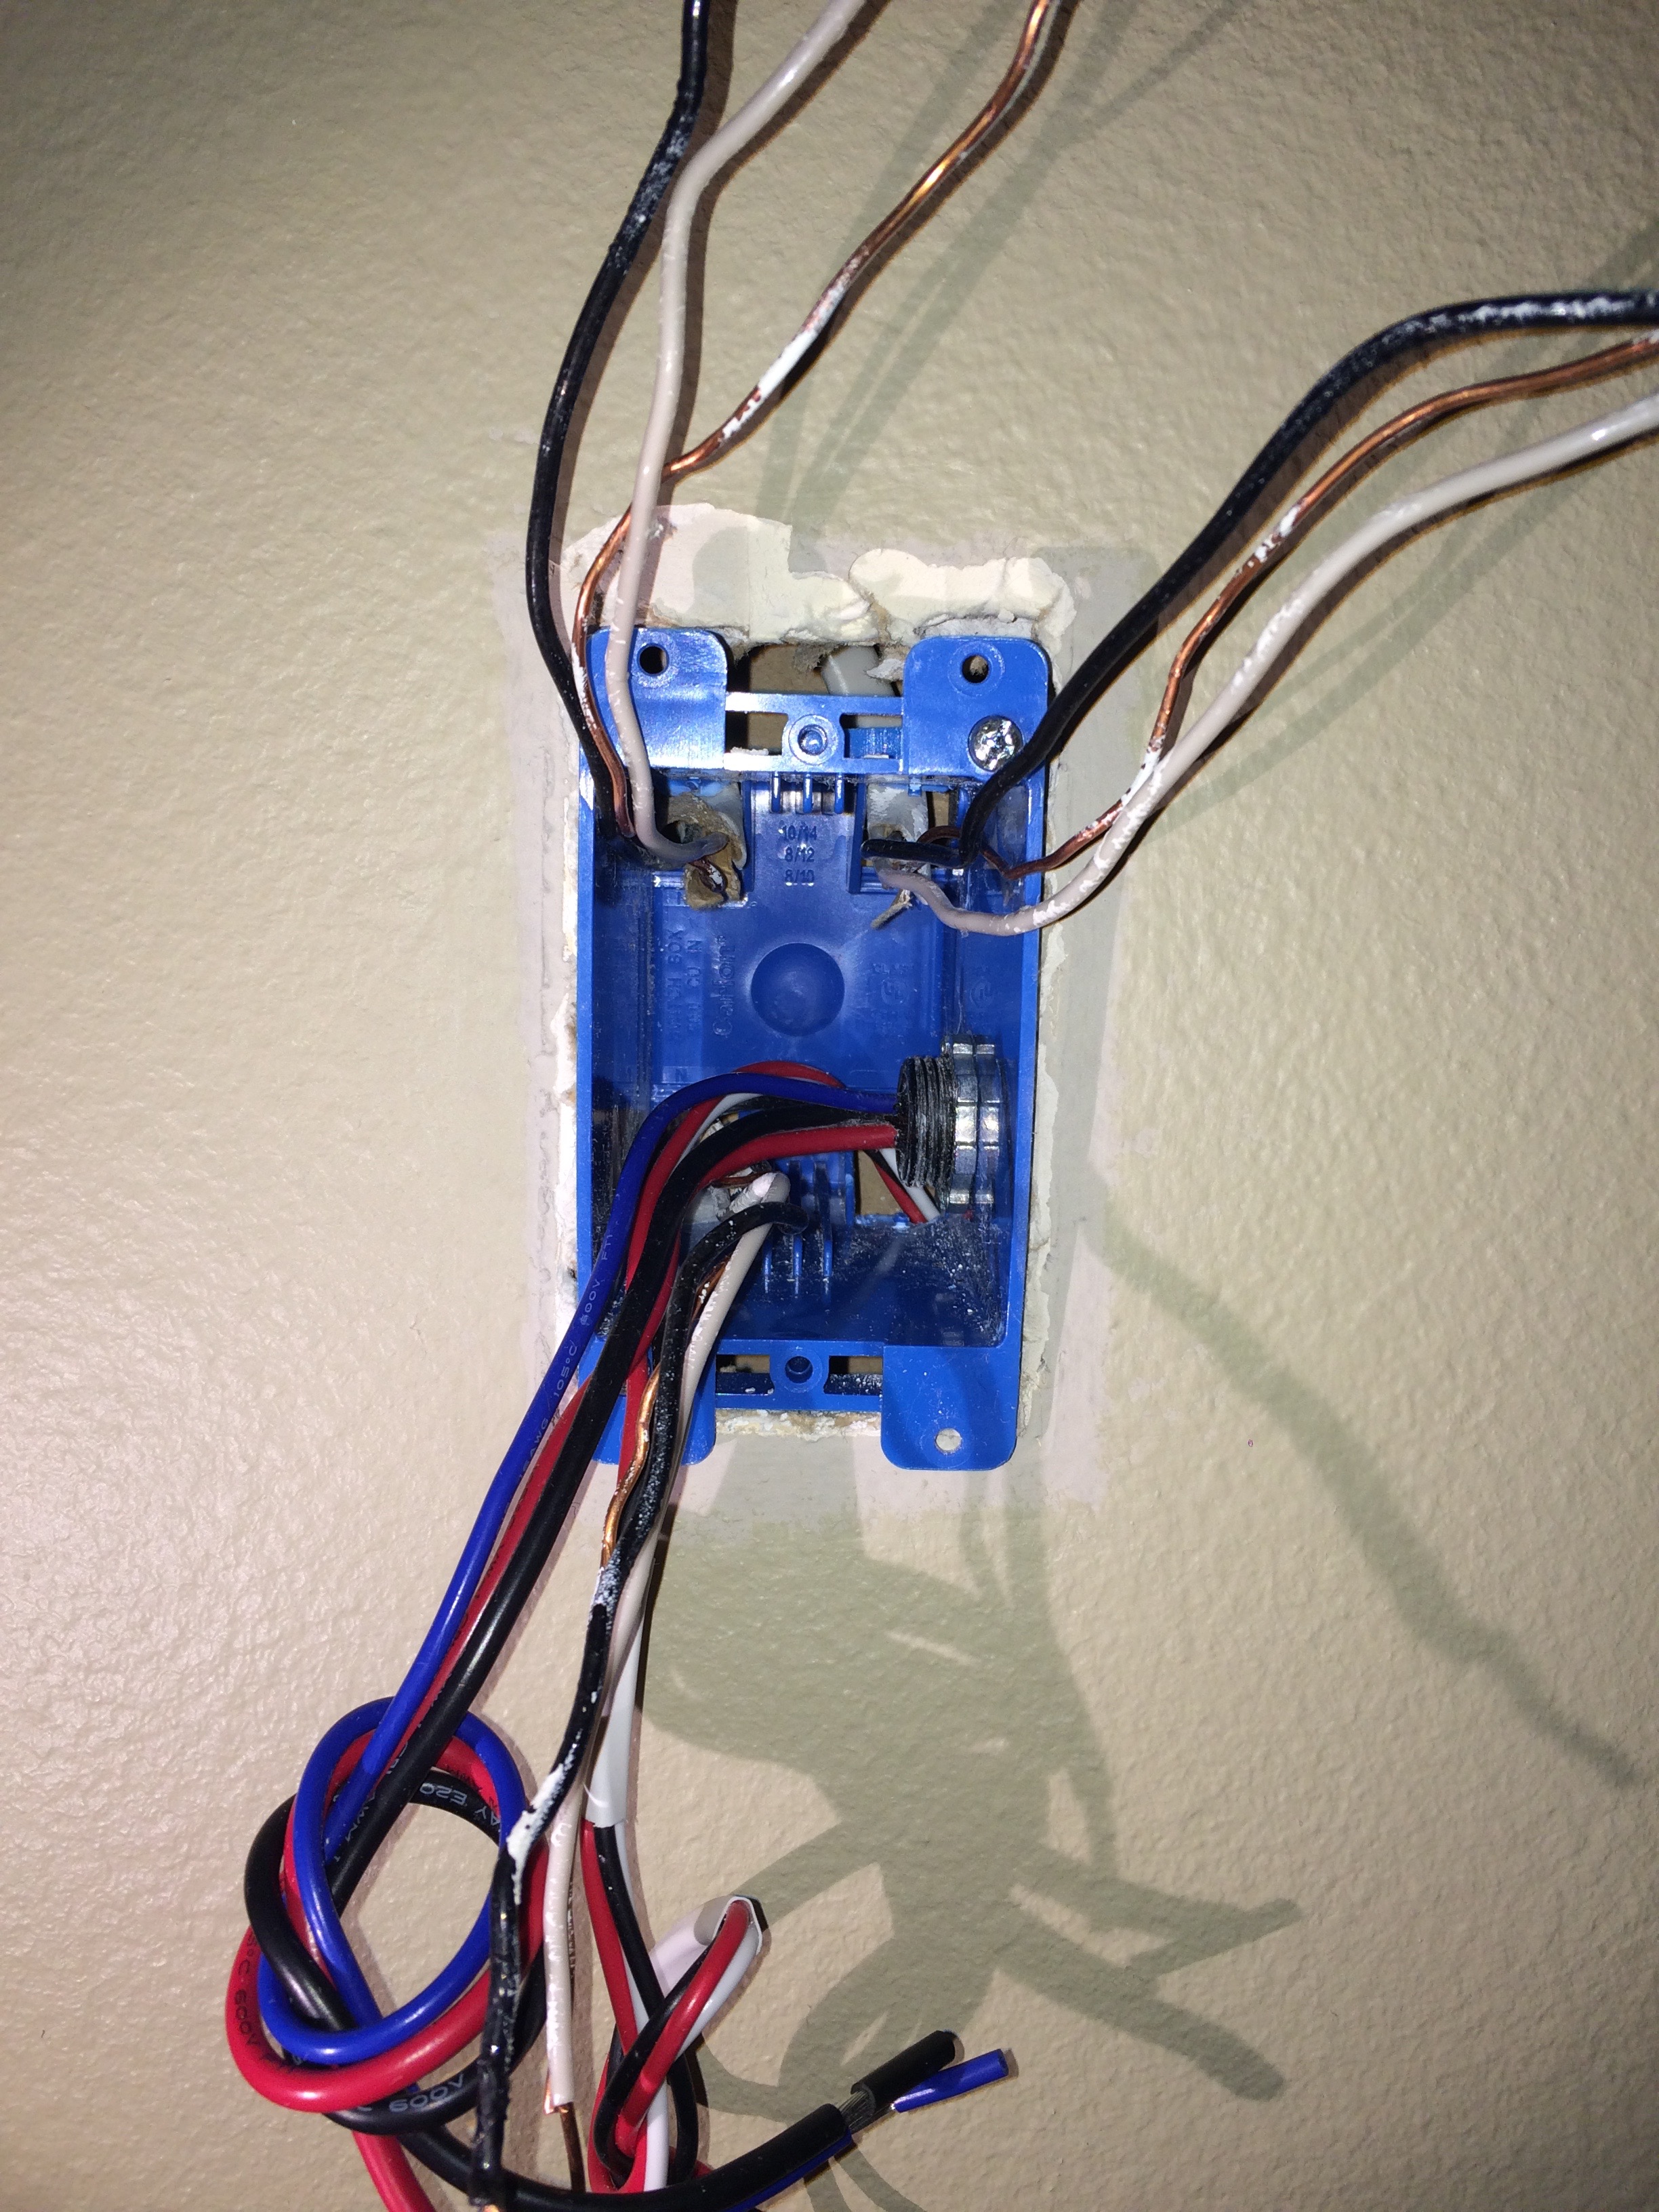
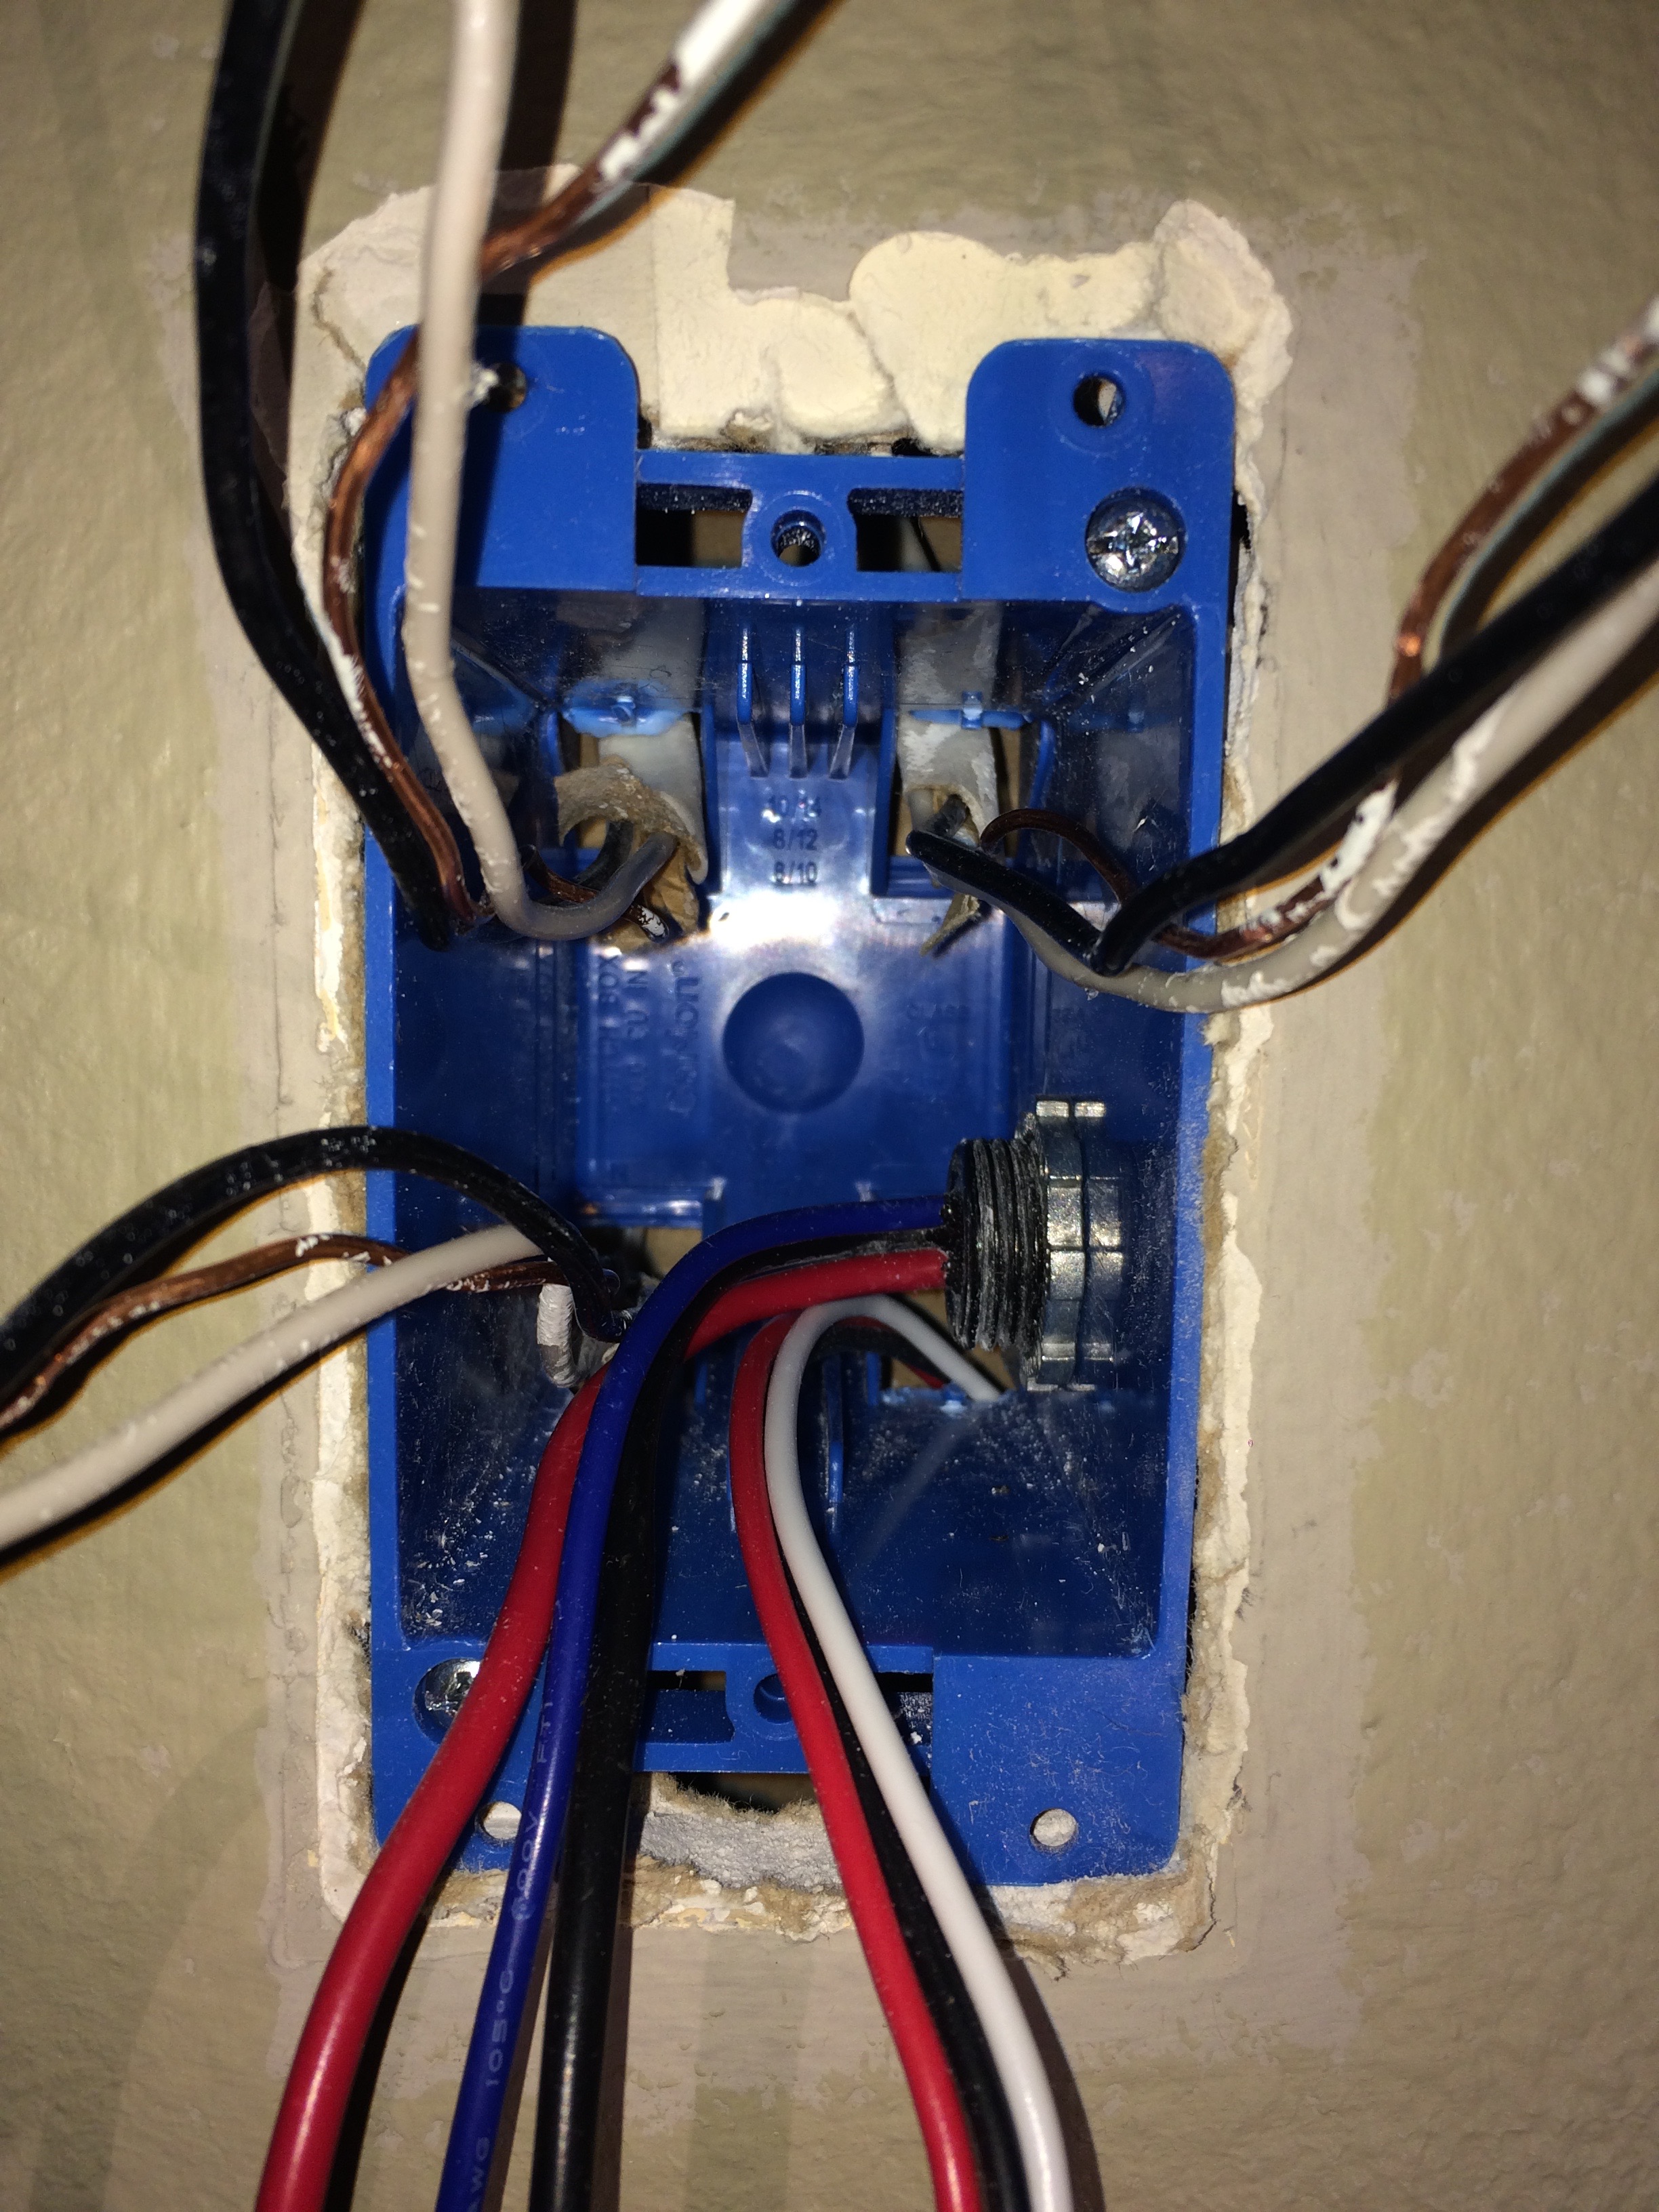
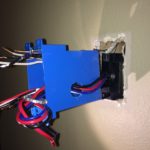
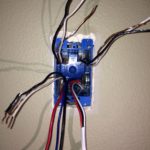
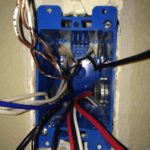
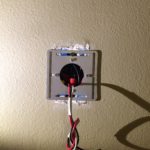
The box and the relay need to go into the wall:
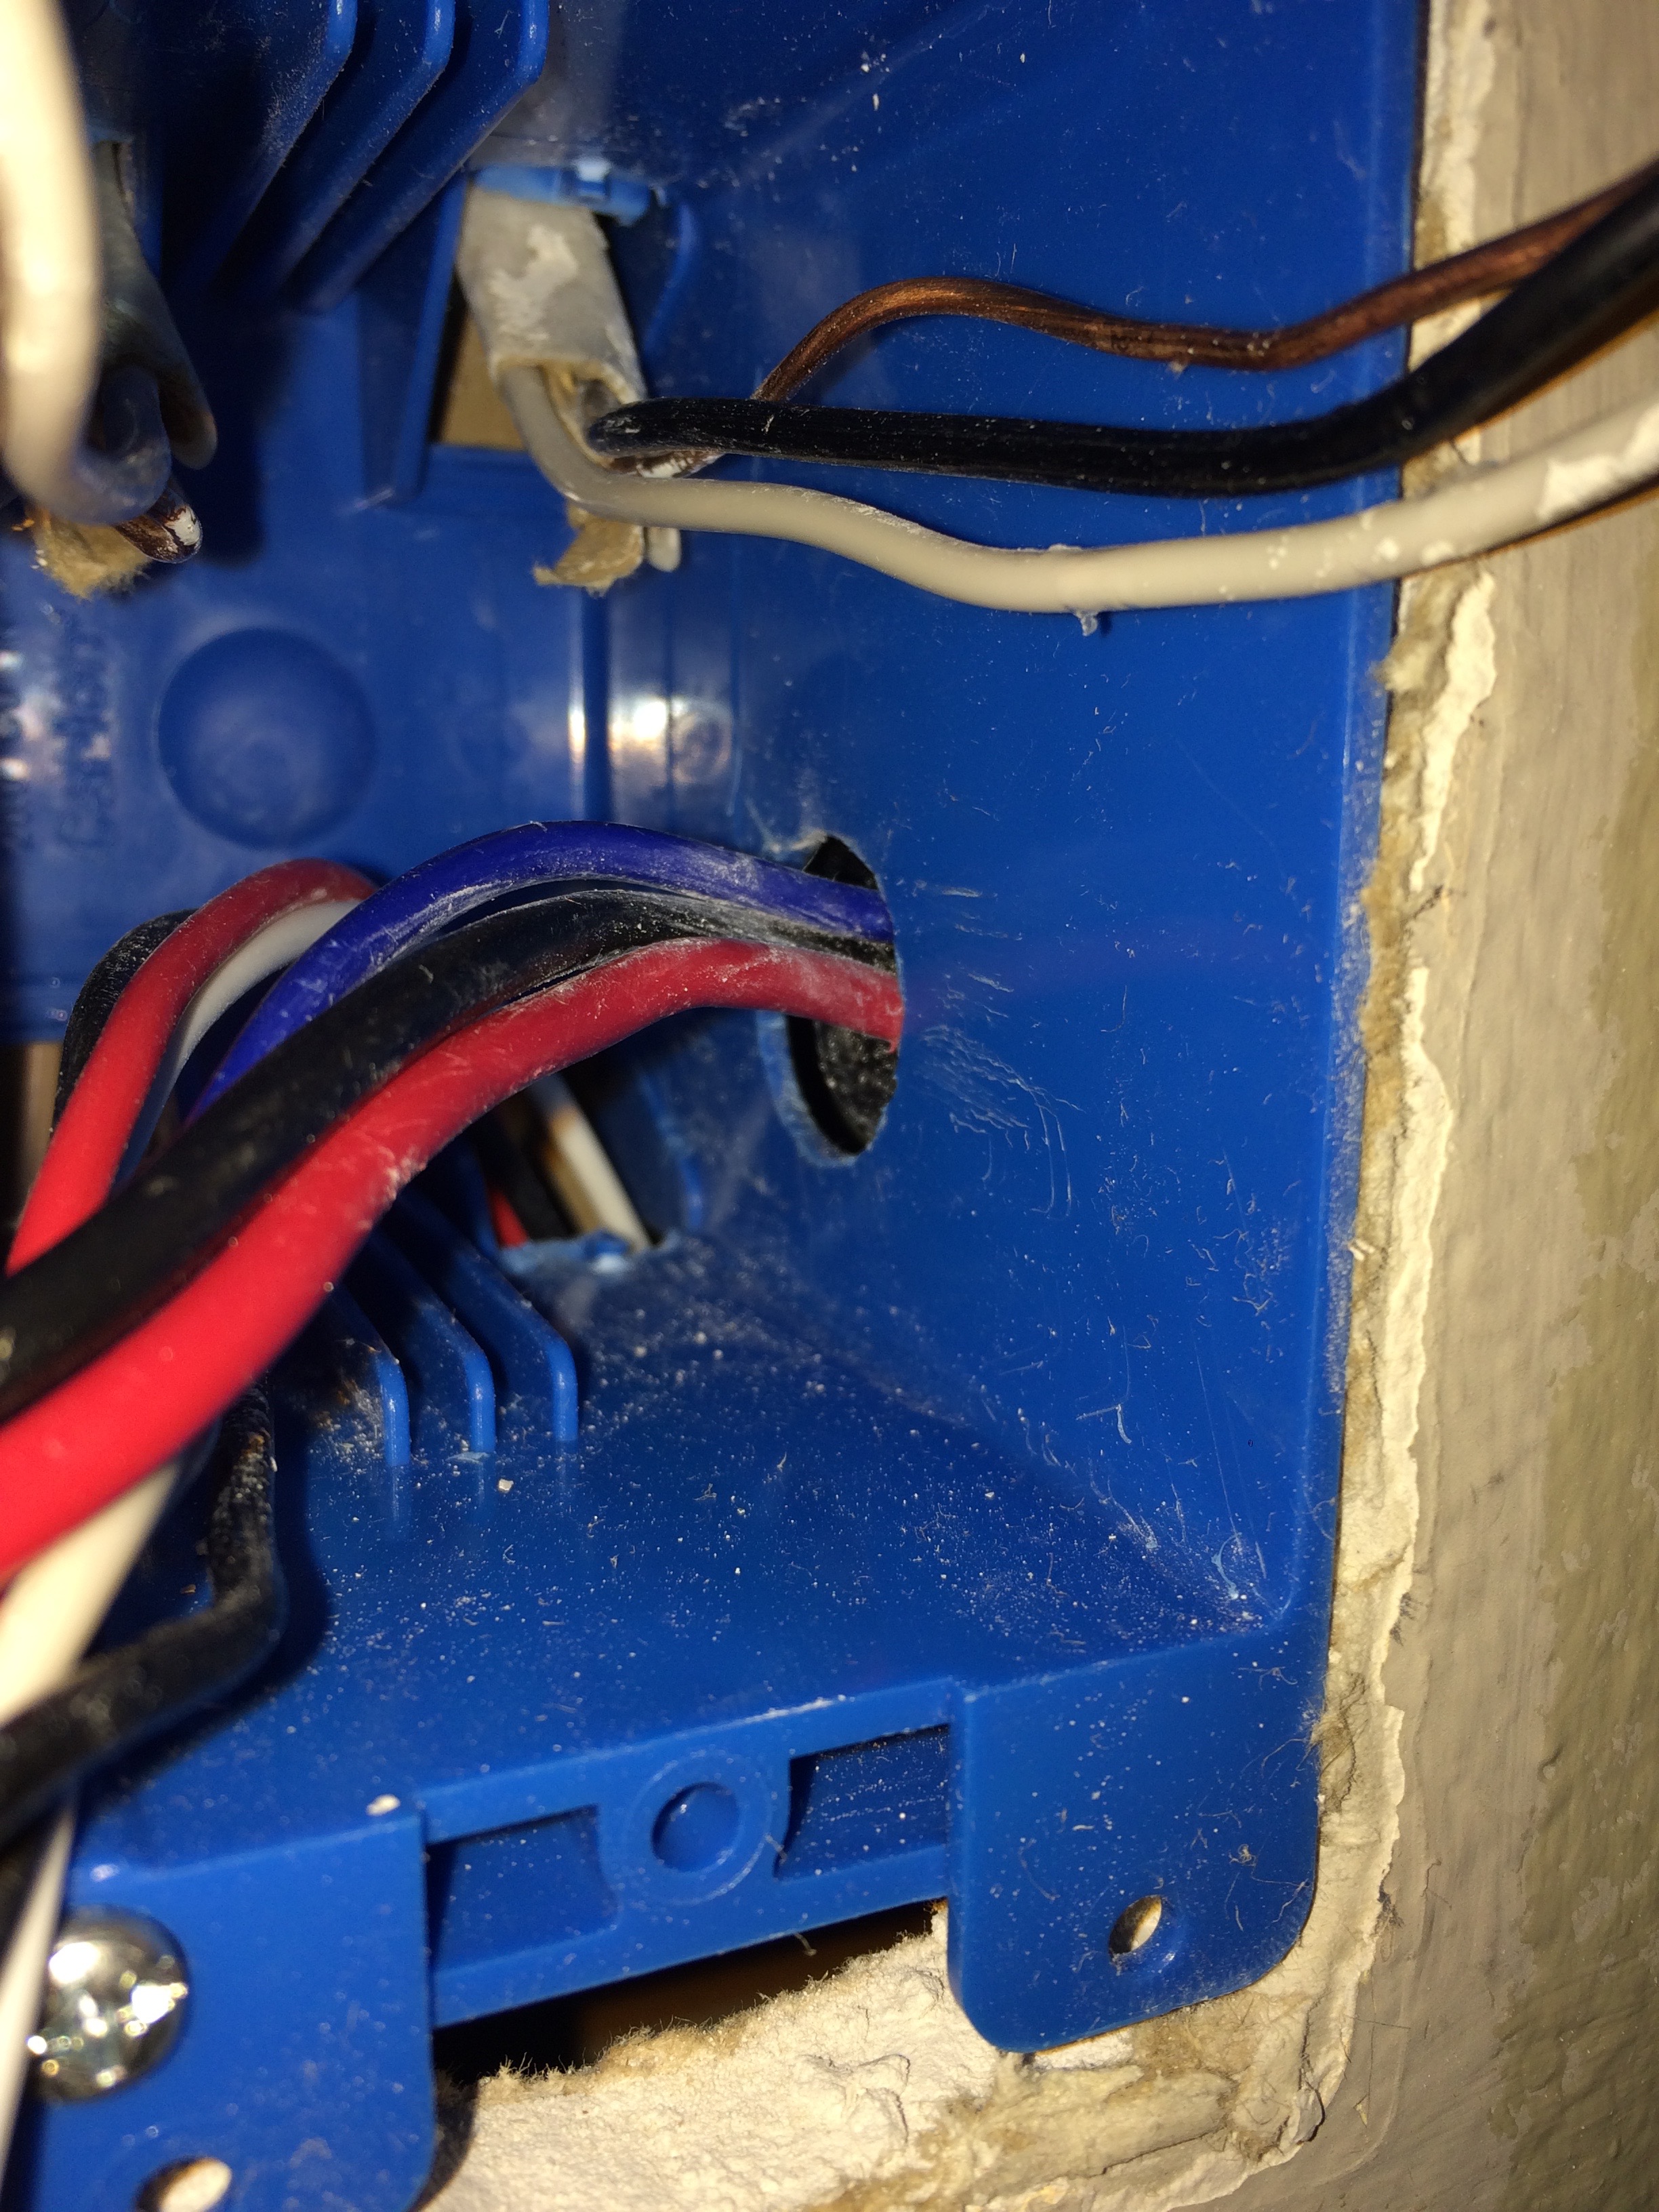
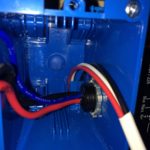
But we cannot put the relay first, because the hole in the wall is too small. We make sure the cables (high and low voltage) are in the holes, and the silver ring is on the inside part of the blue box:
Note also that all the existing wires correctly pass through the other holes in the blue box, following the pre-existing configuration.
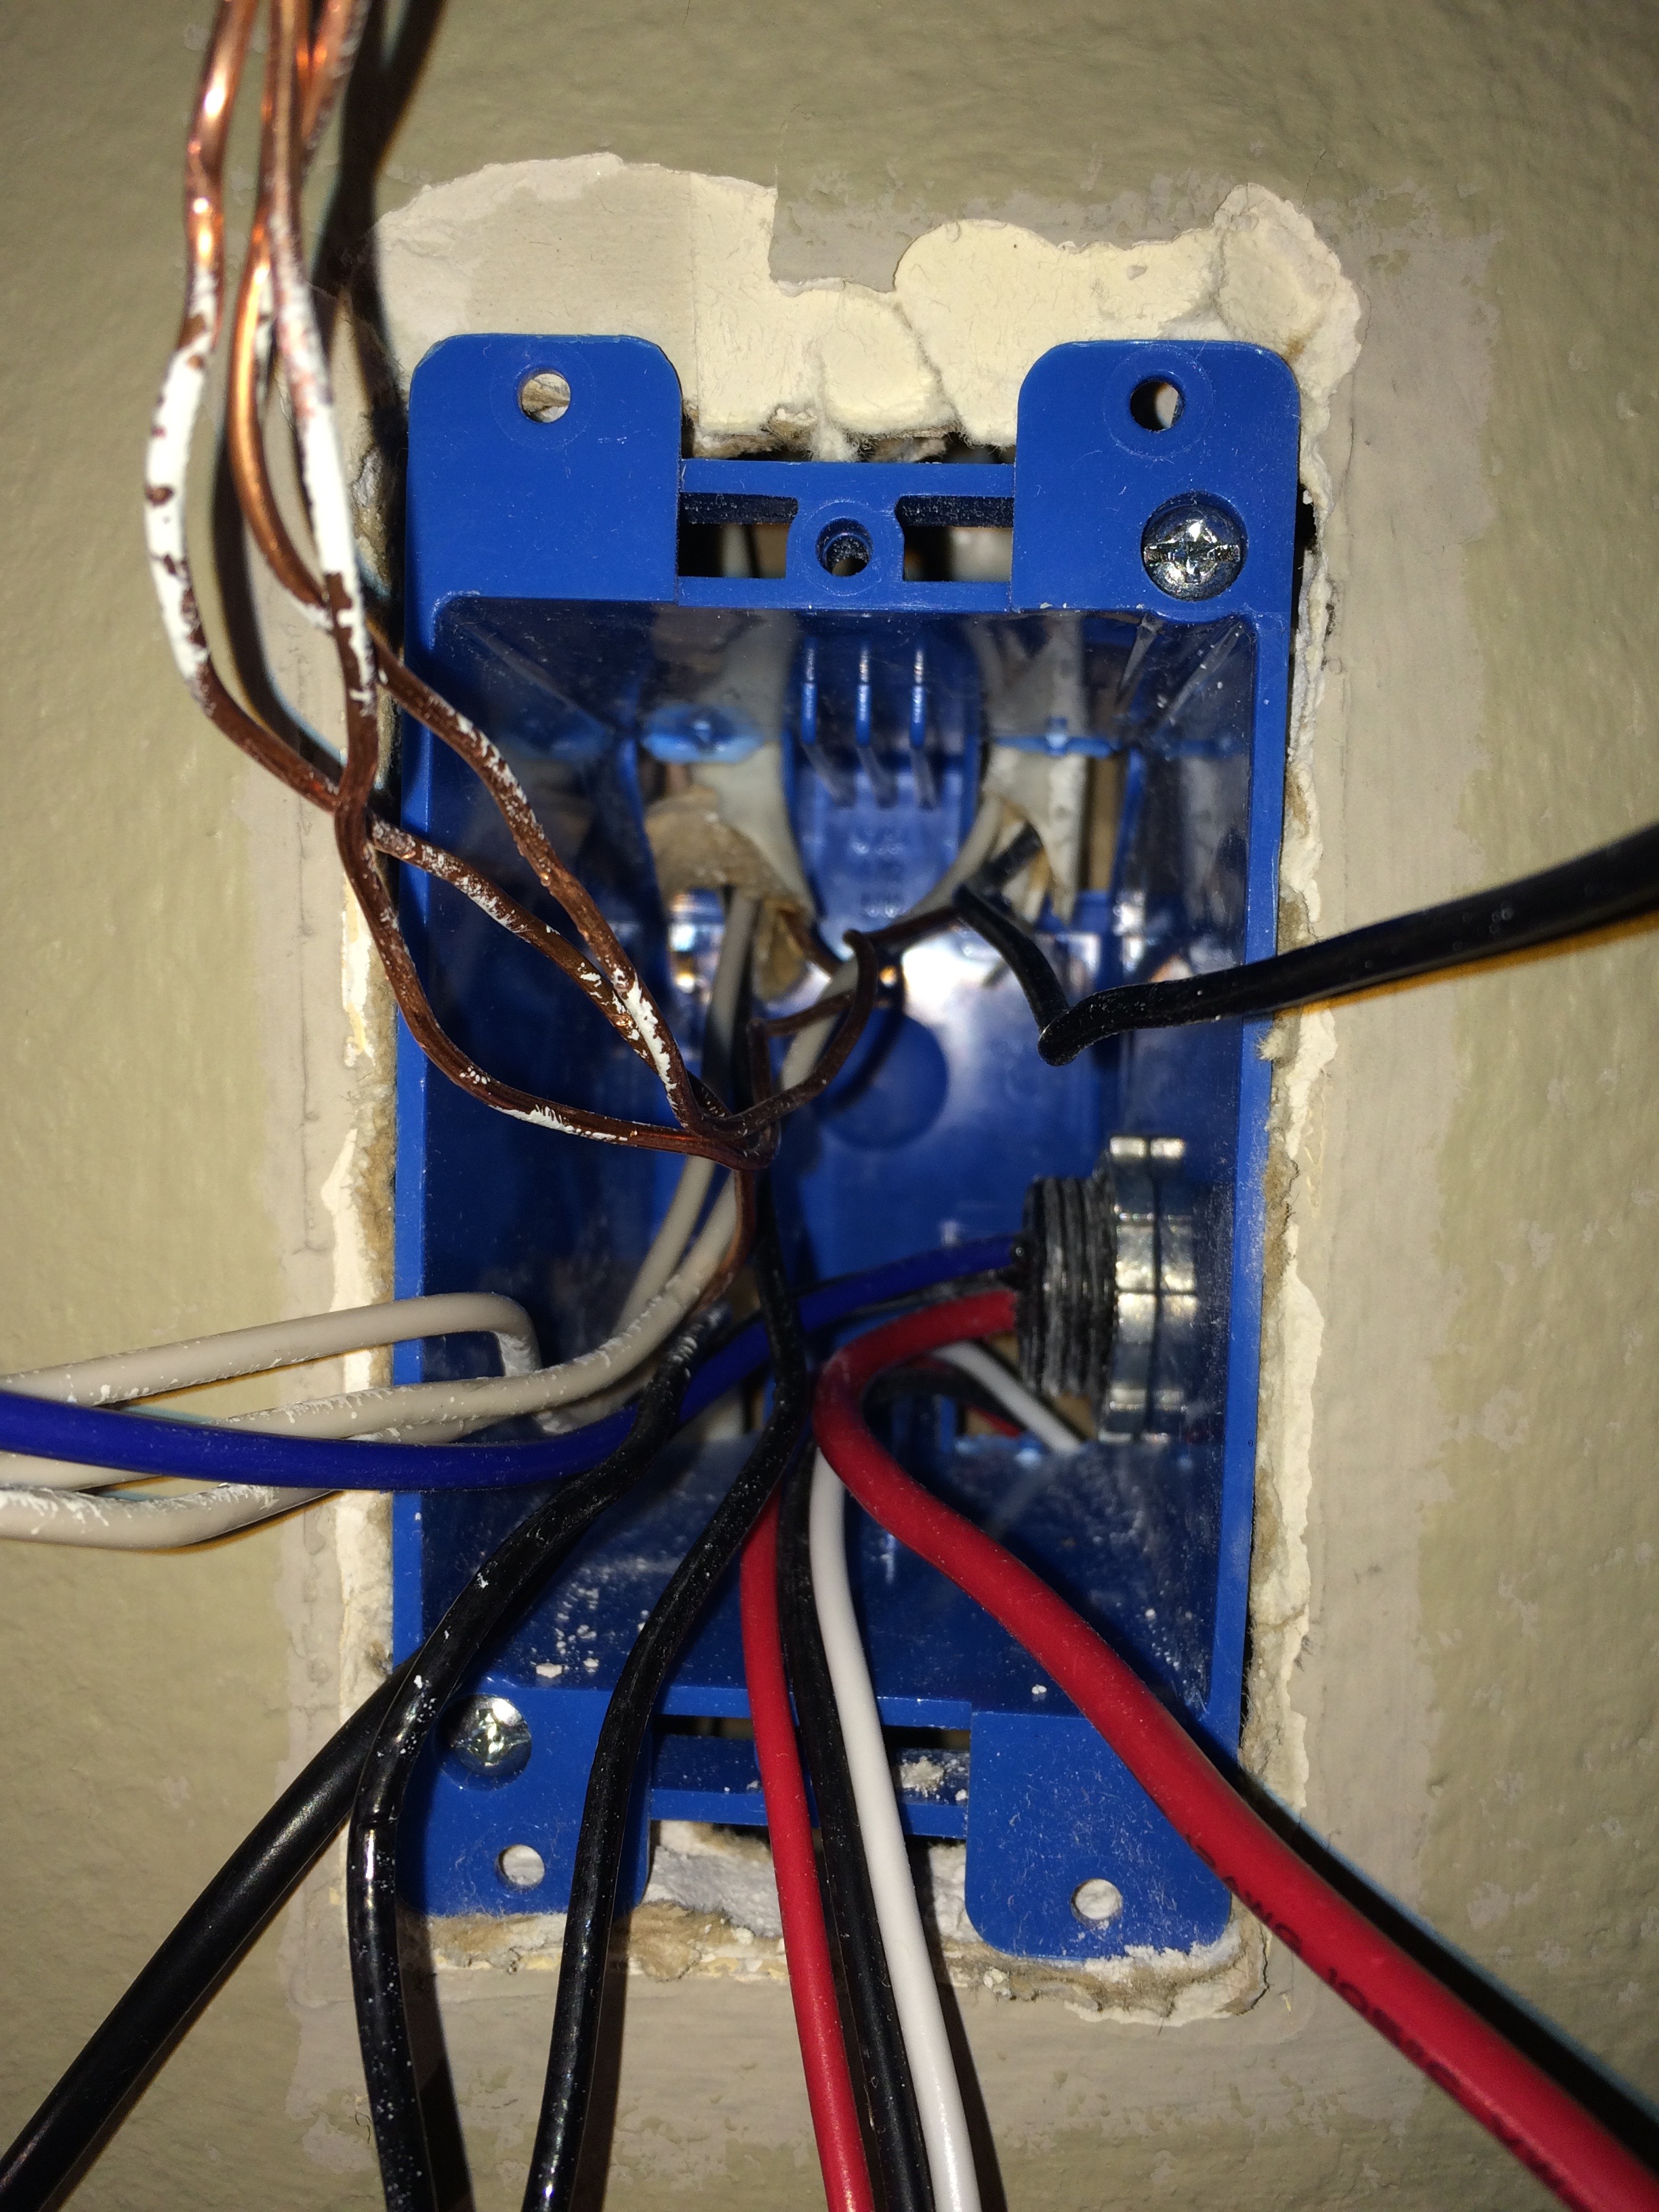
Now we let the relay enter the wall first, followed by the blue box. Make sure you don’t compress the high-voltage cables too much. Be gentle:

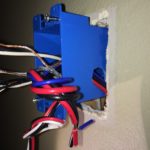
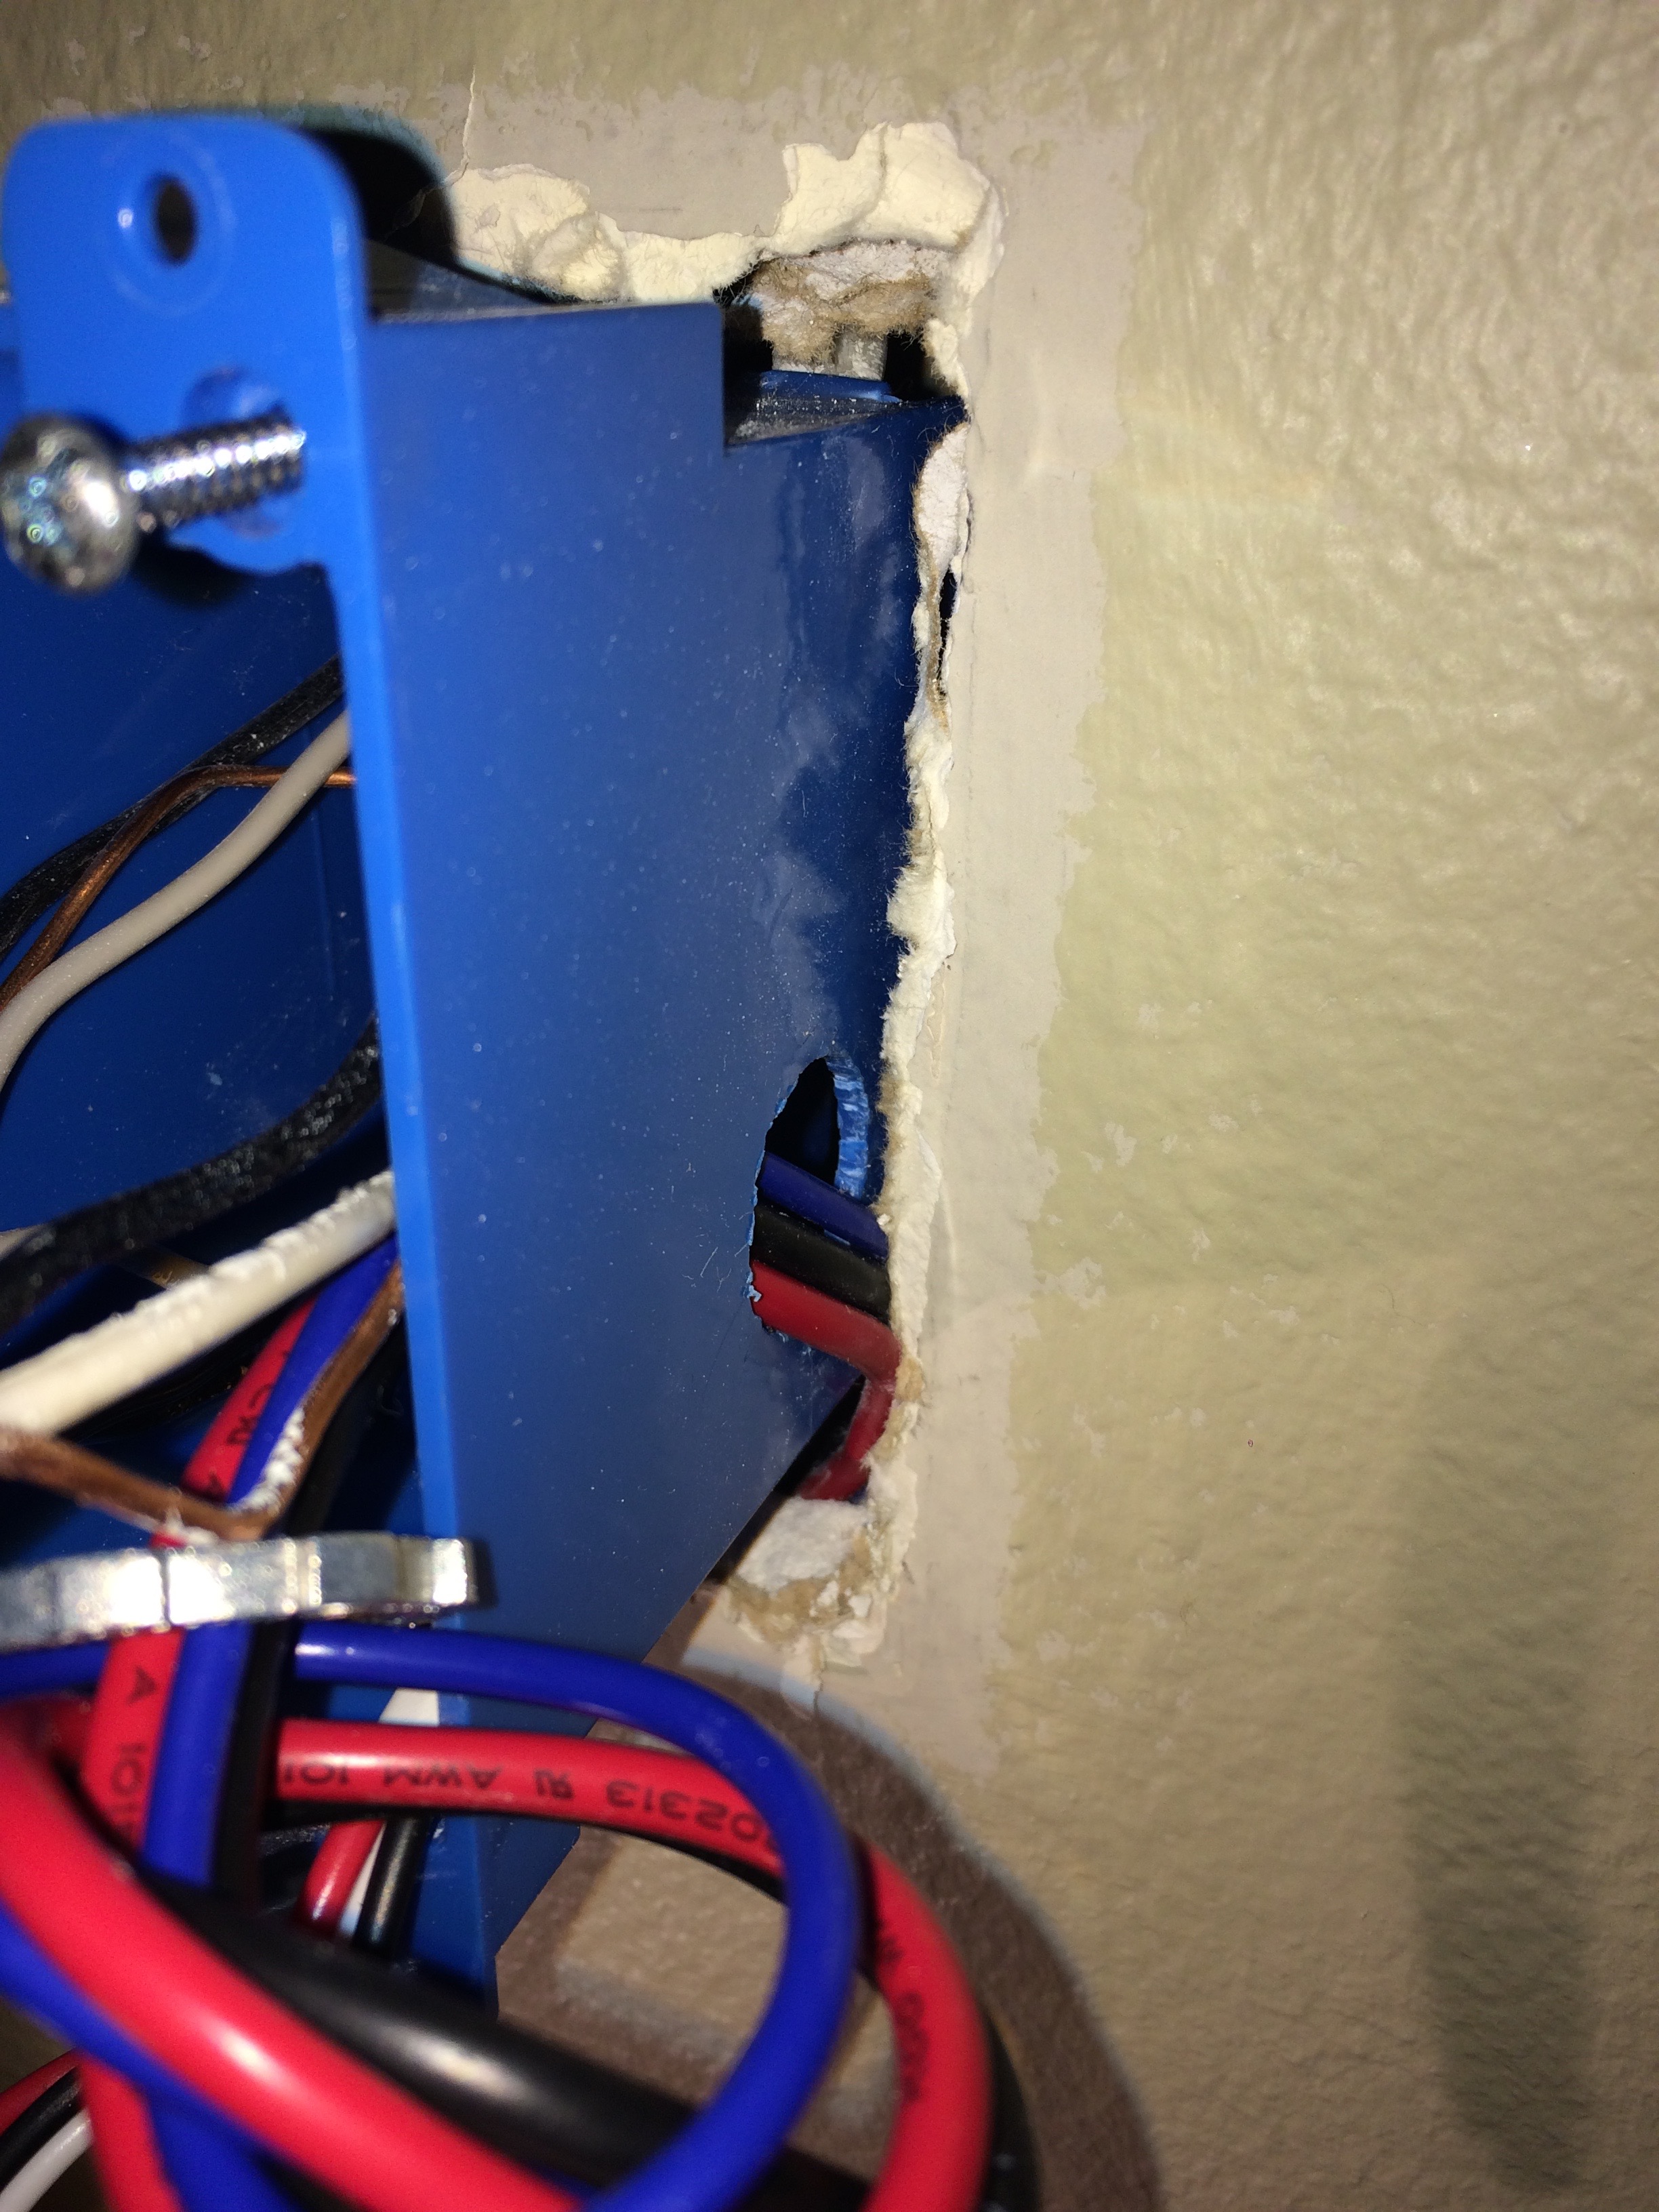
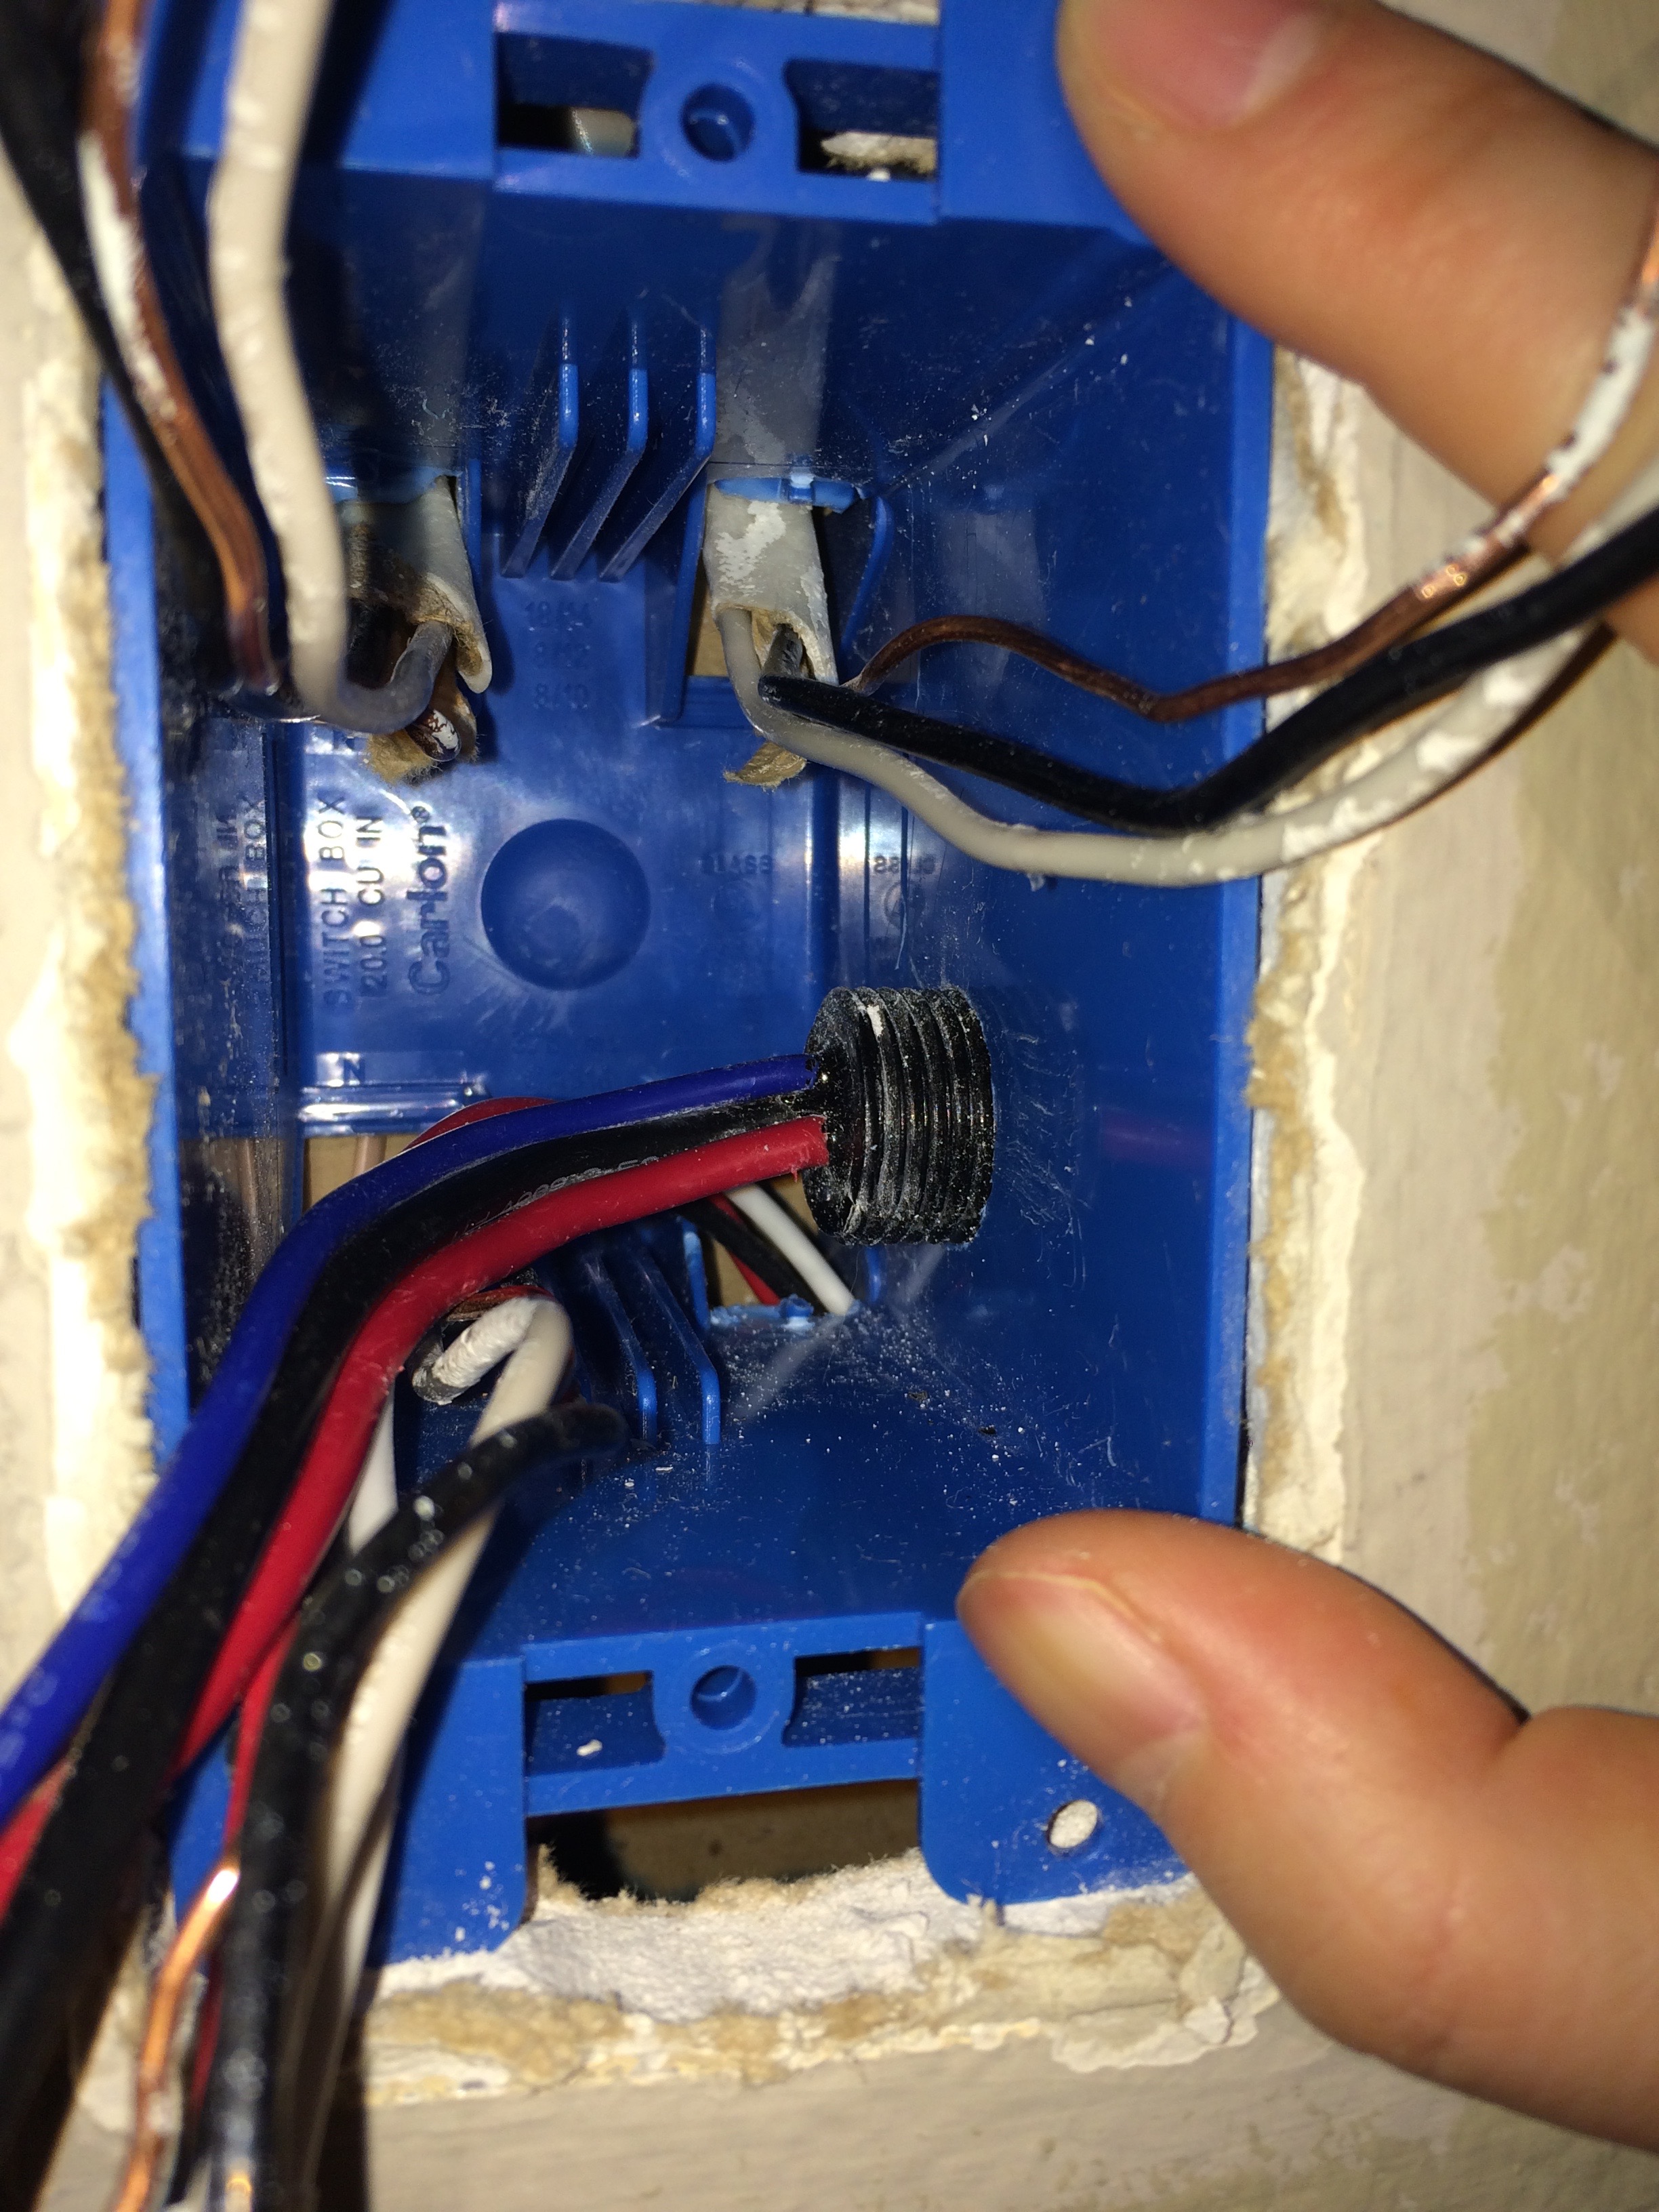
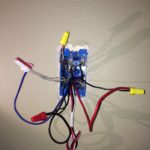
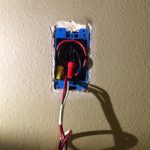
Now the tricky part. Gently pull the high-voltage cables until you see the black body of the relay:
This is the moment to slightly pull the relay using the bottom part of the body as lever on top of the lower edge of the hole in the blue box wall:
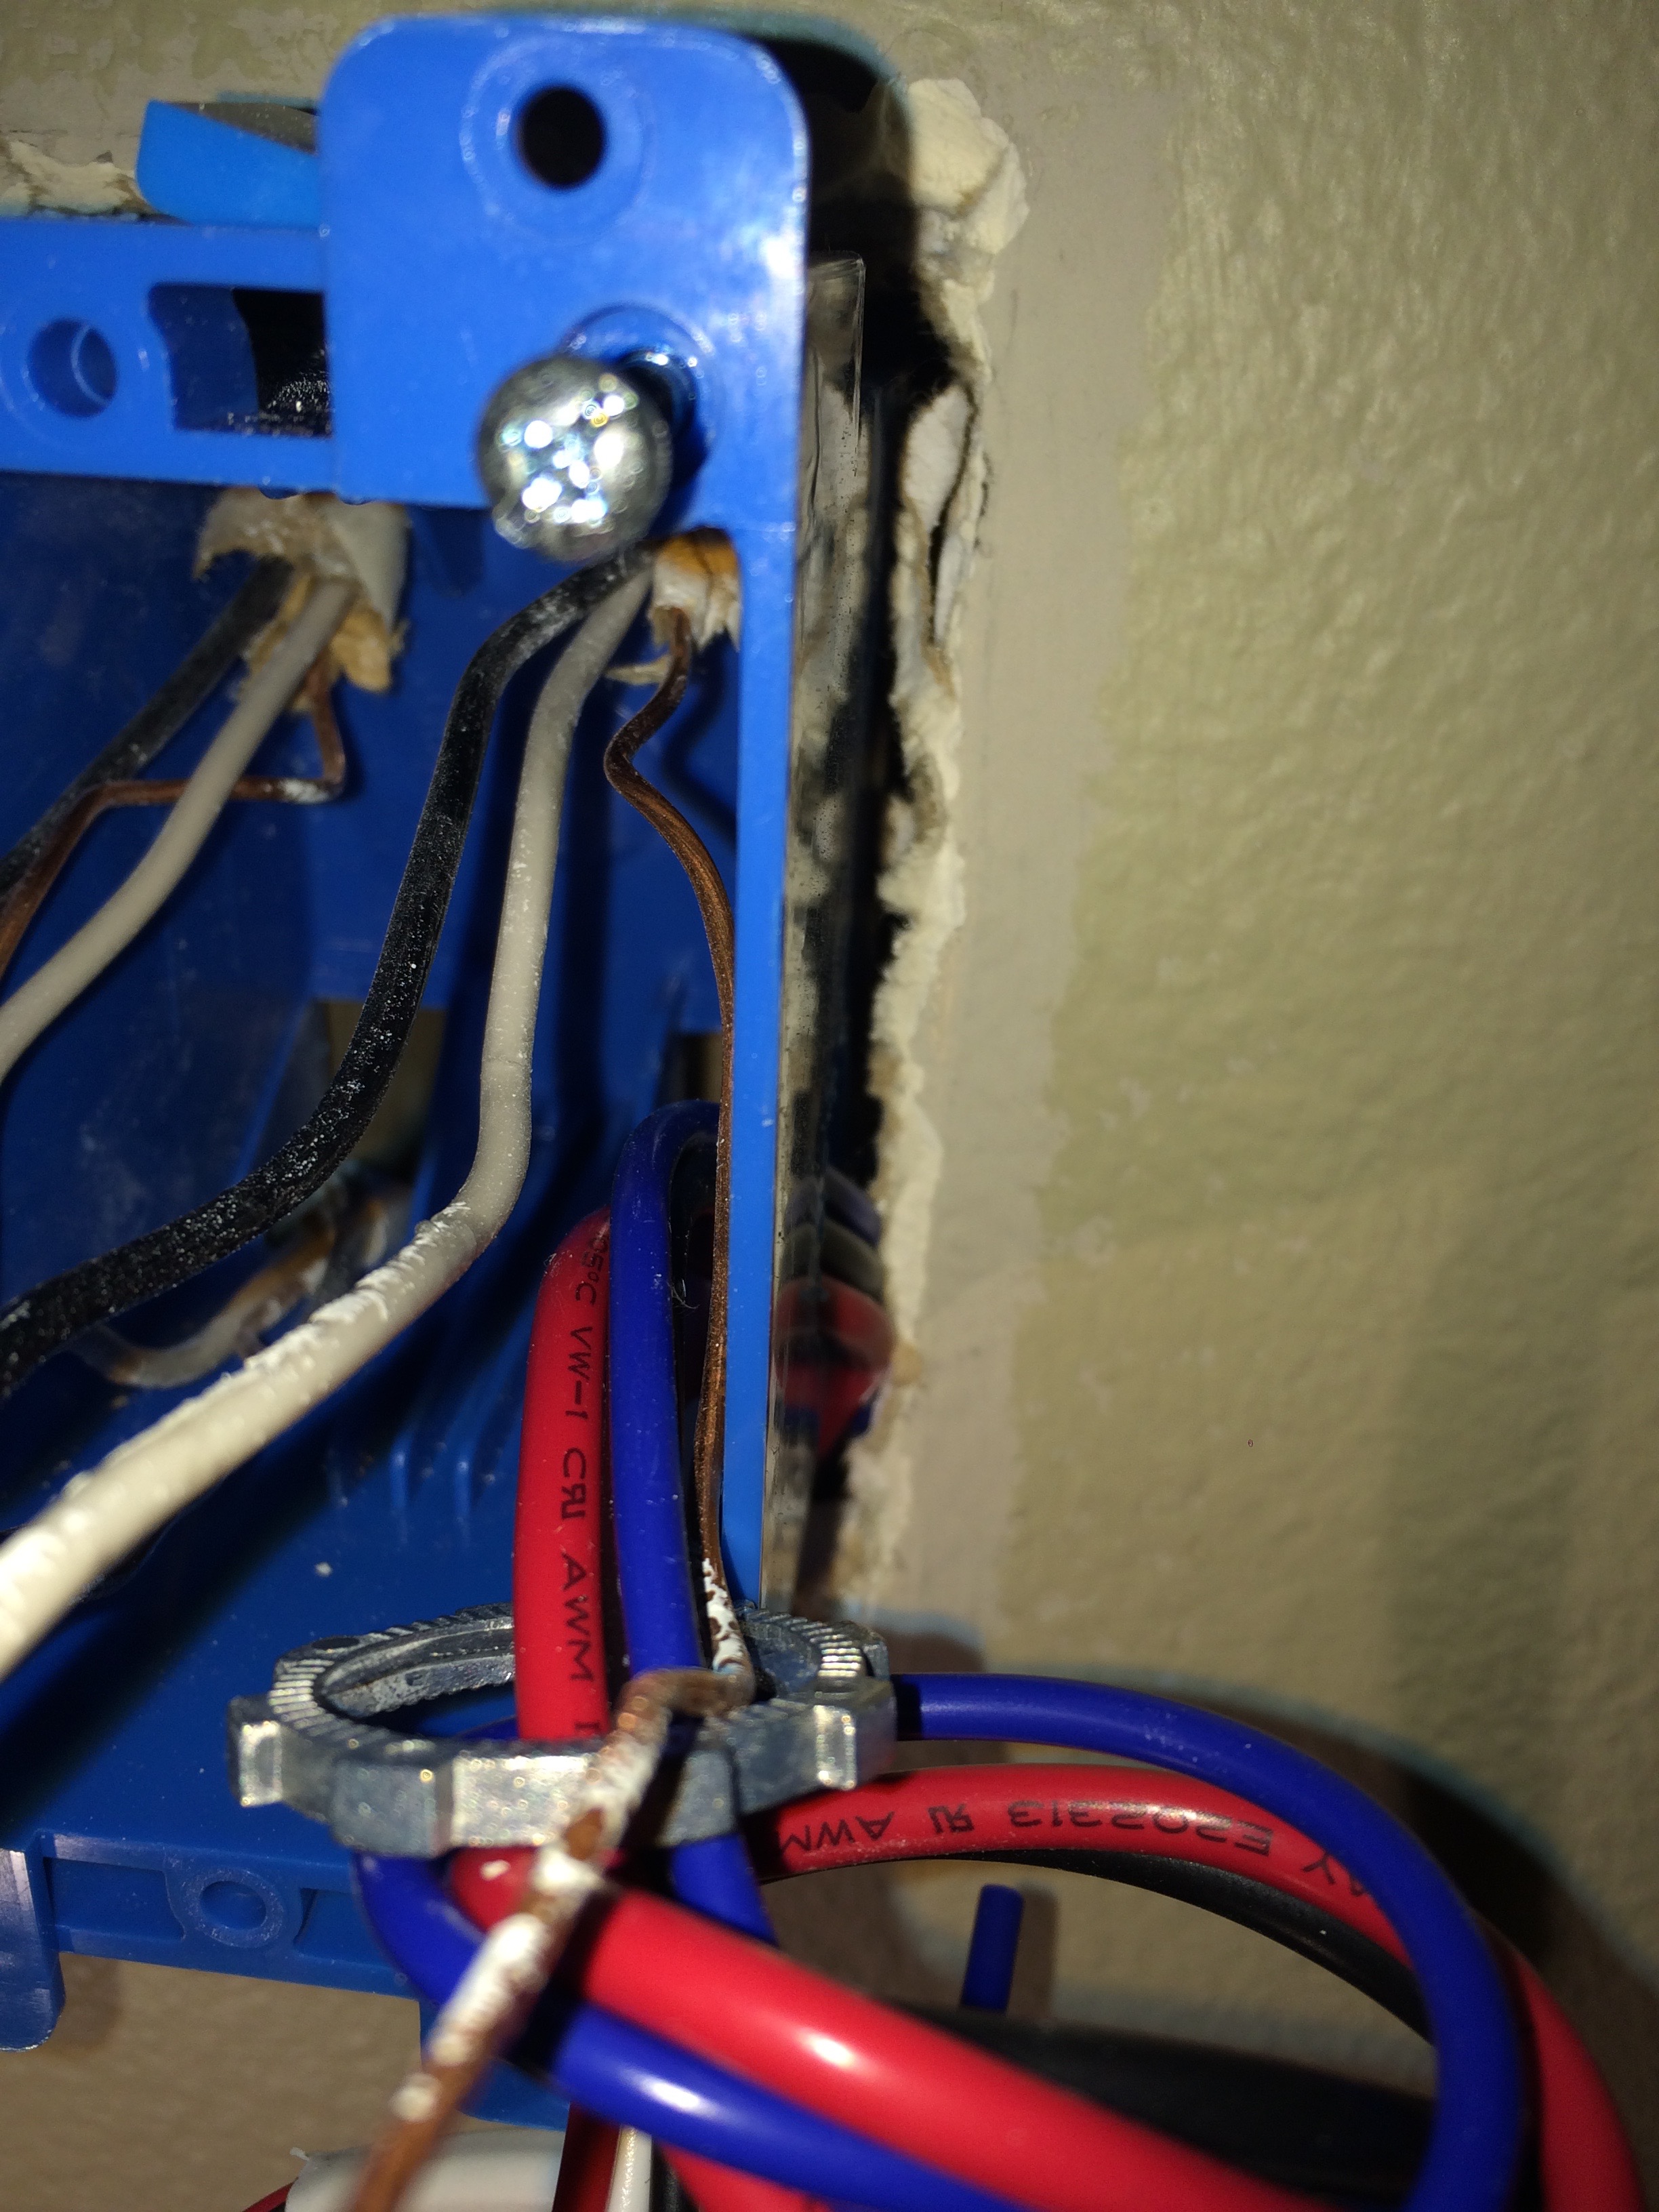
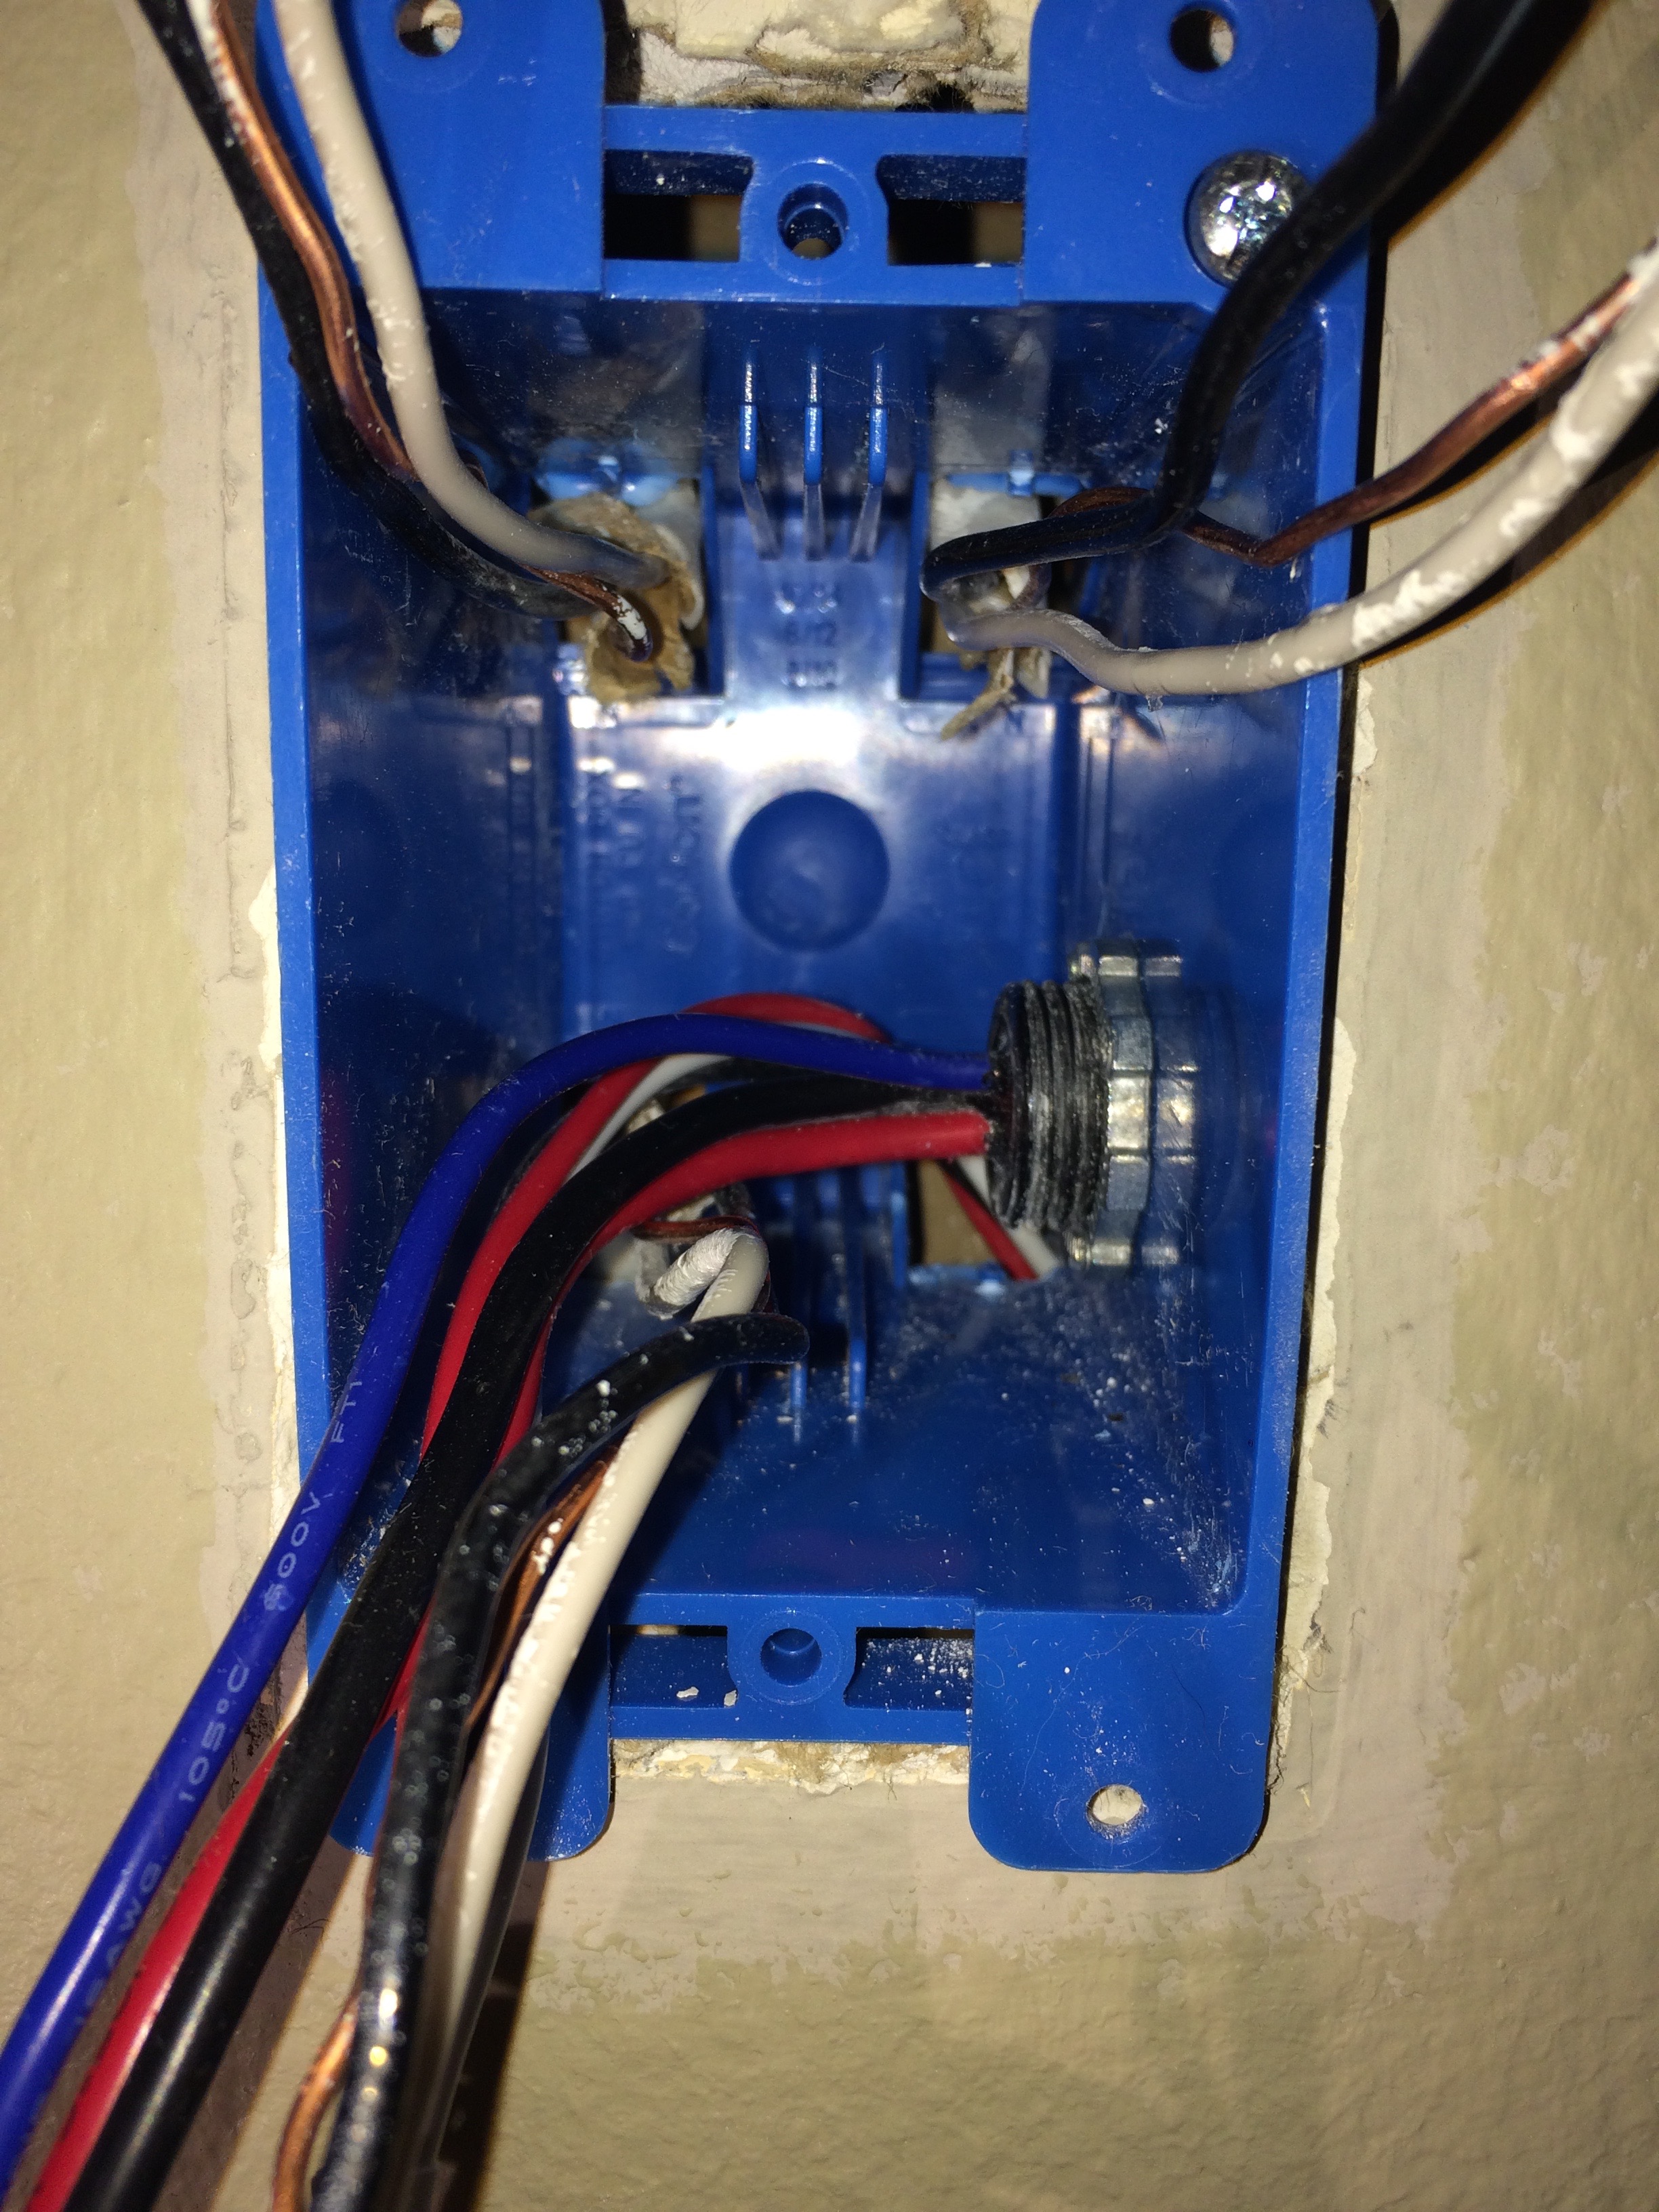
When the relay goes into position, don’t let the high-voltage cables go, otherwise it will flip outside again! Rather, while keeping light tension on the cables, tighten the silver ring on the relay:
If you reached this point, awesome!
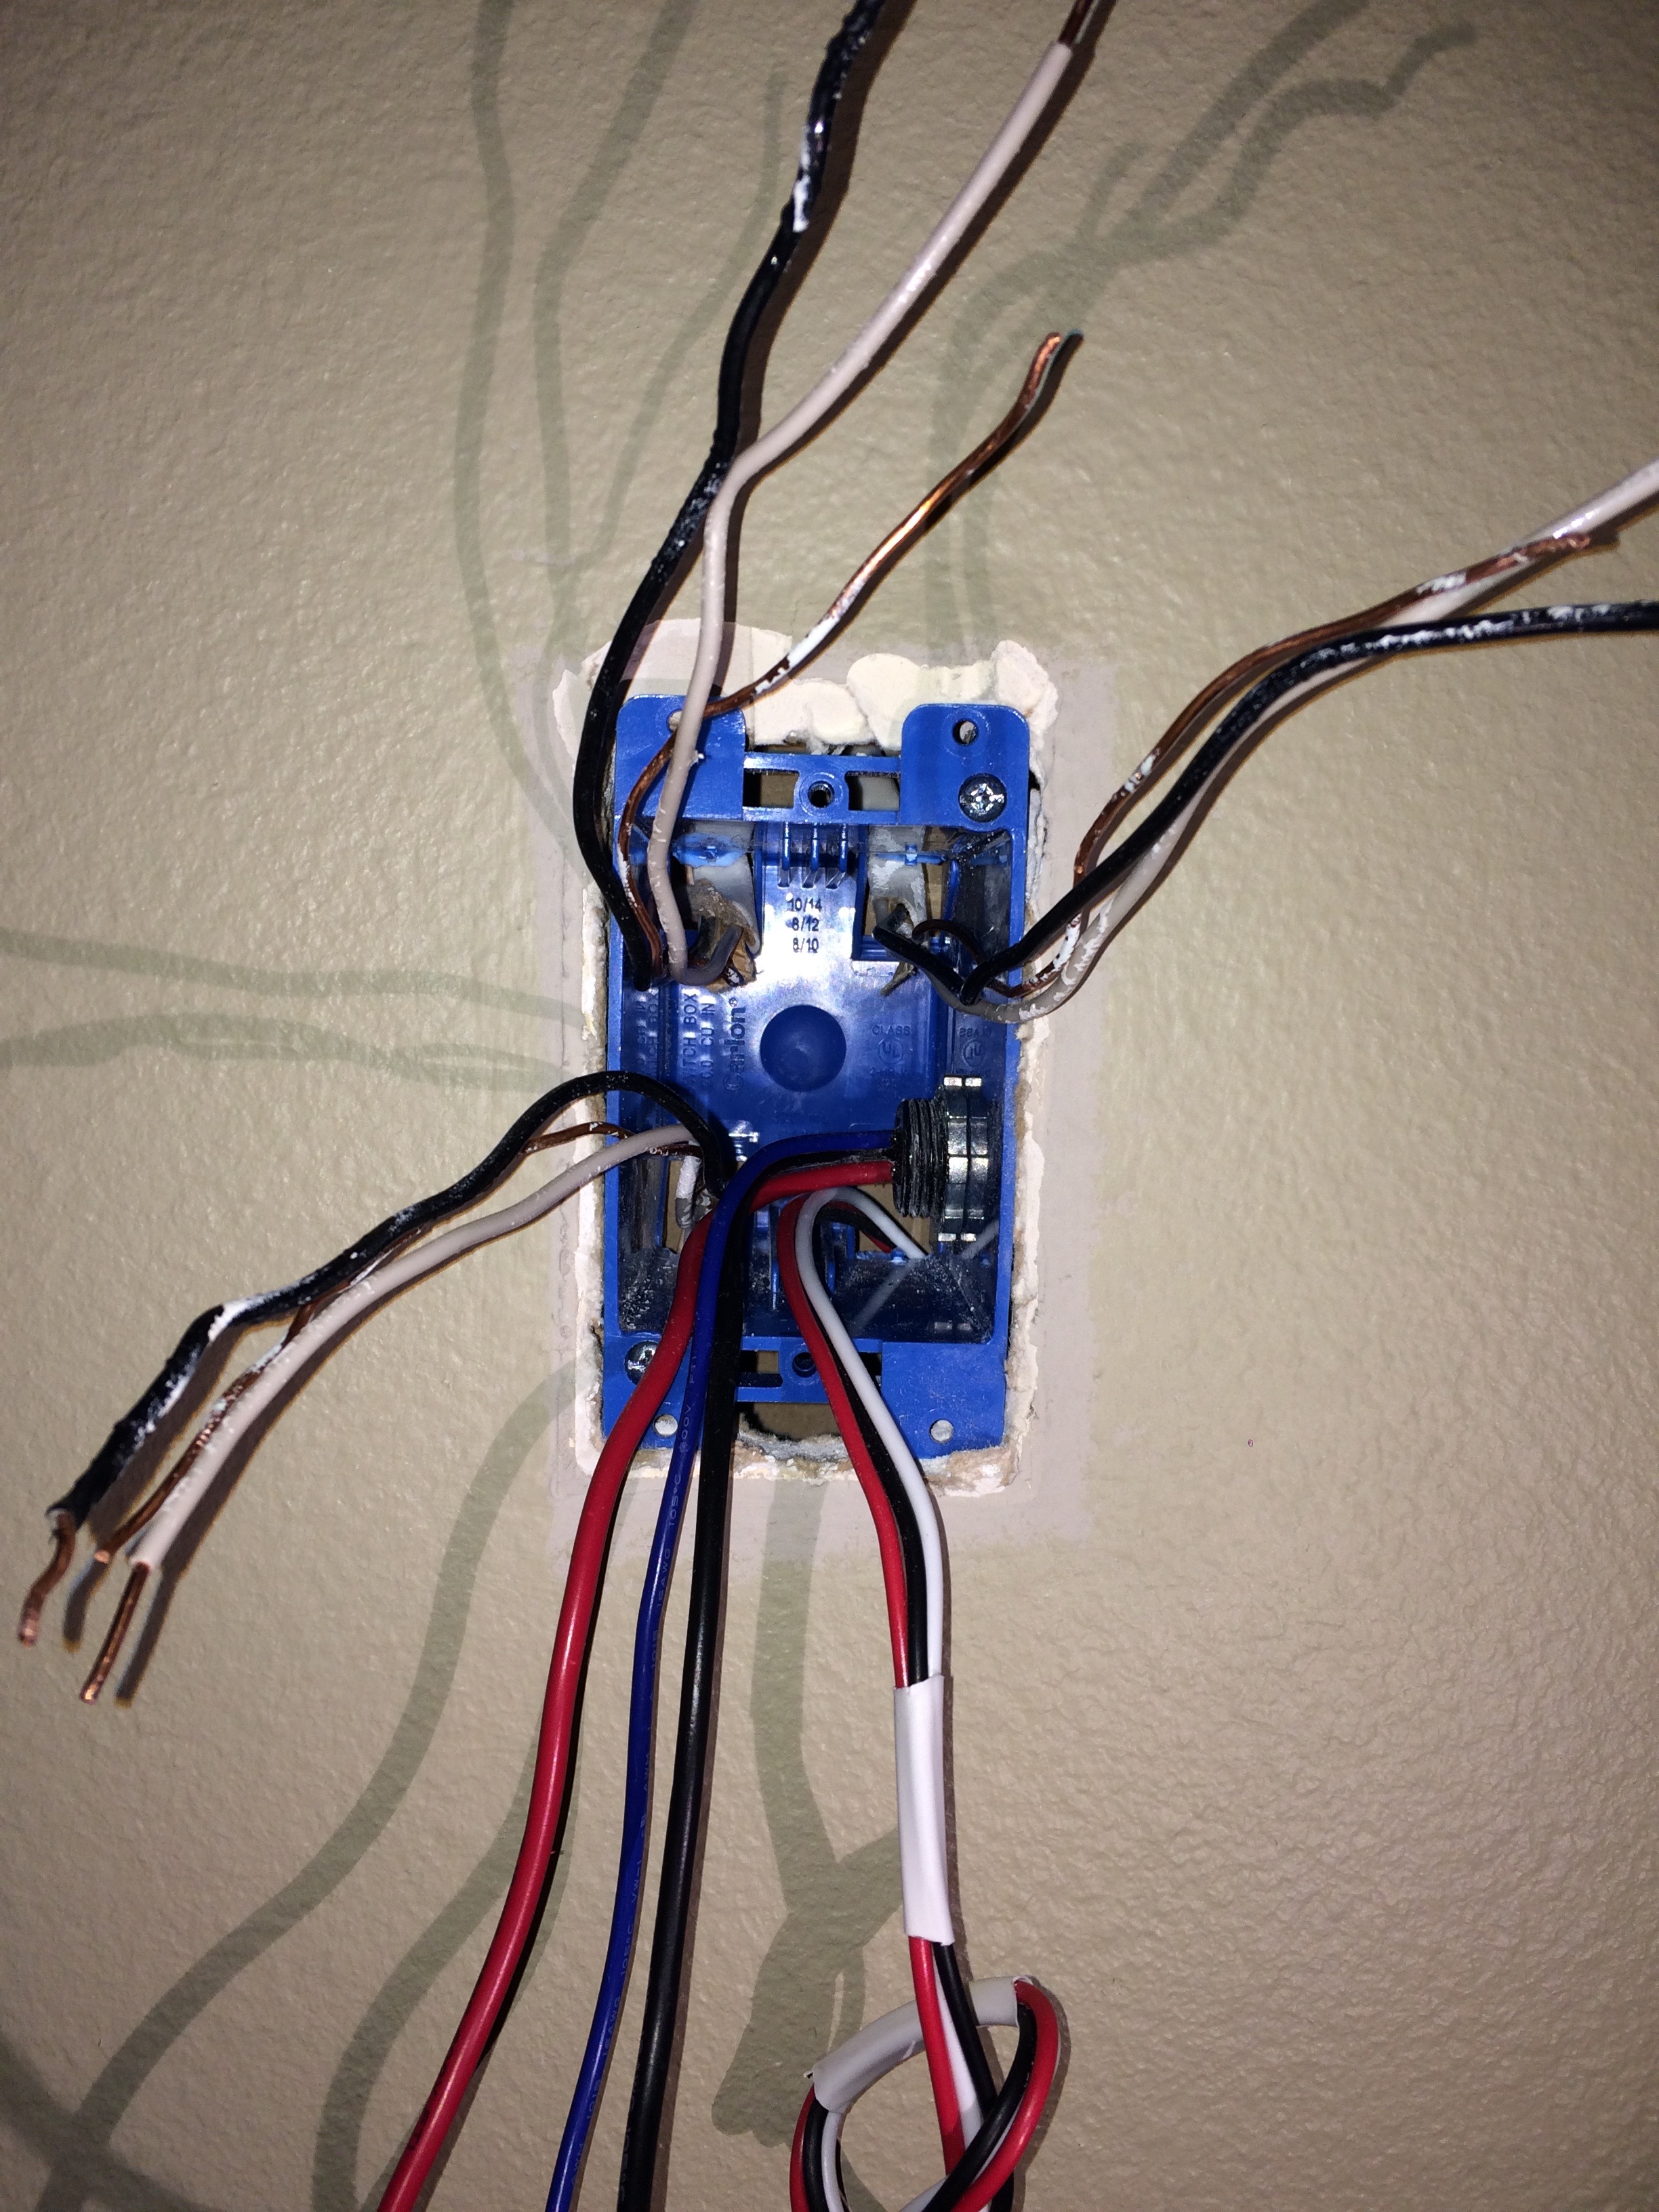
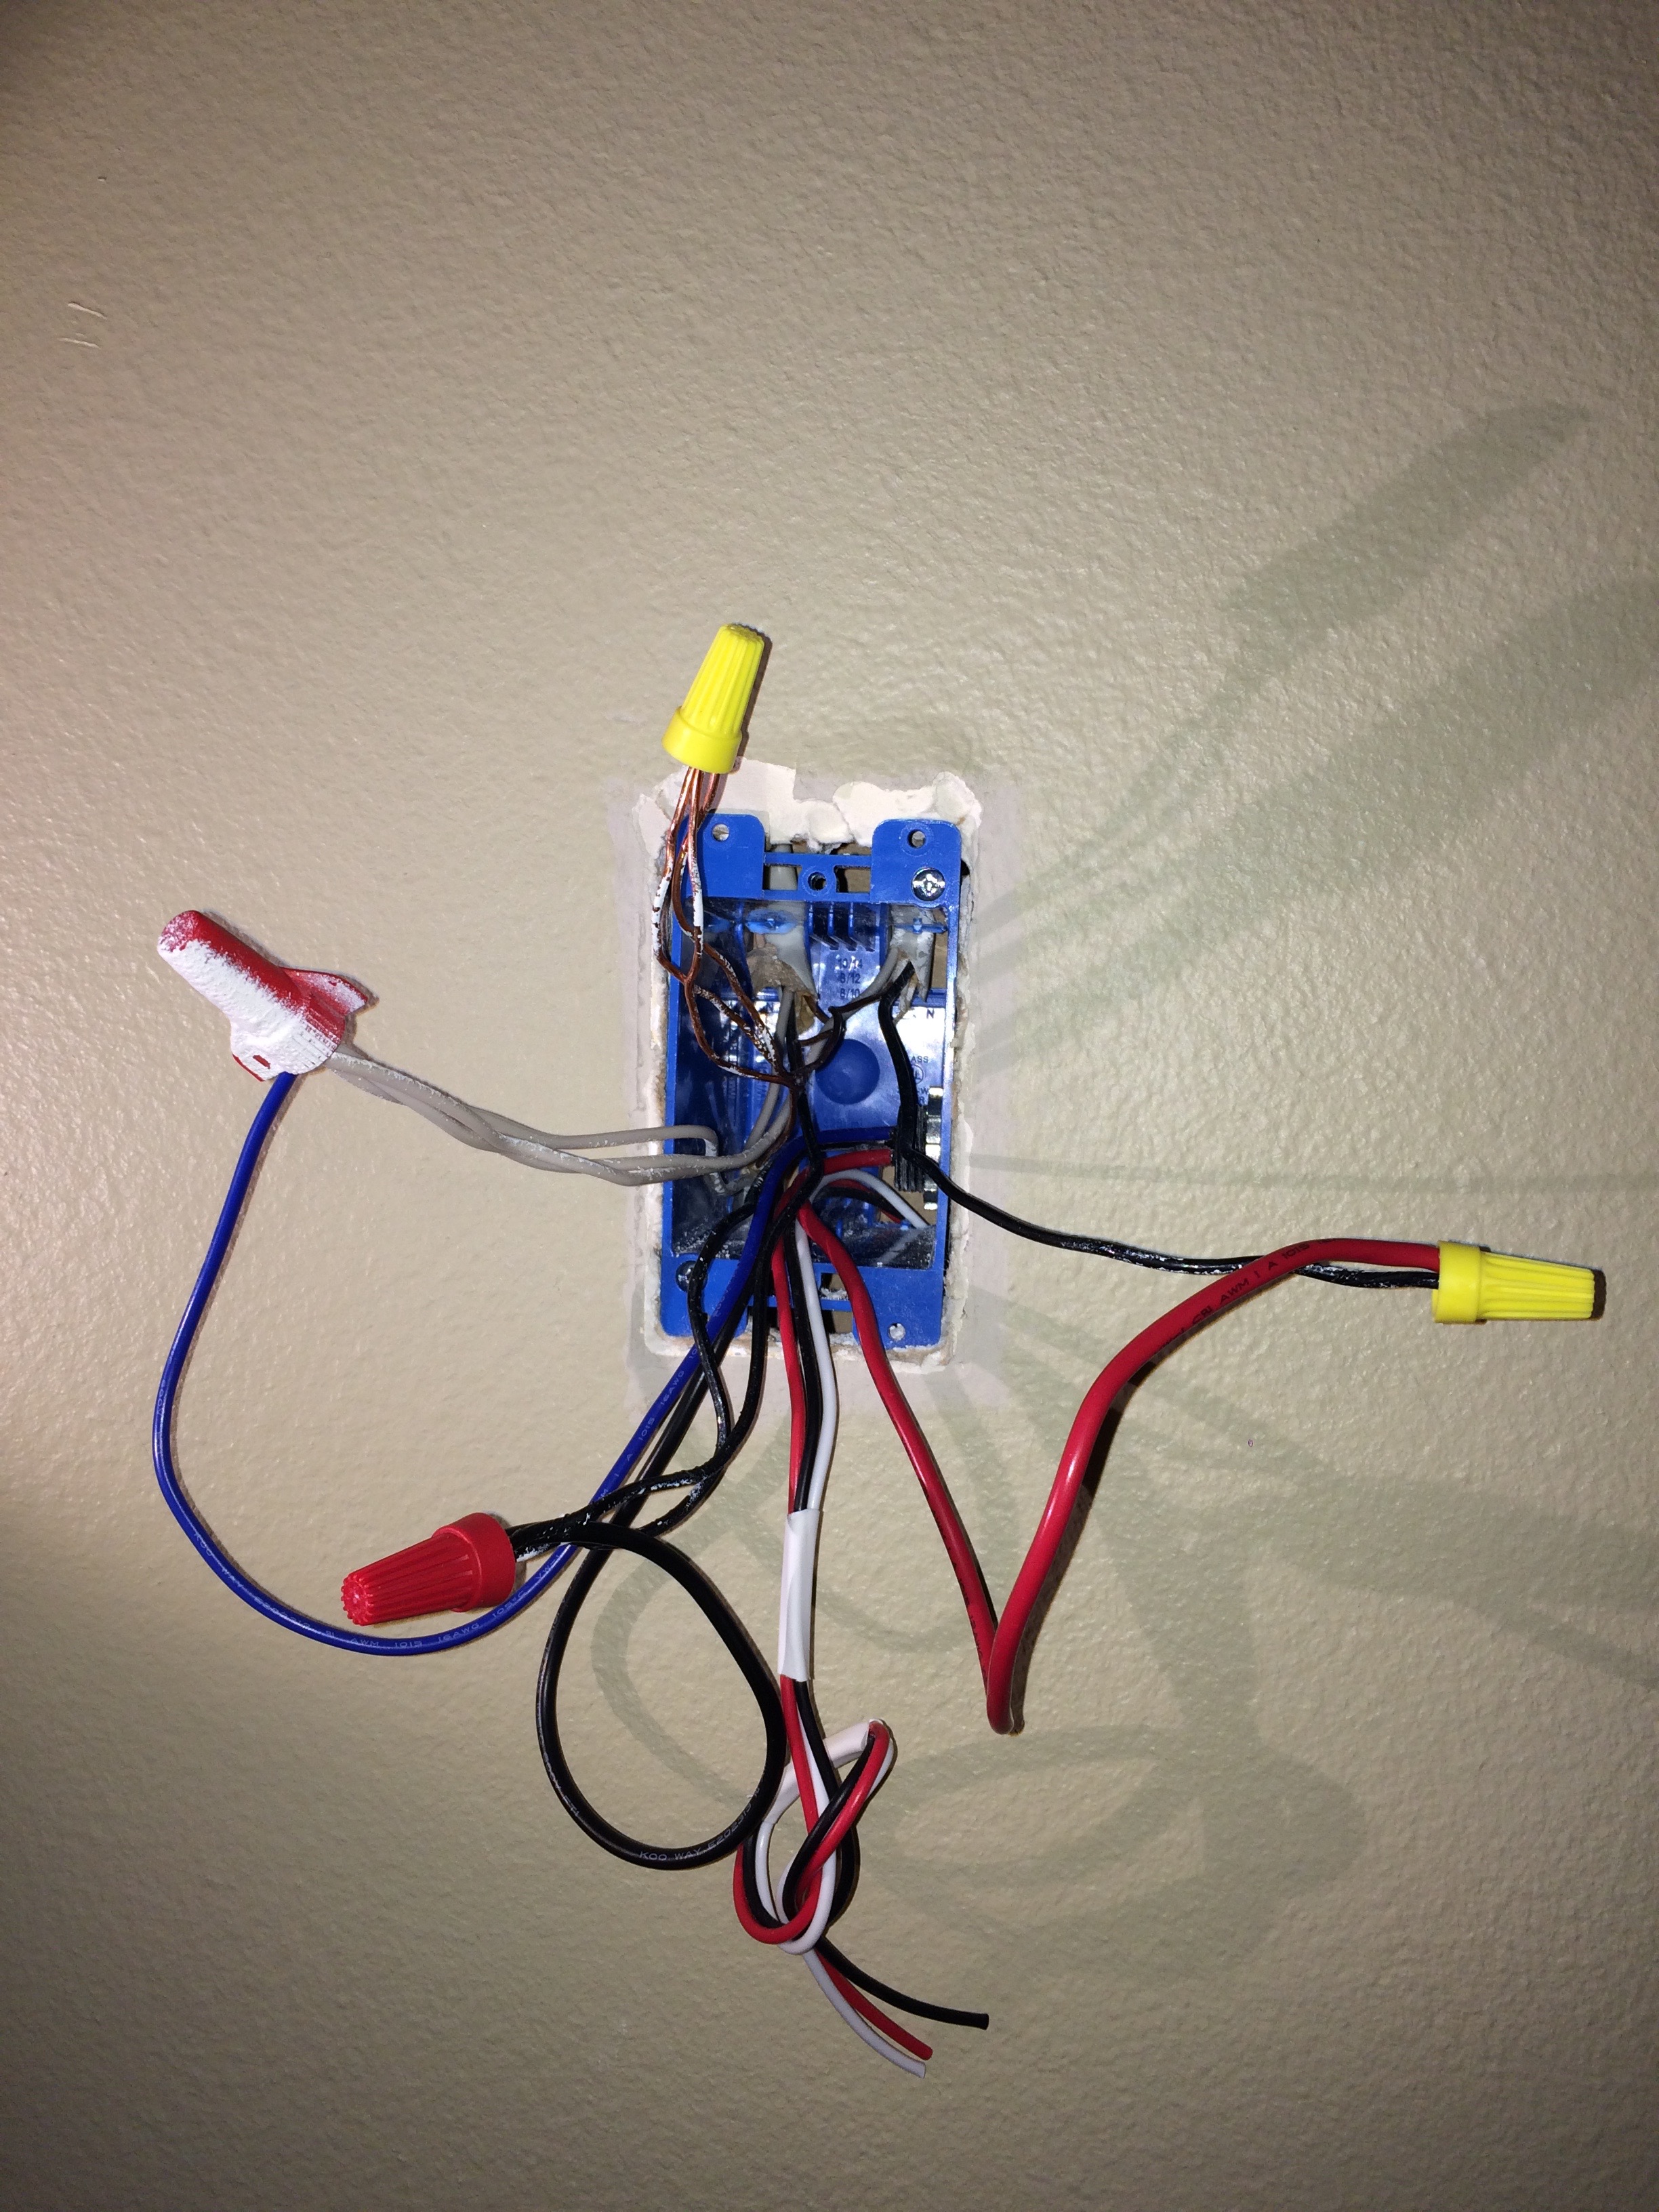
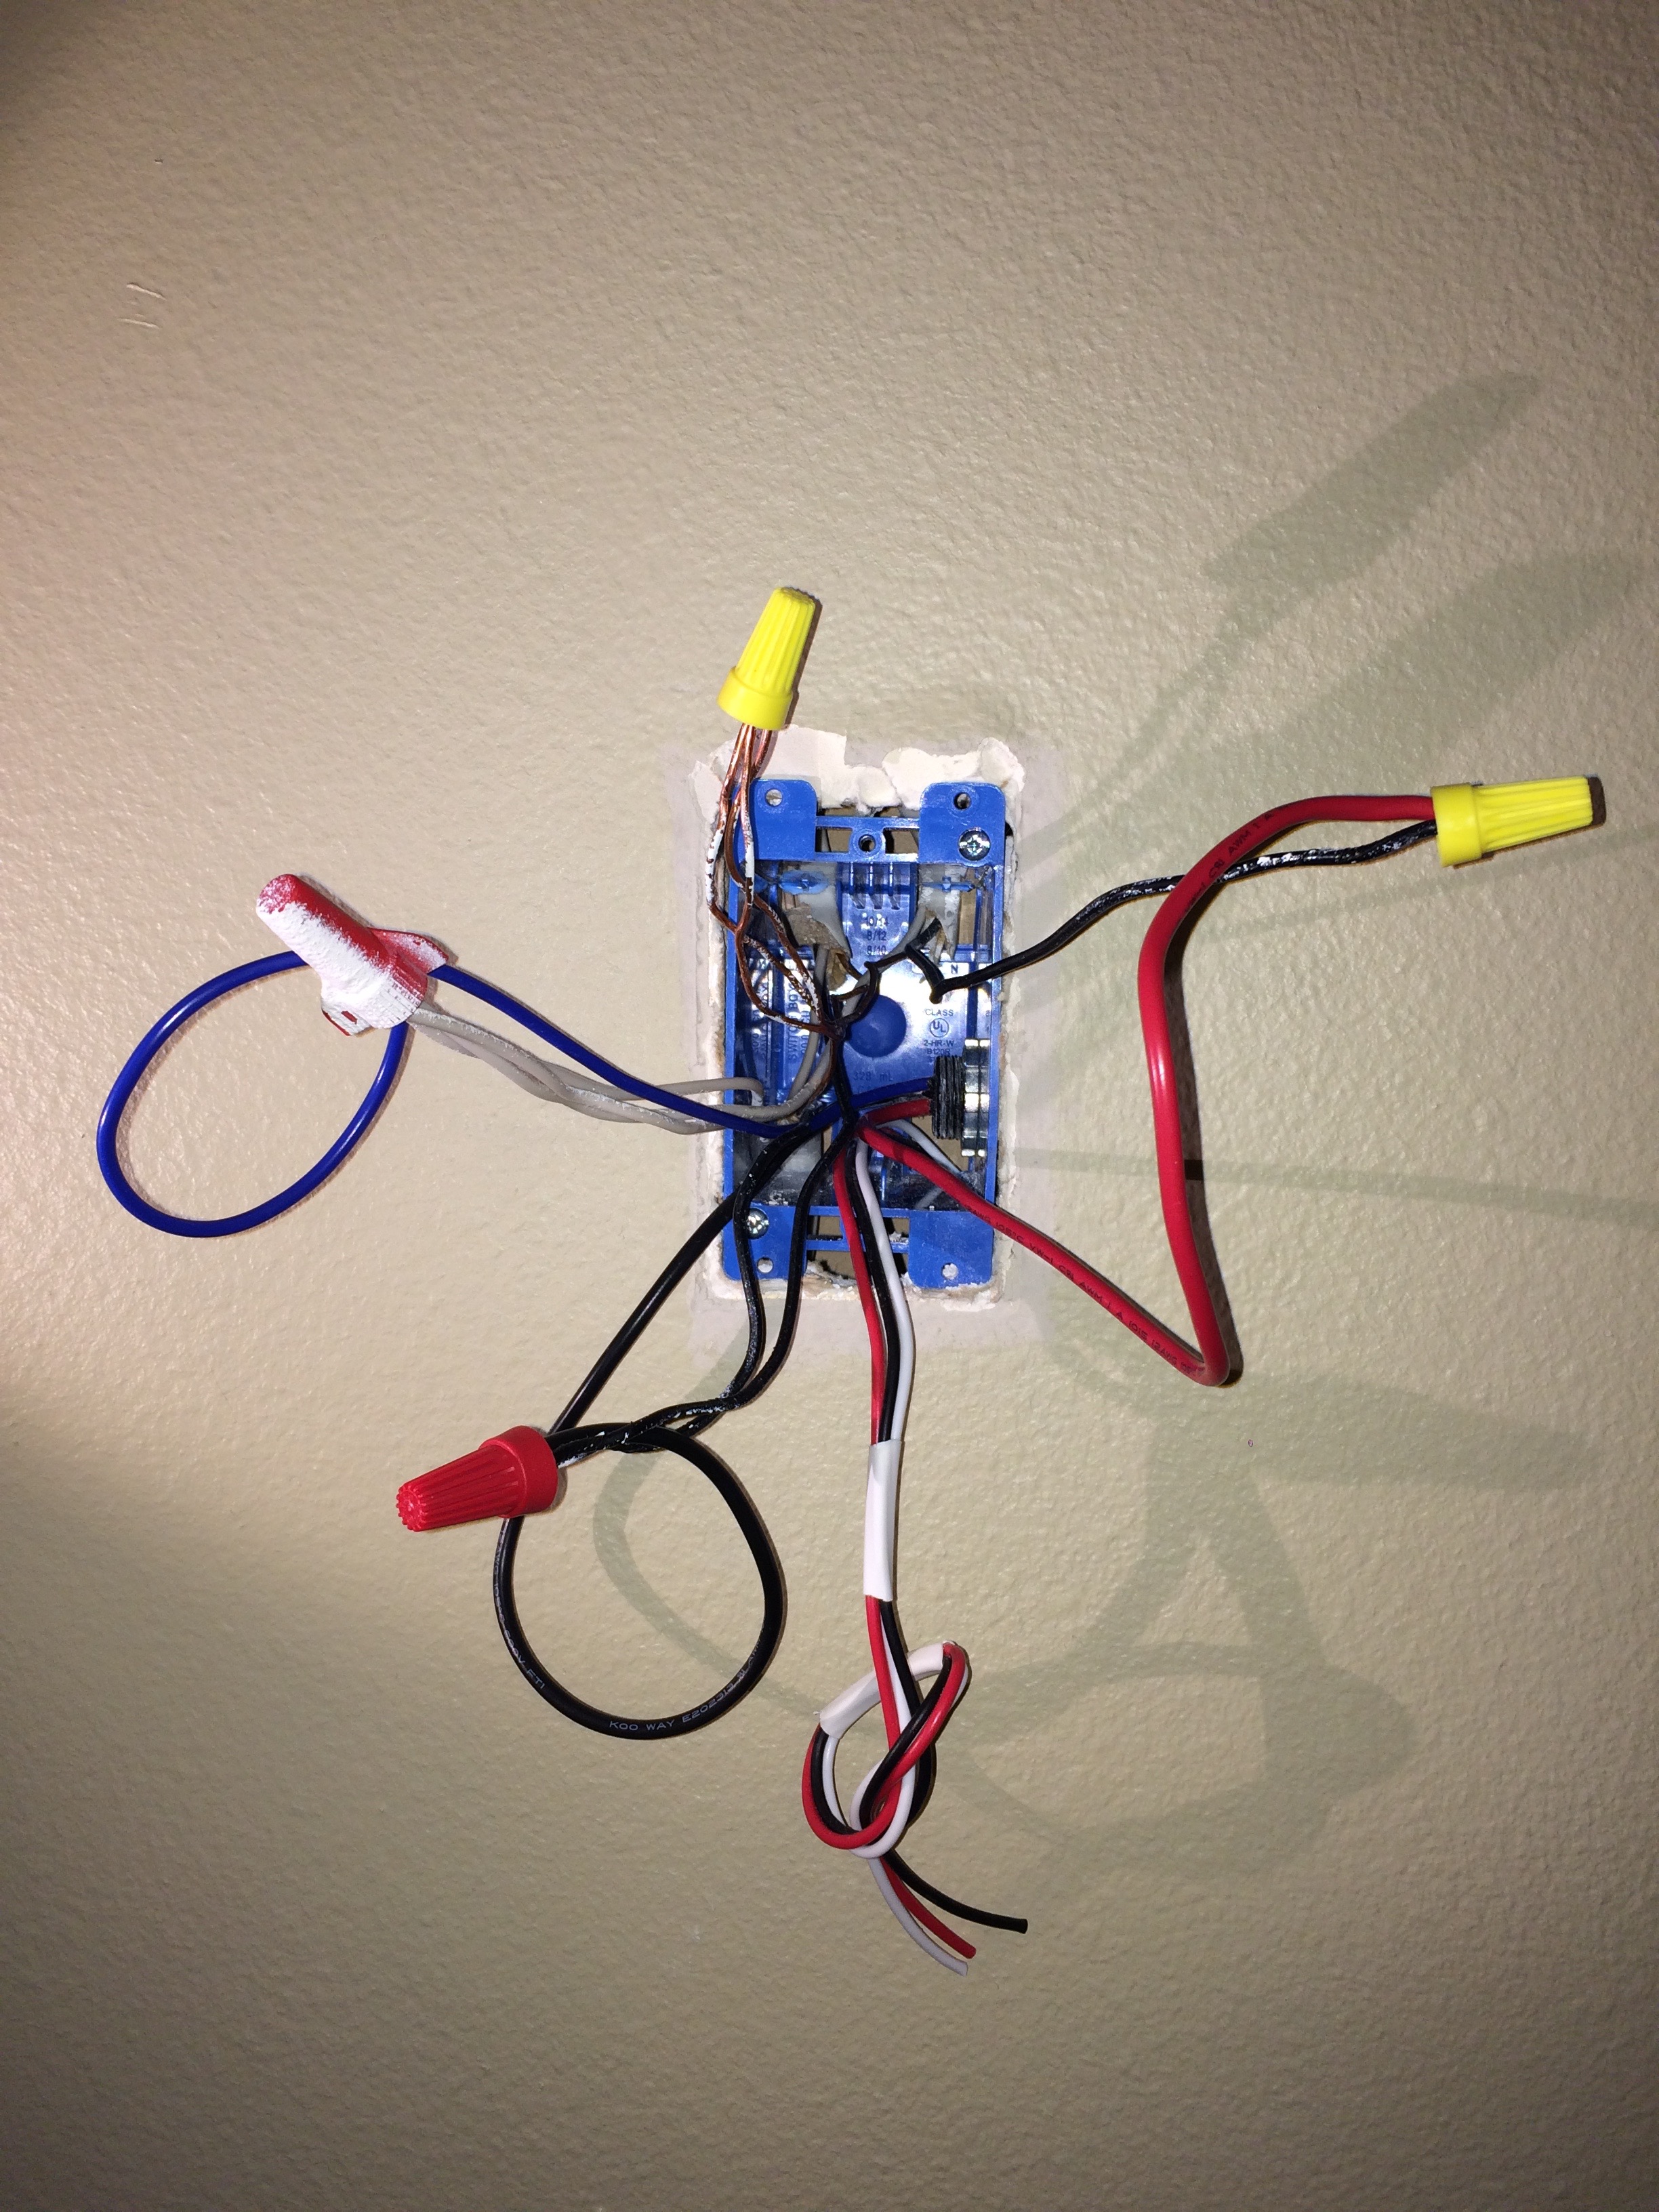
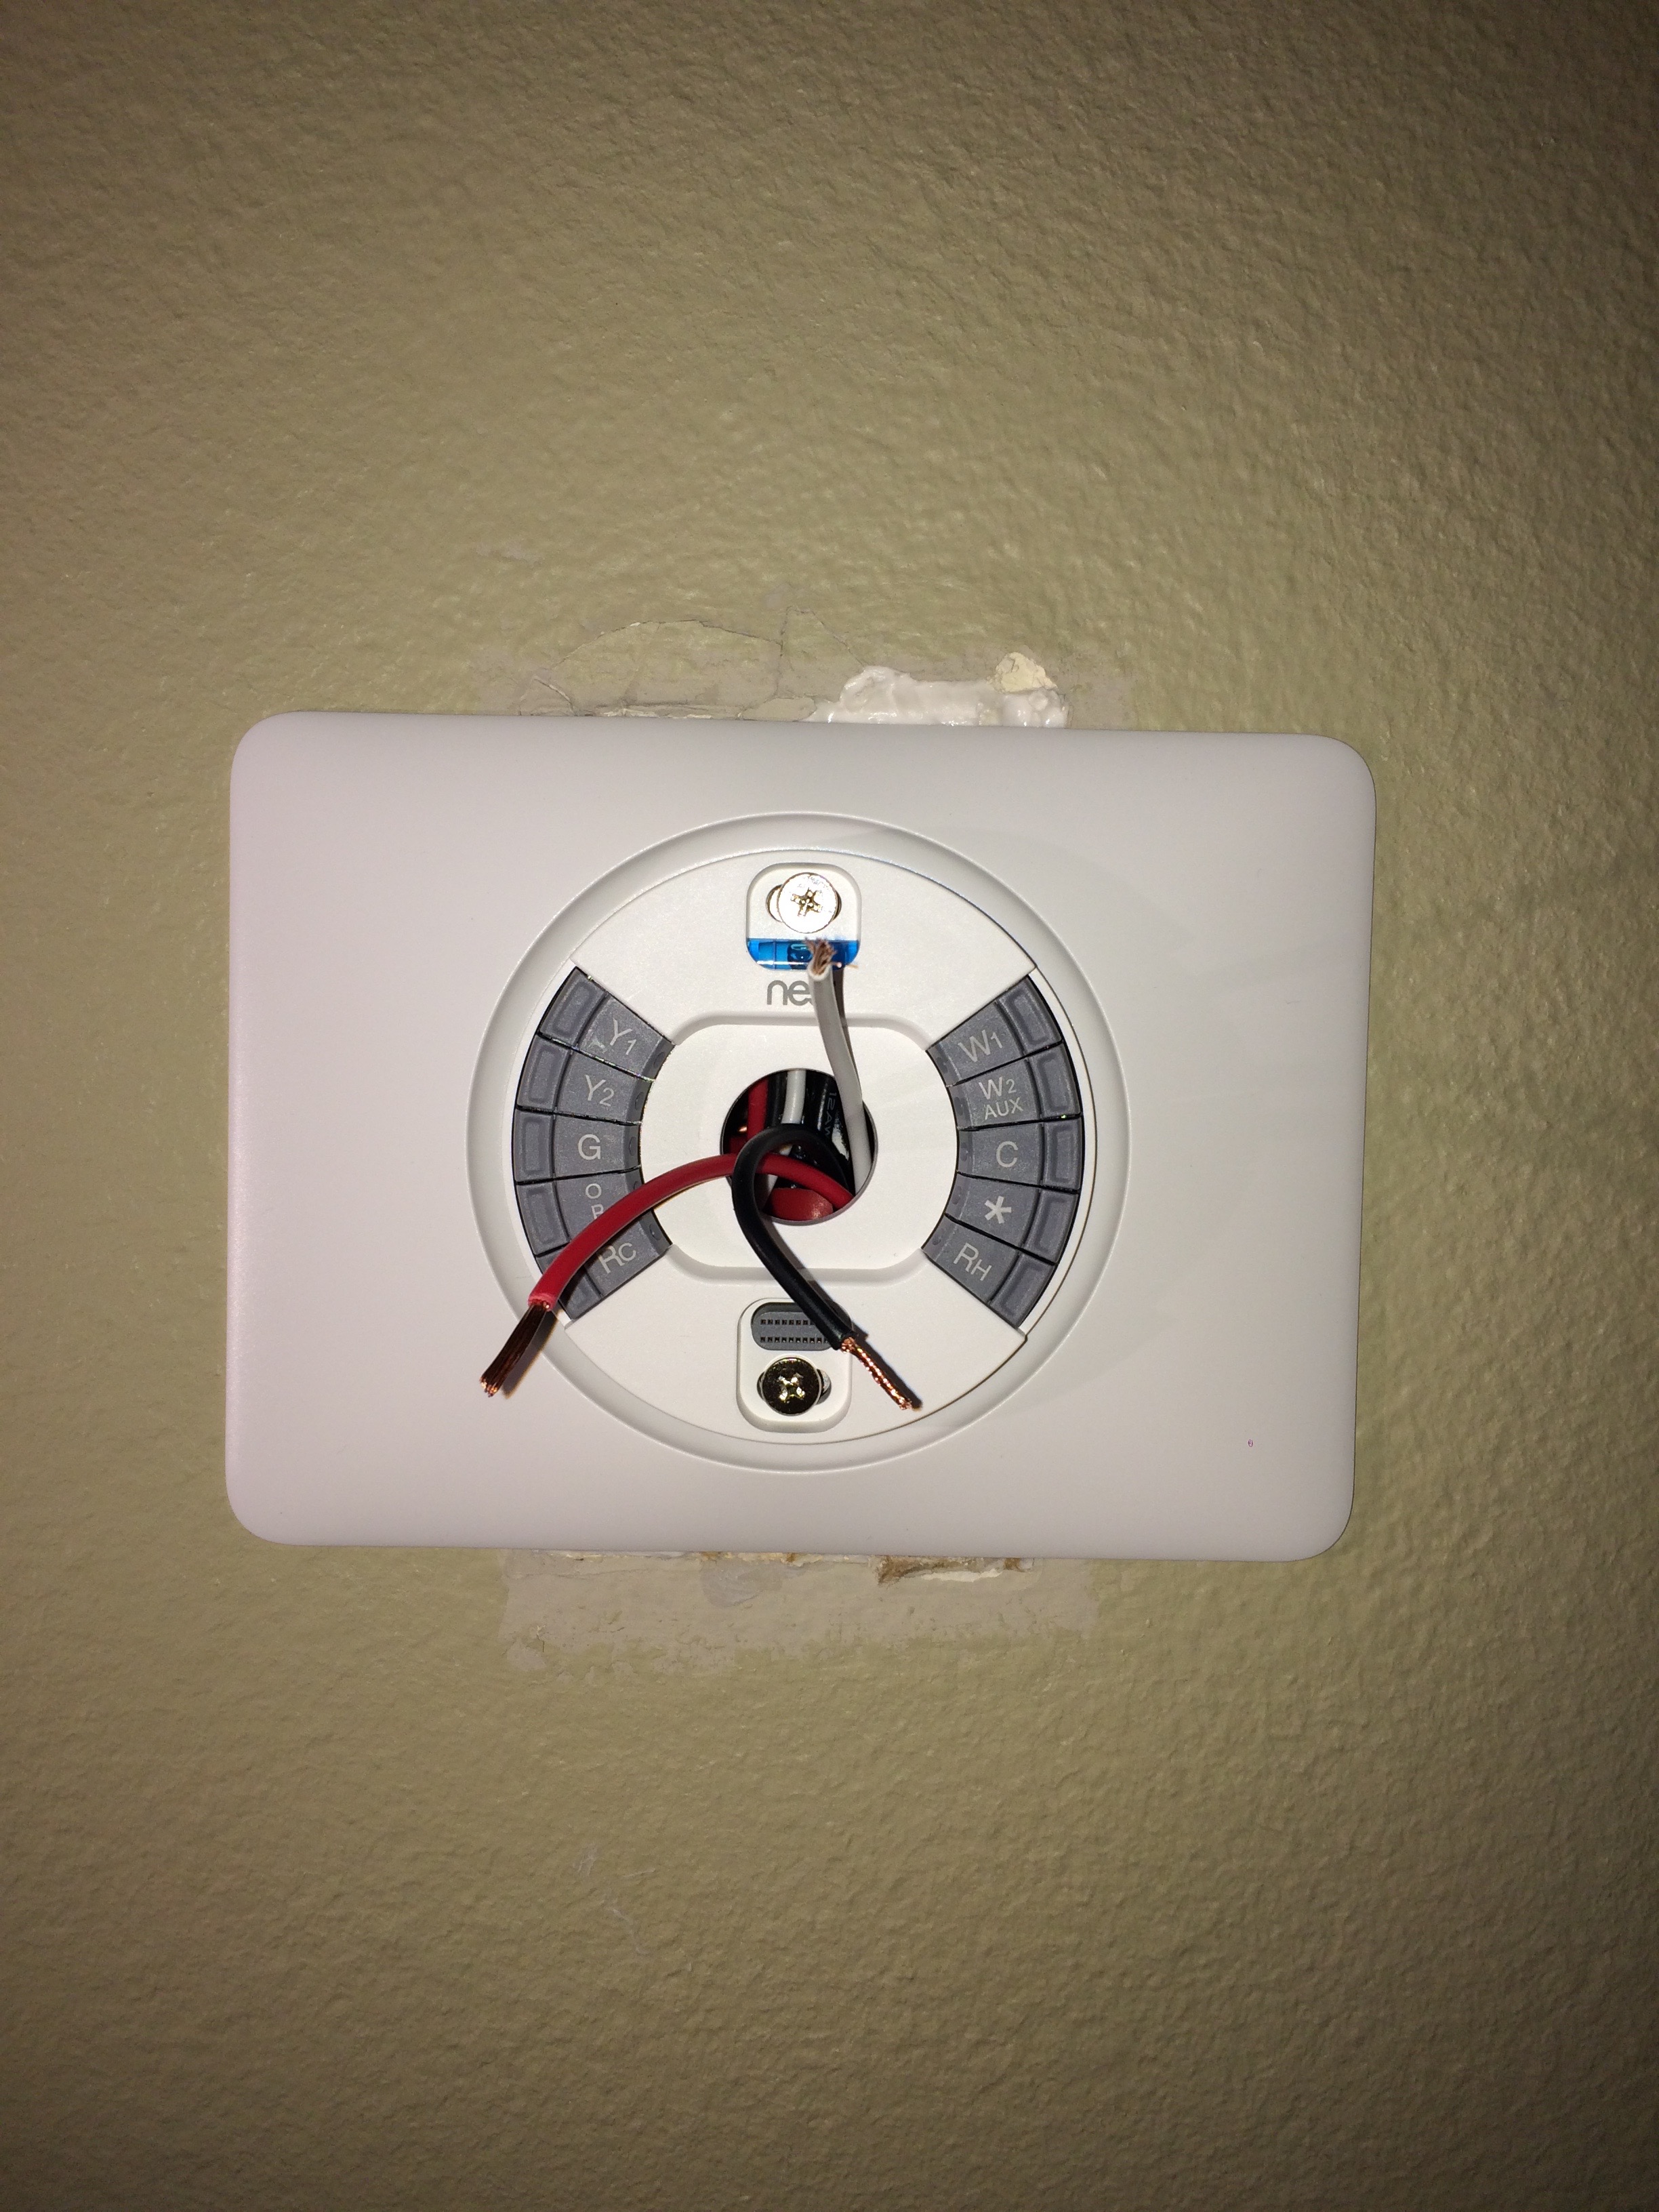
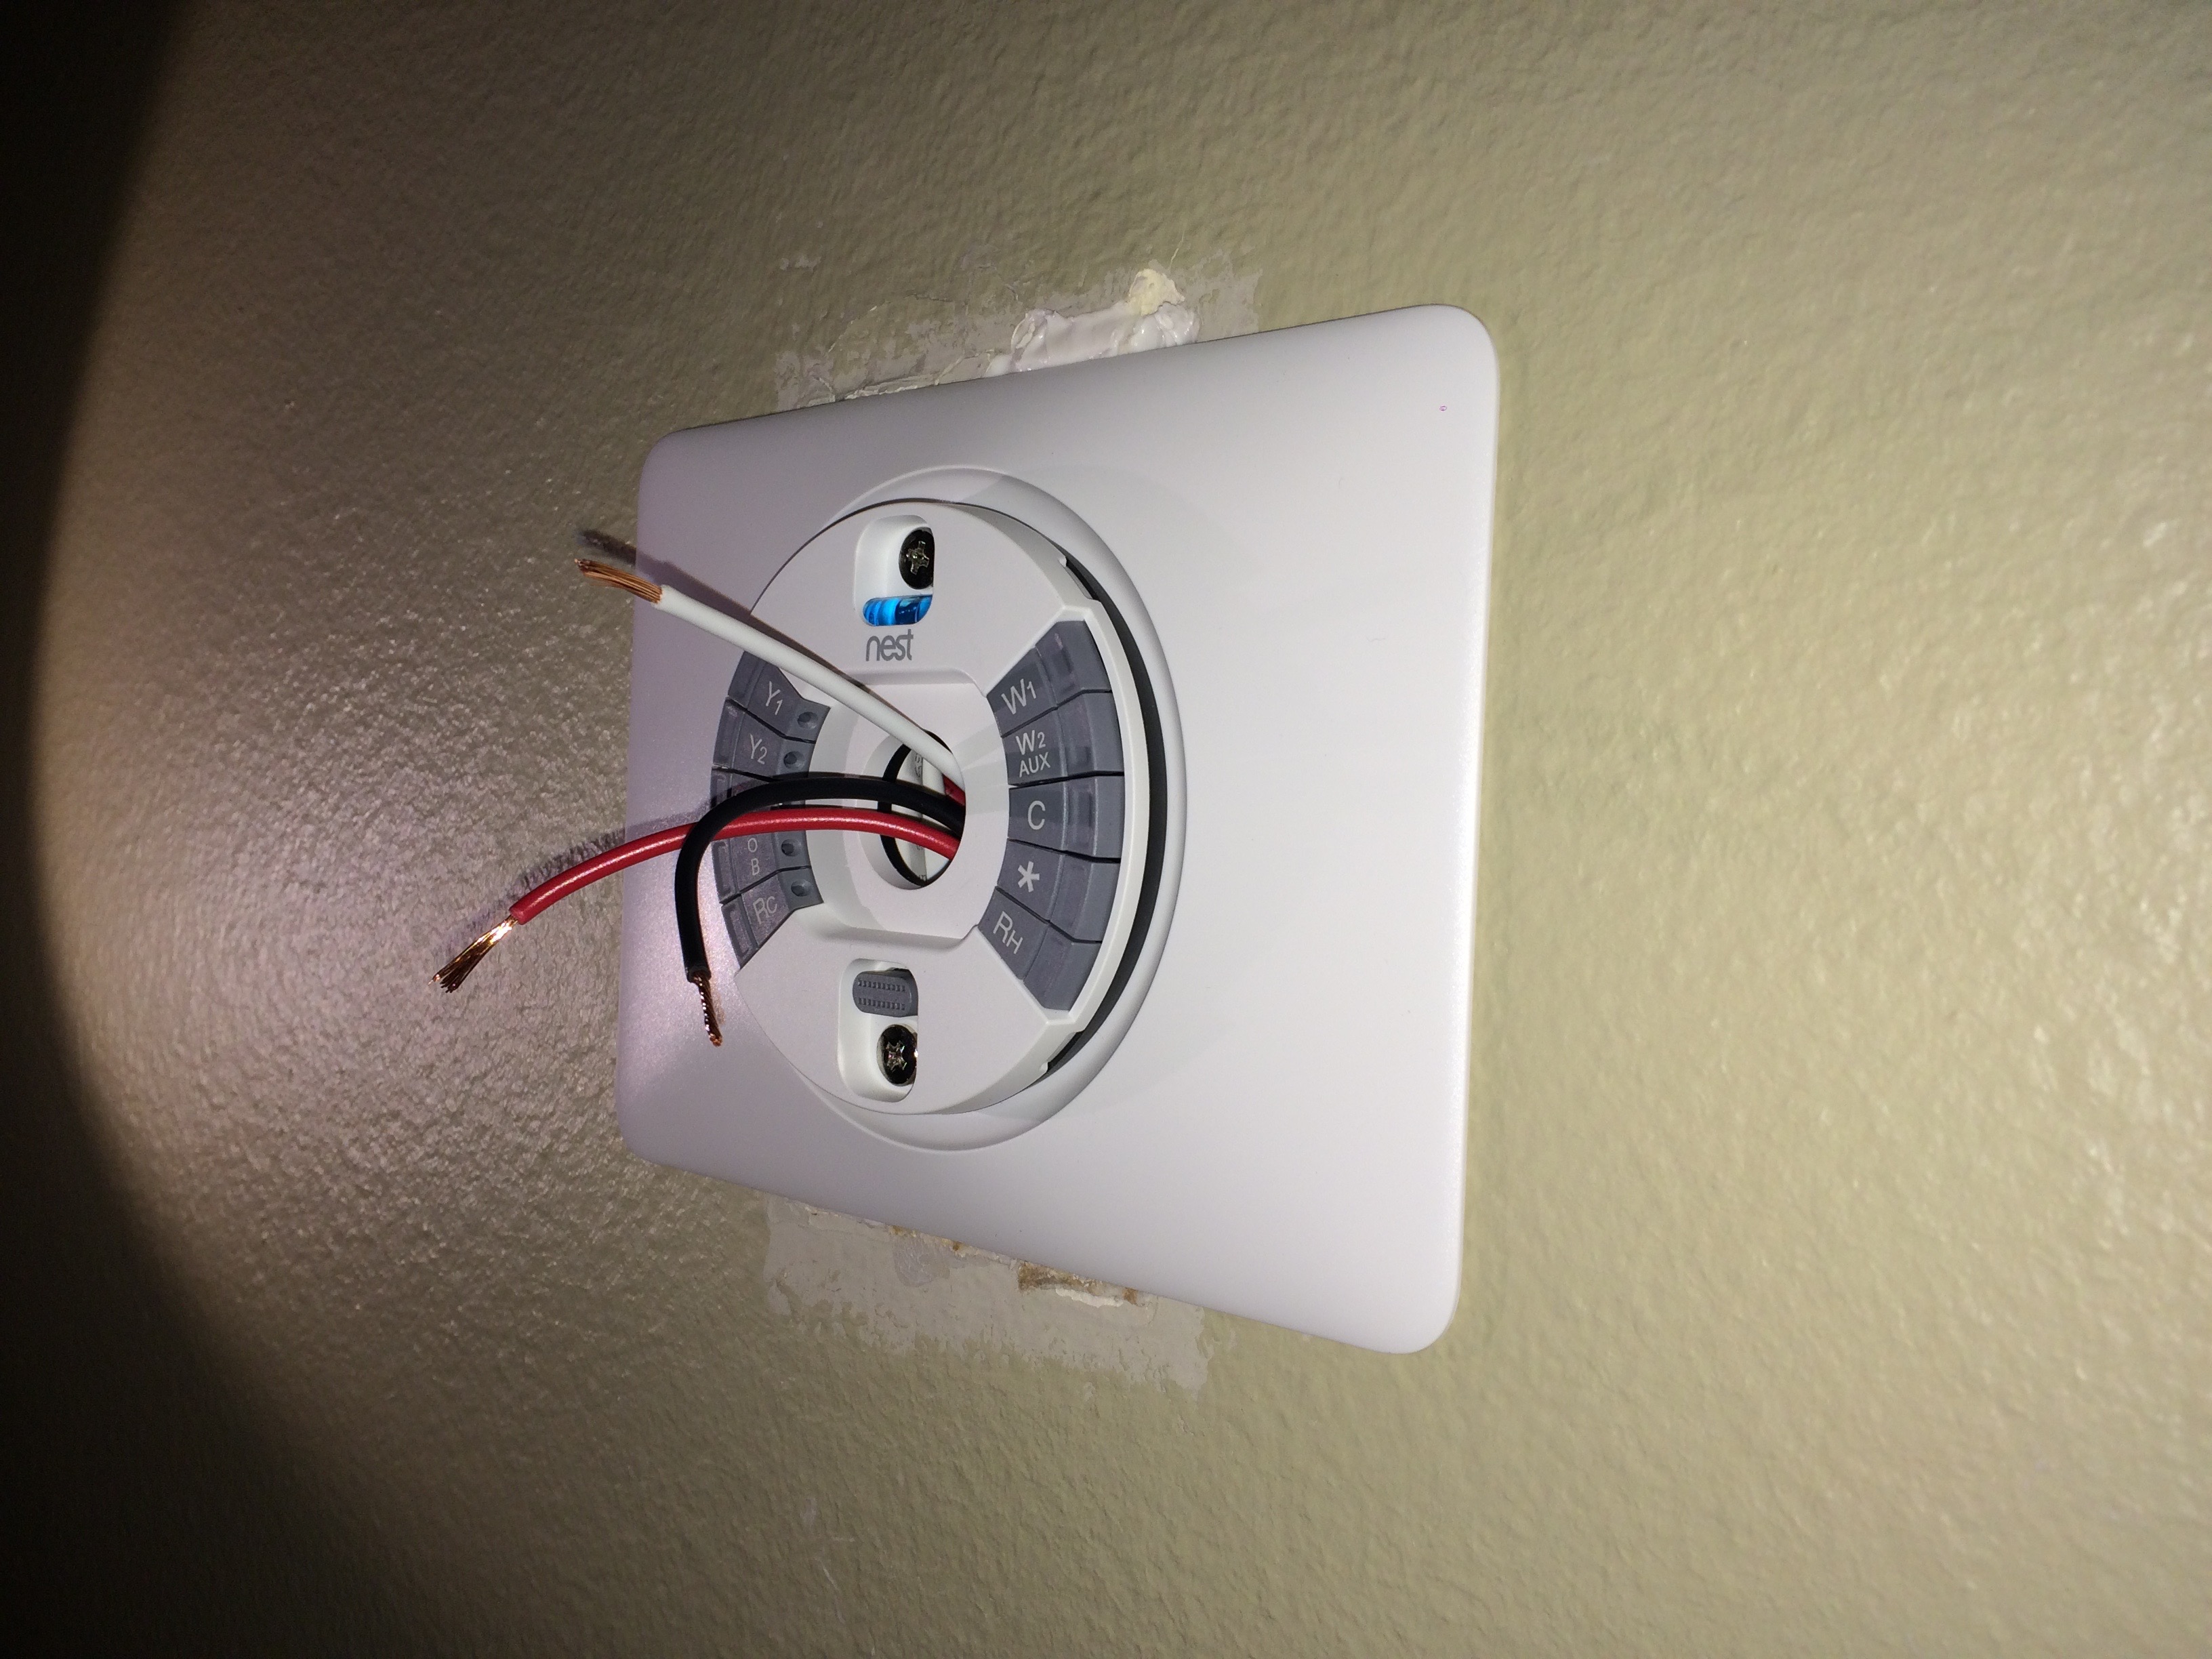
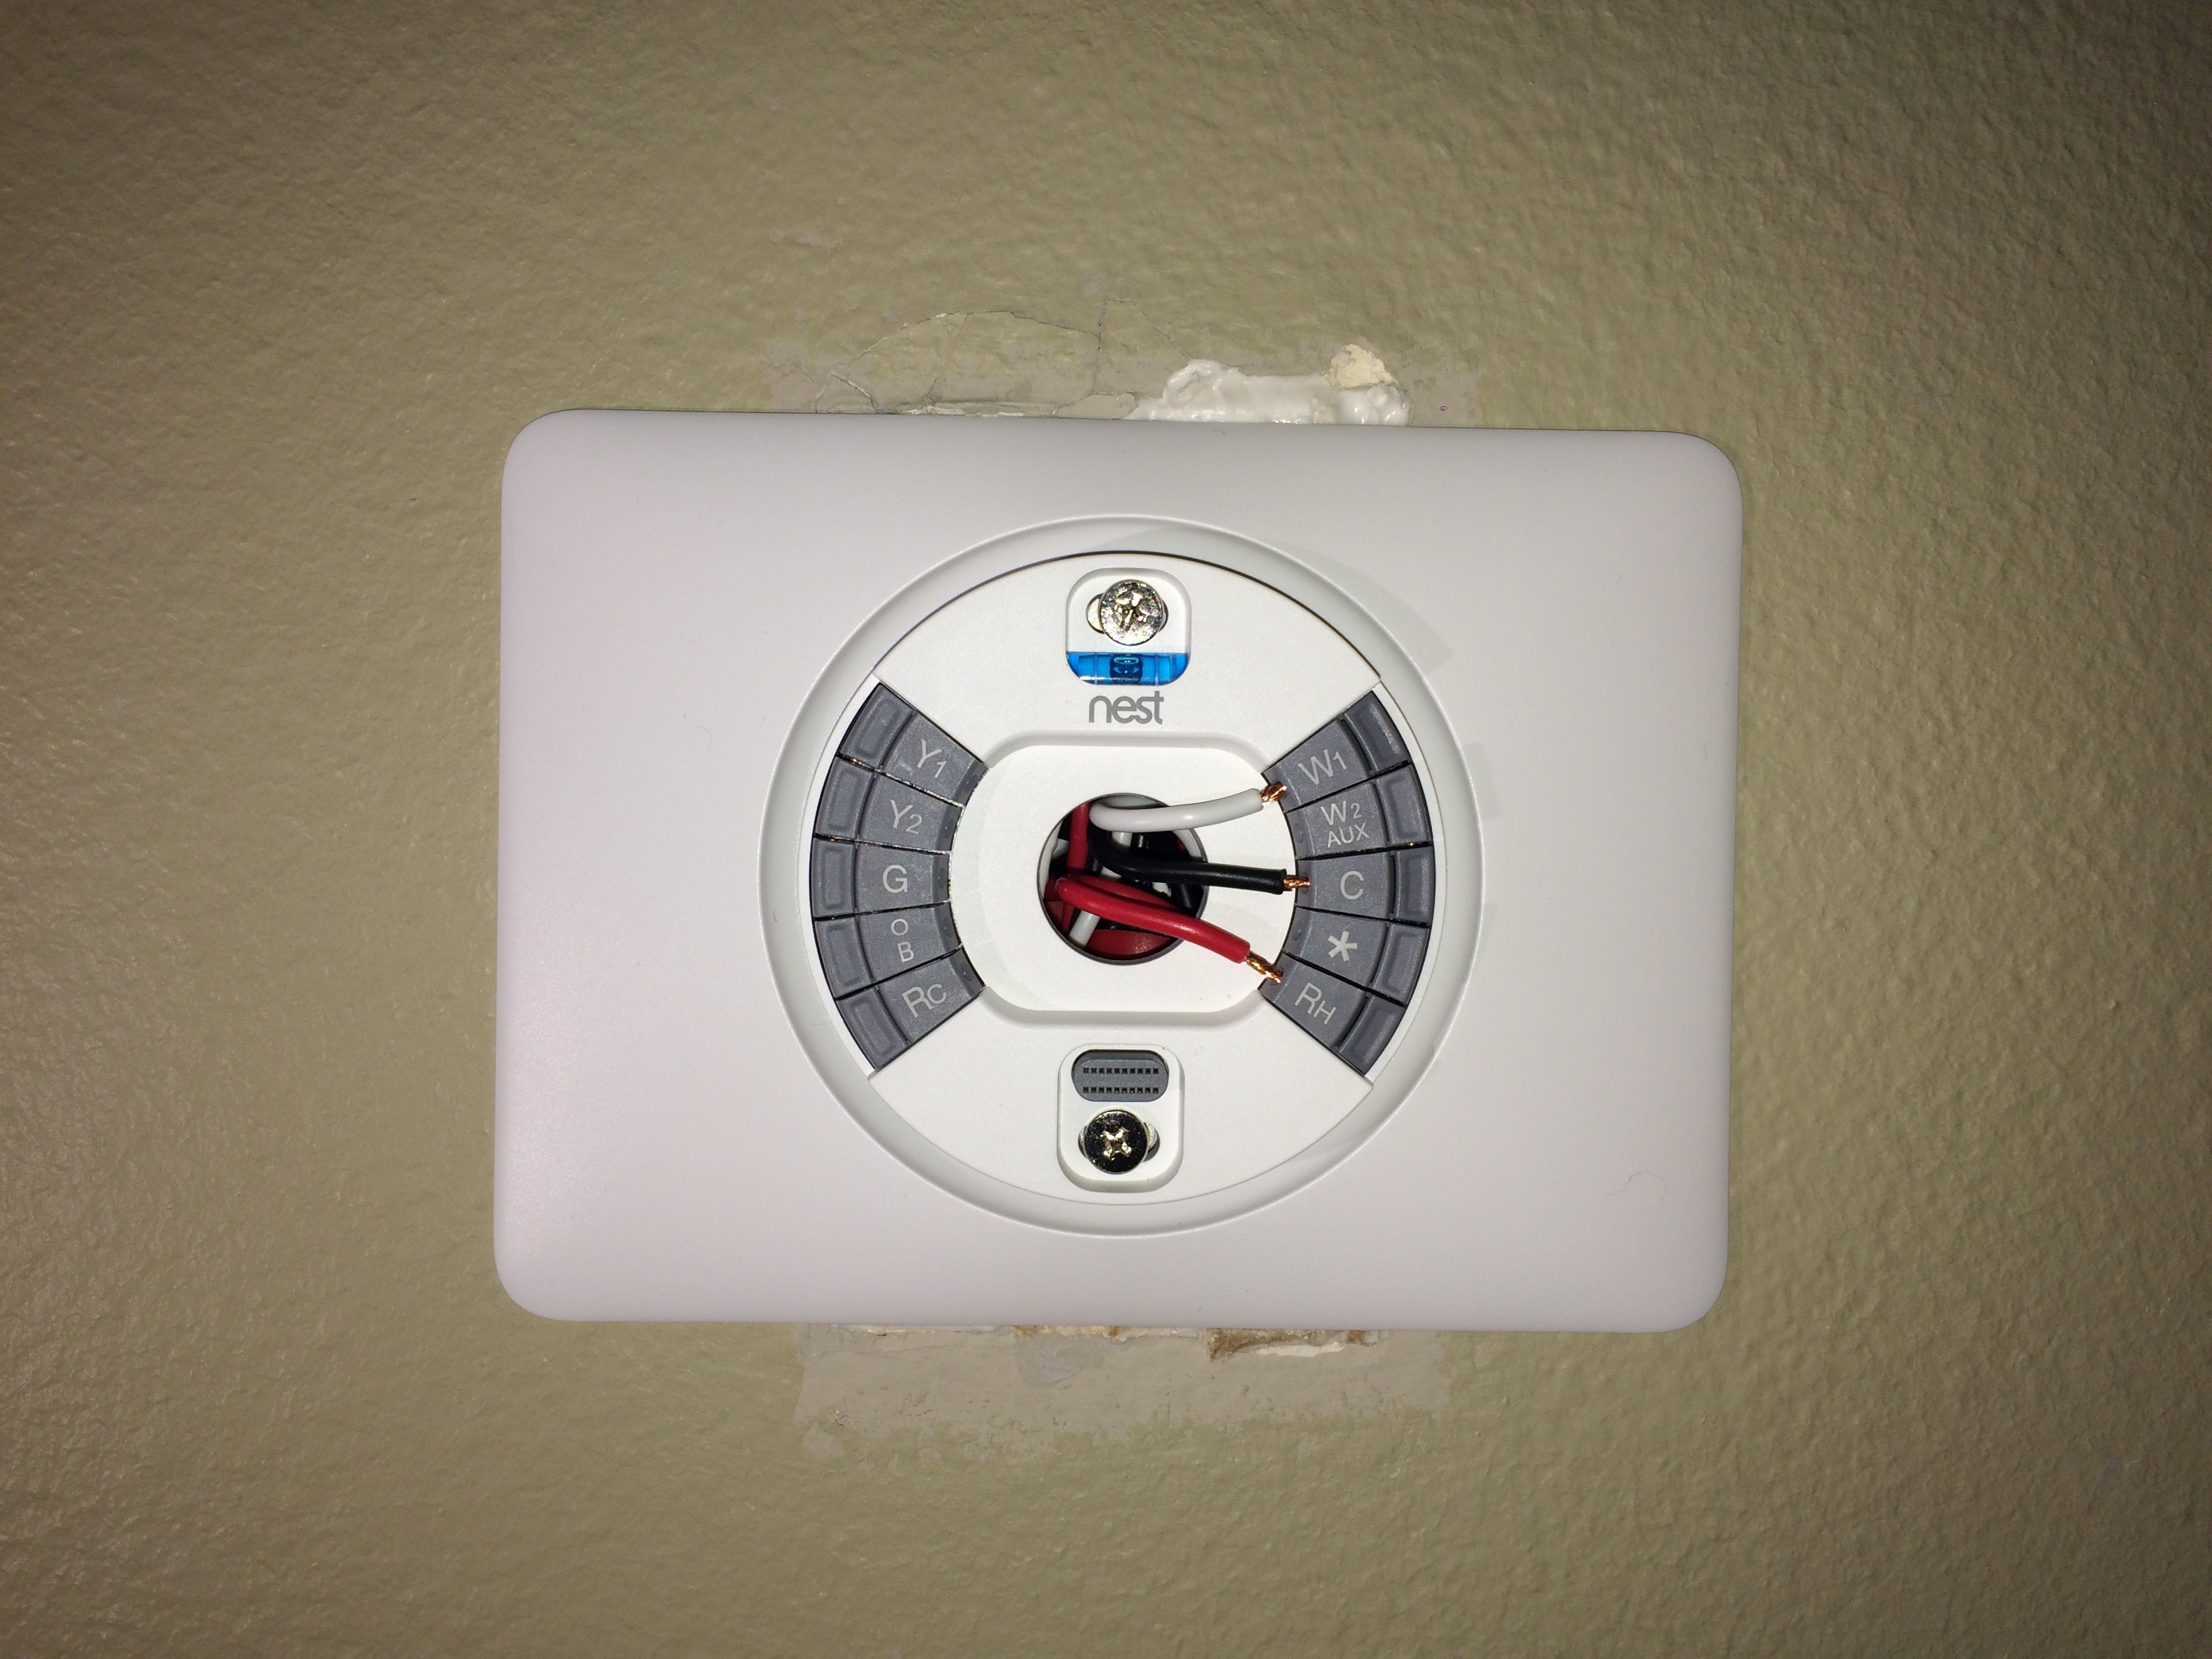
Wiring
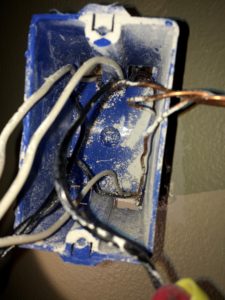
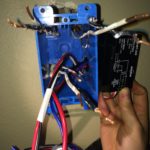
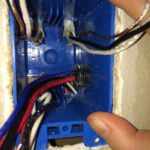
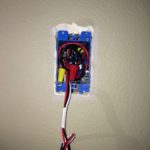
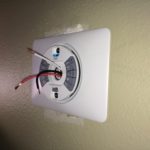
Now it’s time to put things back in place. First, separate the wires and identify the lines as they were originally:
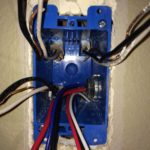
Then you wire the high-voltage cables from the relay with the ones from the line:
Yep, I am not including any schematics because I assume you know what you are doing! The relay has instructions, and Internet has many resources… But if you are not fully confident, you can still give this post to a licensed contractor as reference on how to do the work, and let them do it.
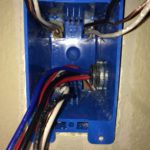
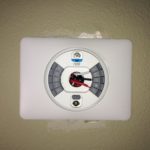
Pack all the cables inside the box. It’s a good idea when you buy the box to make sure all the cables fits inside. It’s also a good idea after you buy the box, to make sure all those wires are long enough to let you wire them, but not too long to be too stuffed in the box.

Final step
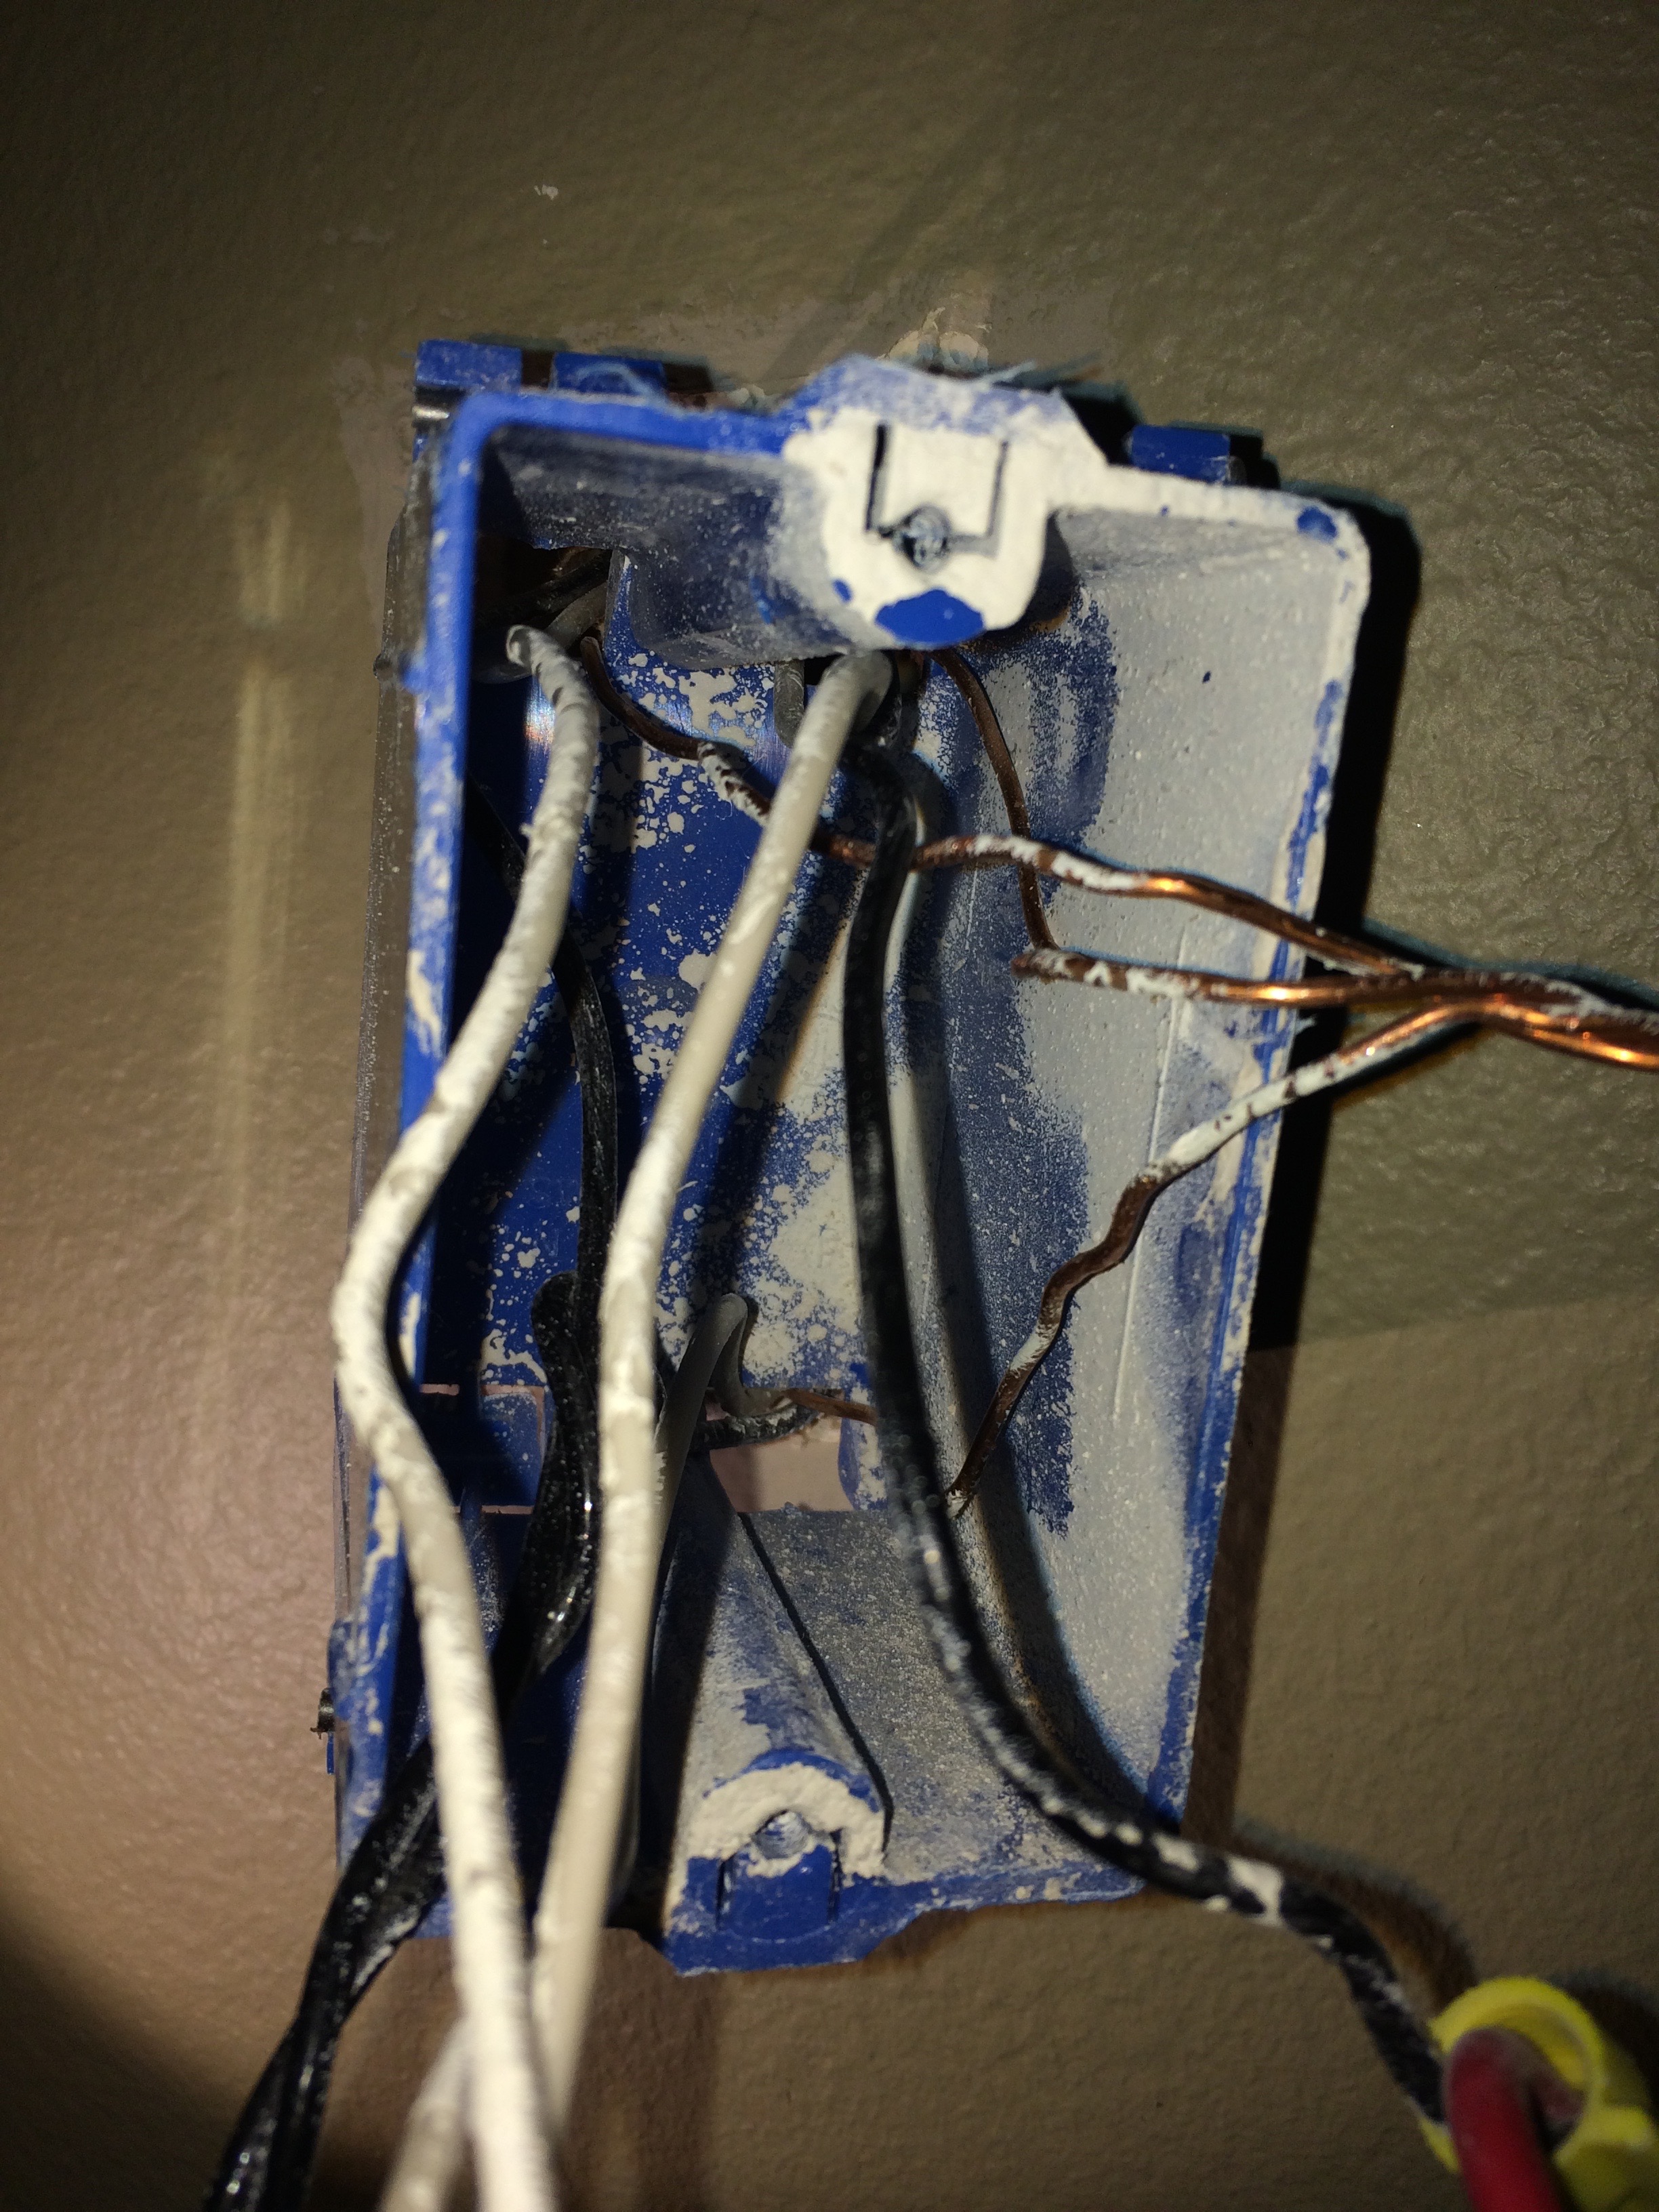
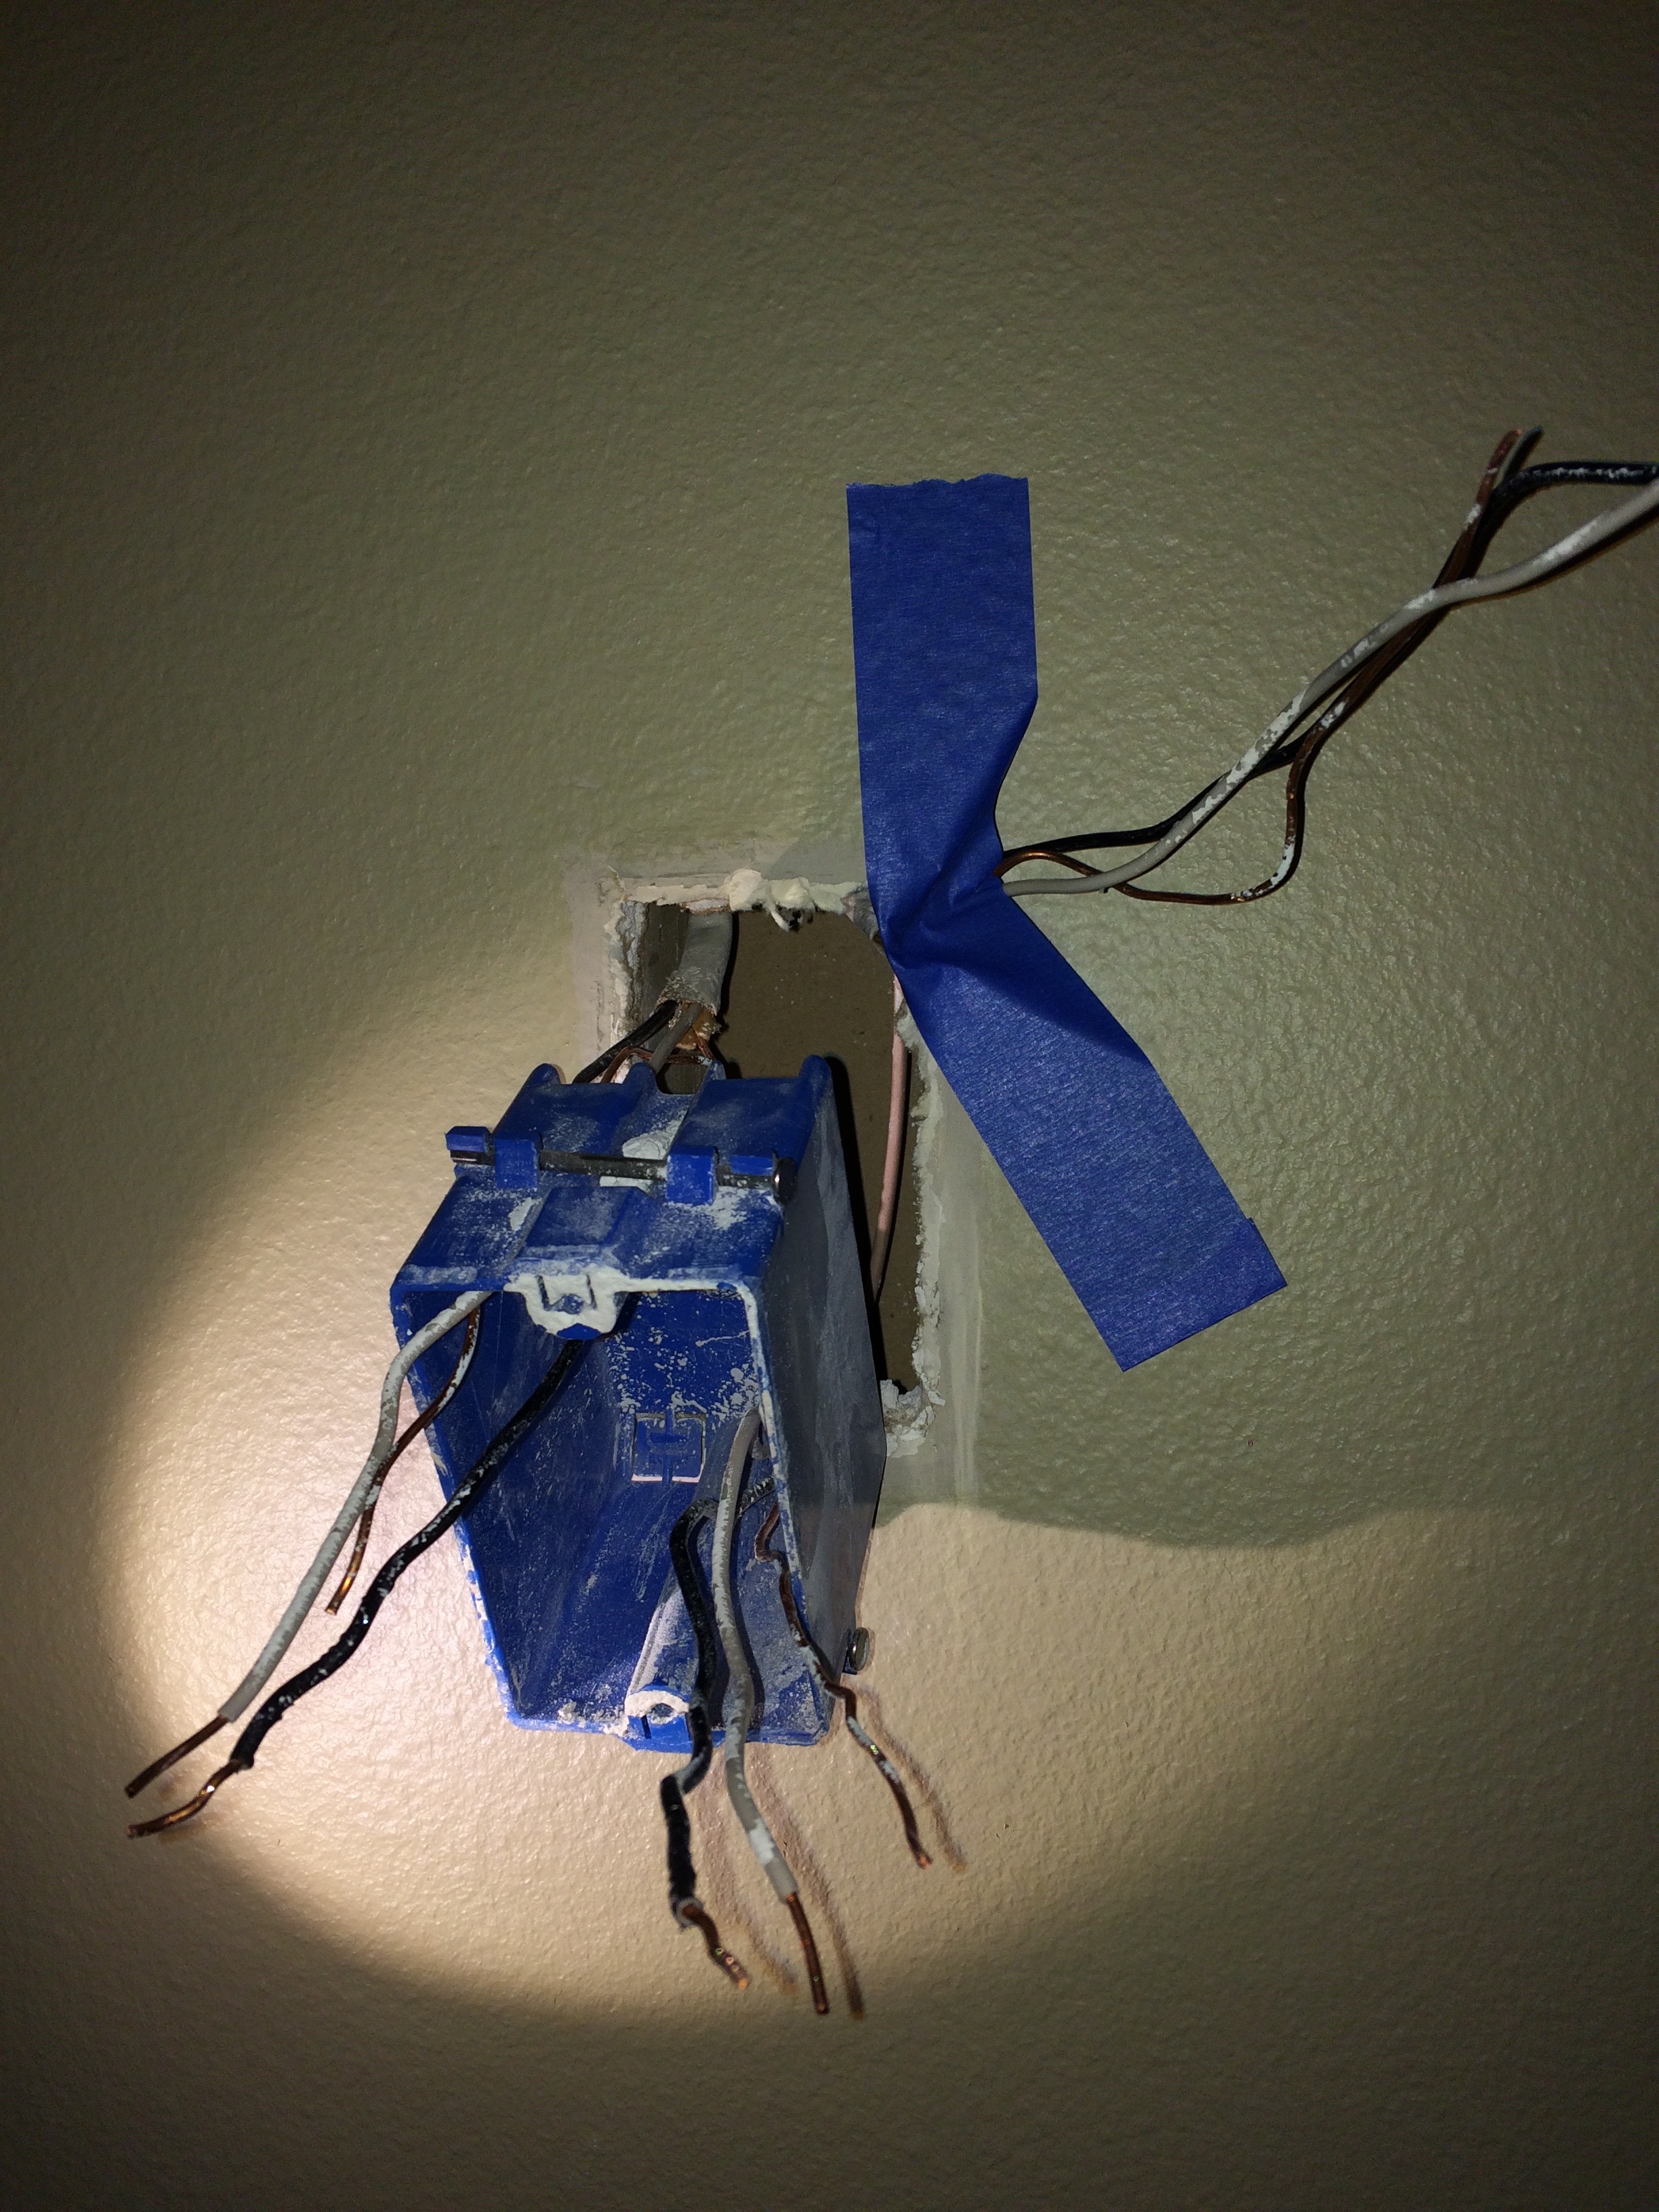
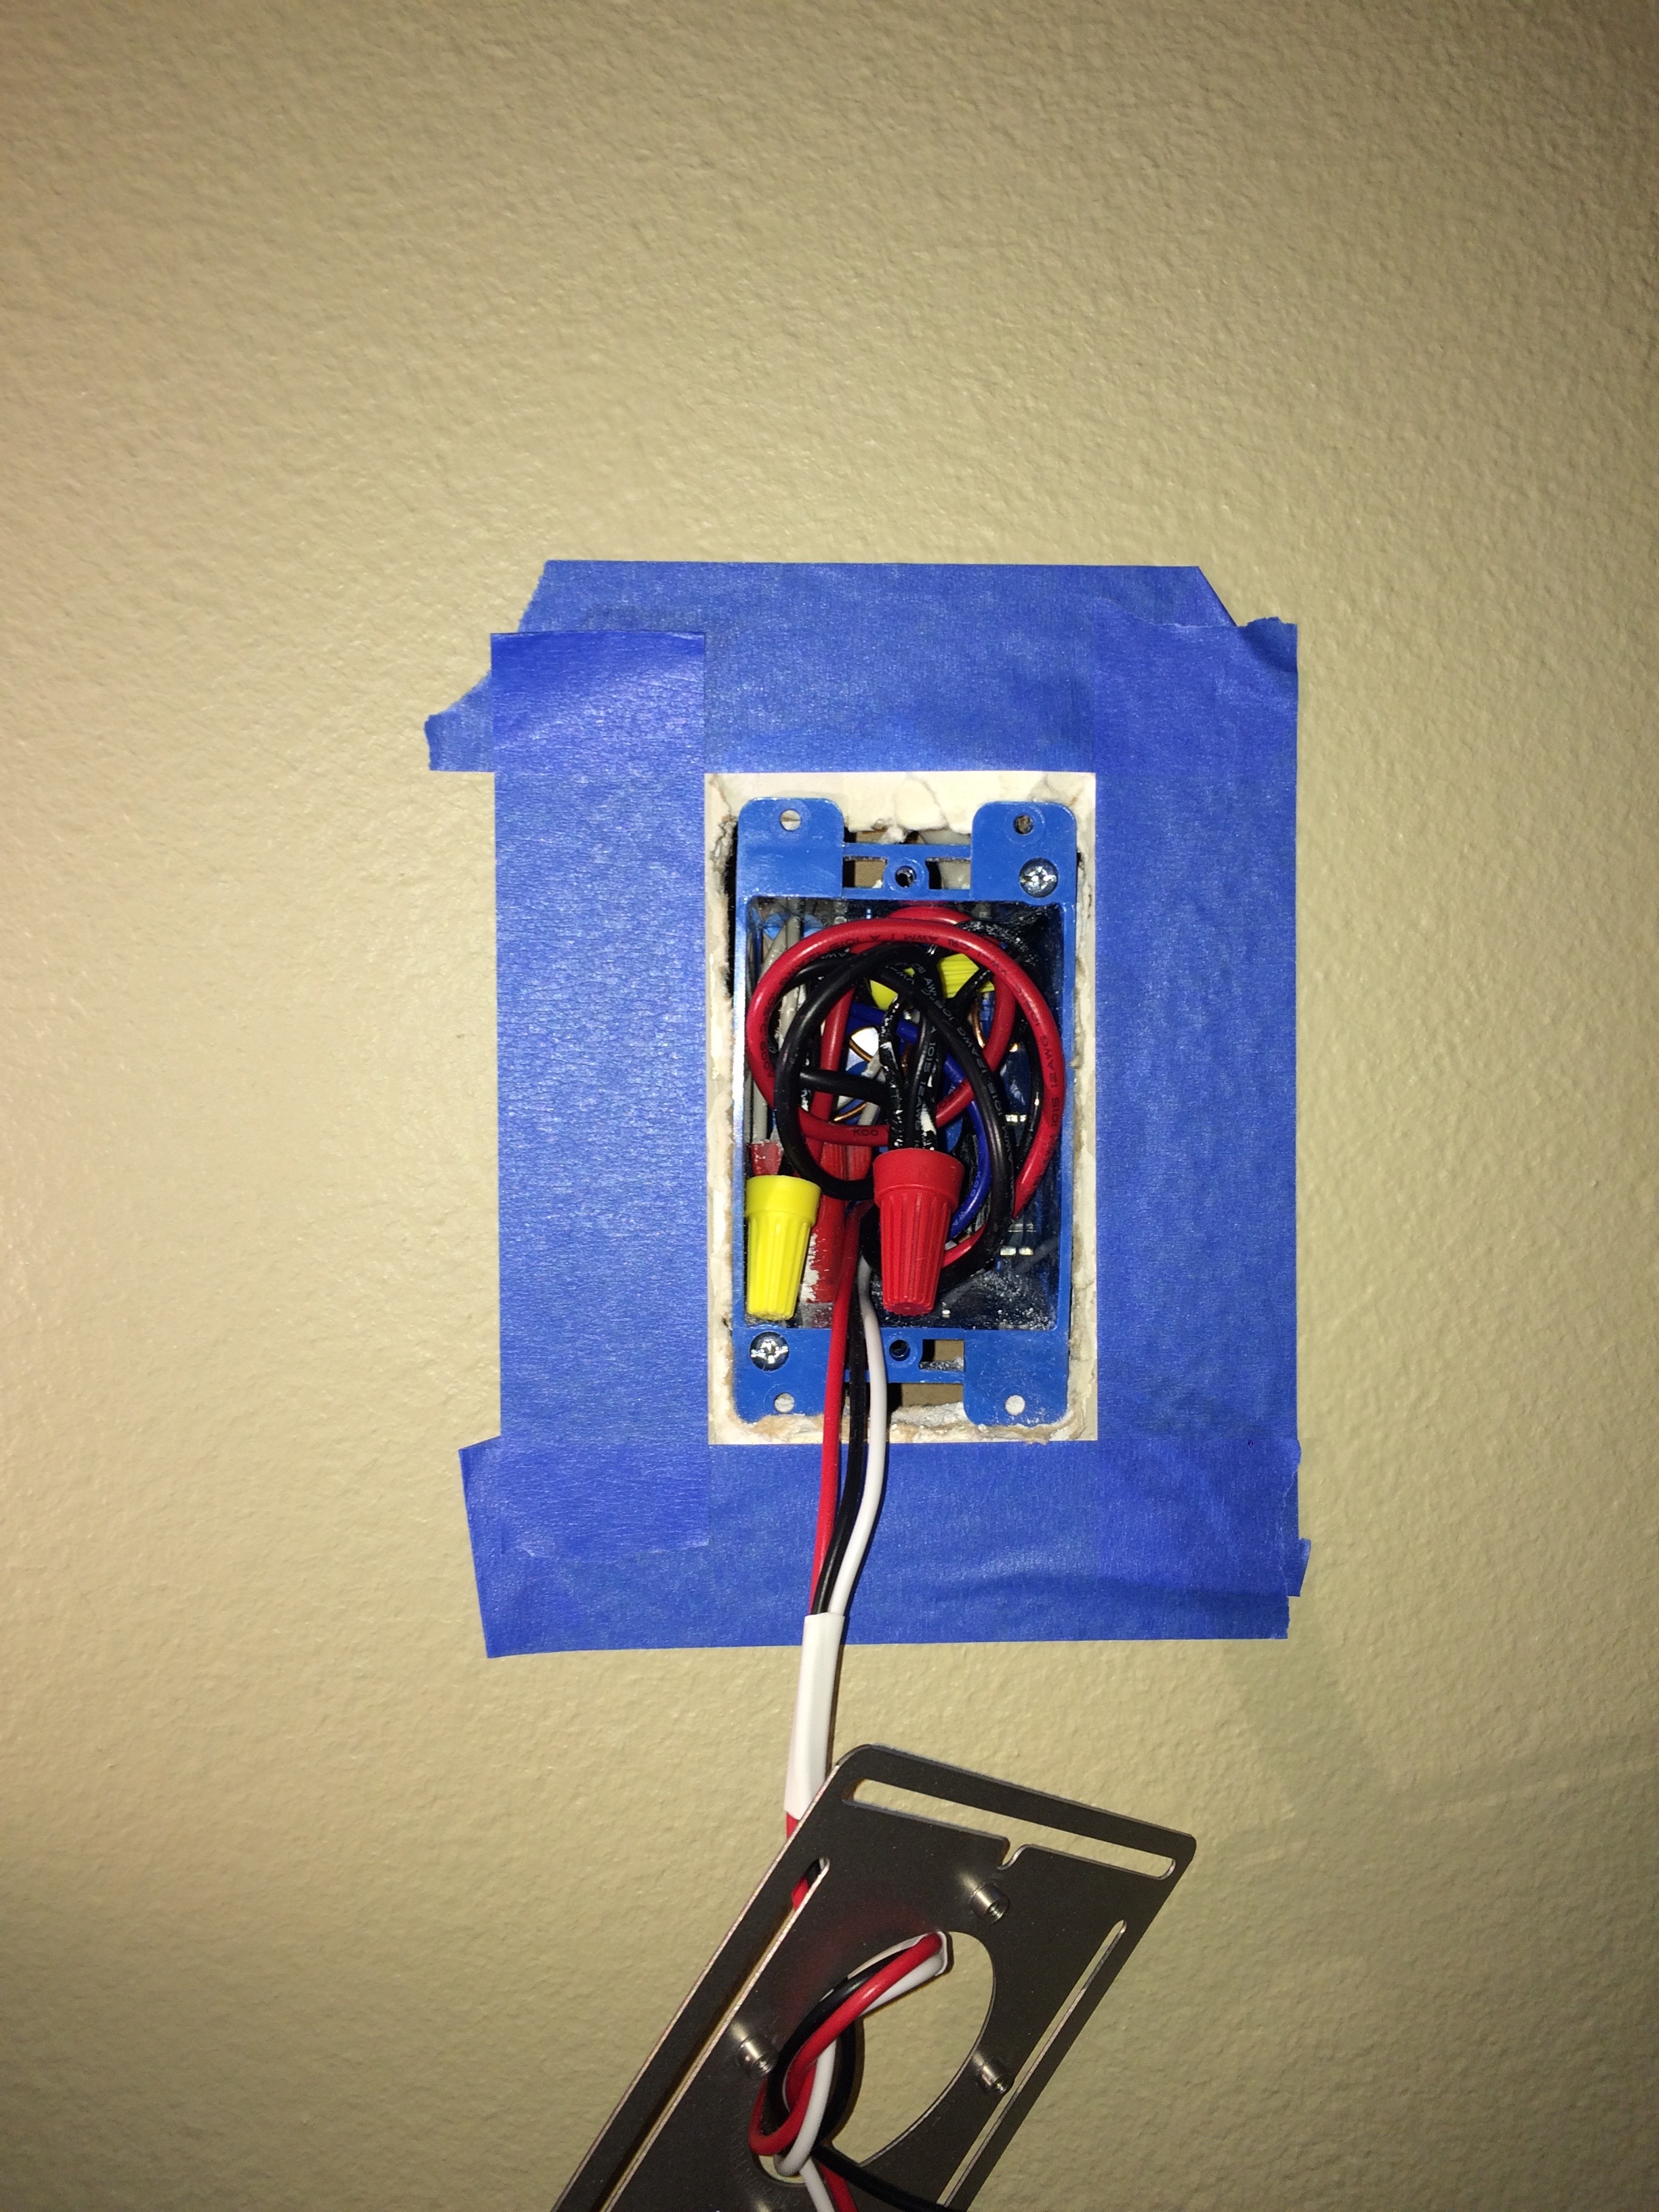
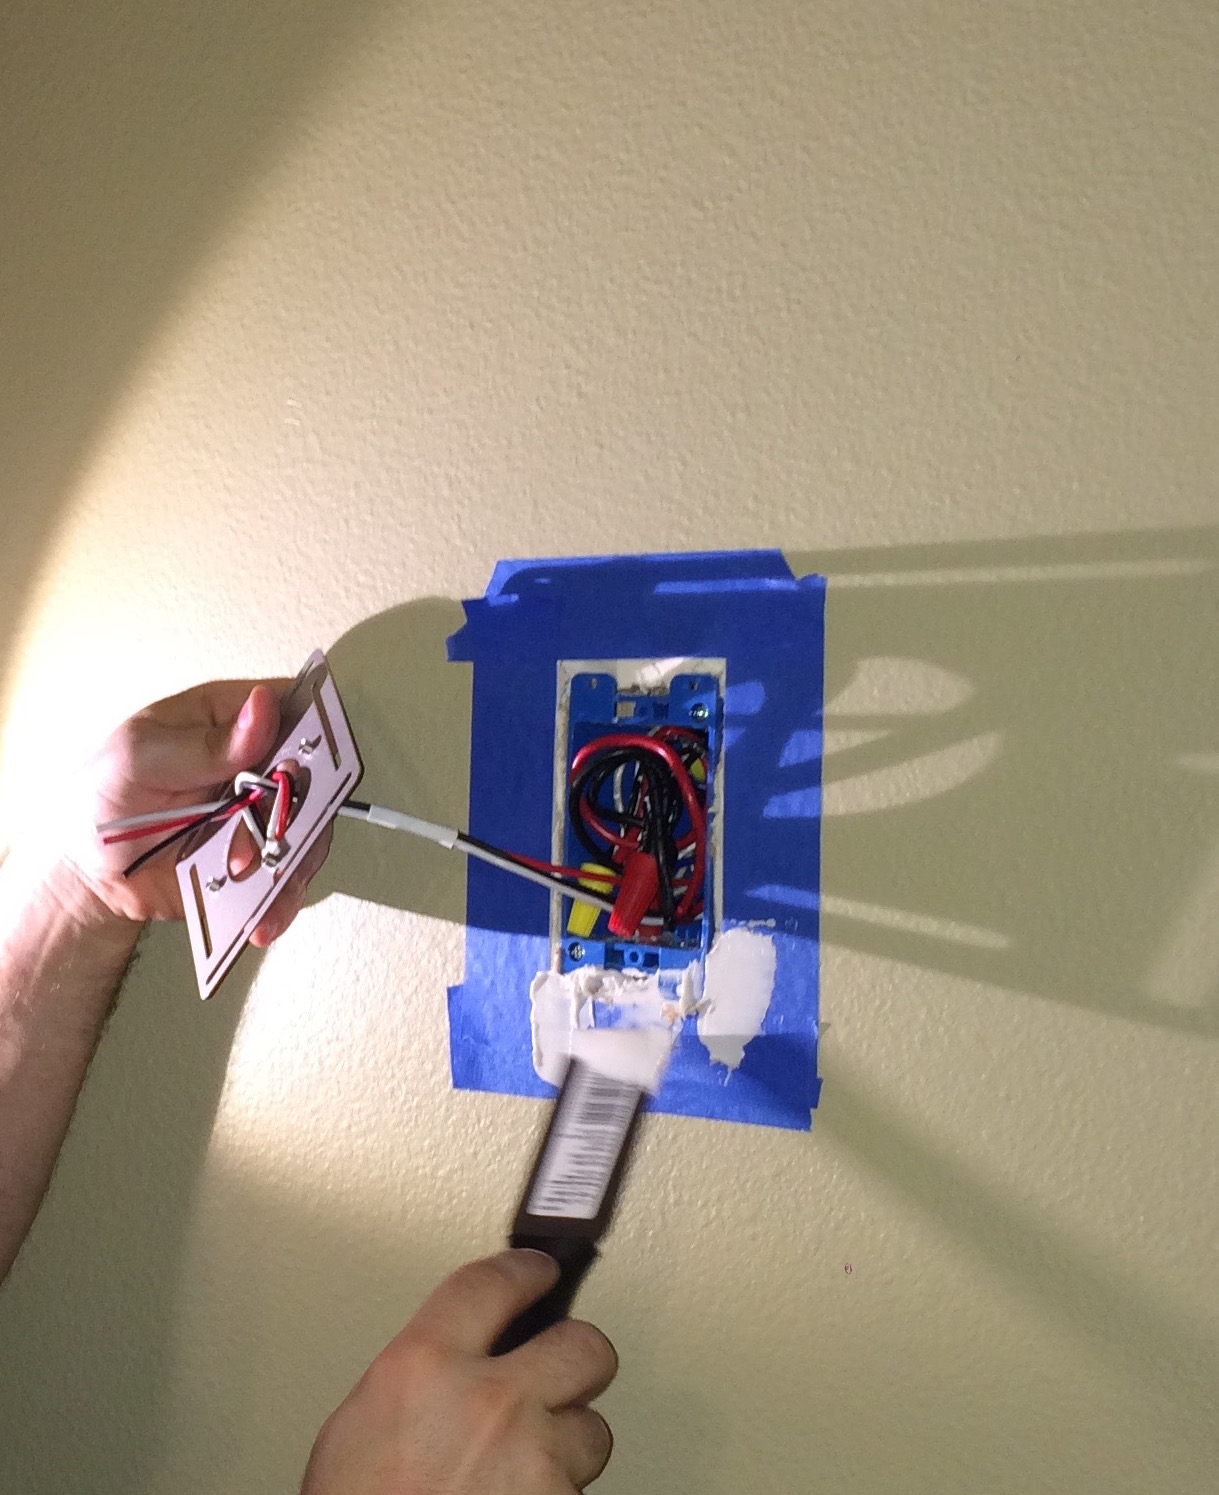
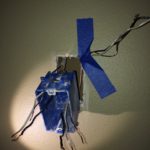
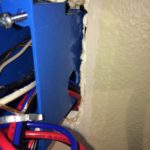
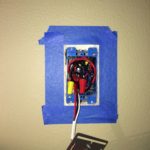
Very well. Almost done. Now get some spackling paste and blue tape so that we can lock the blue box into position:
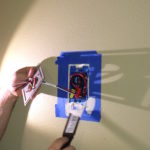
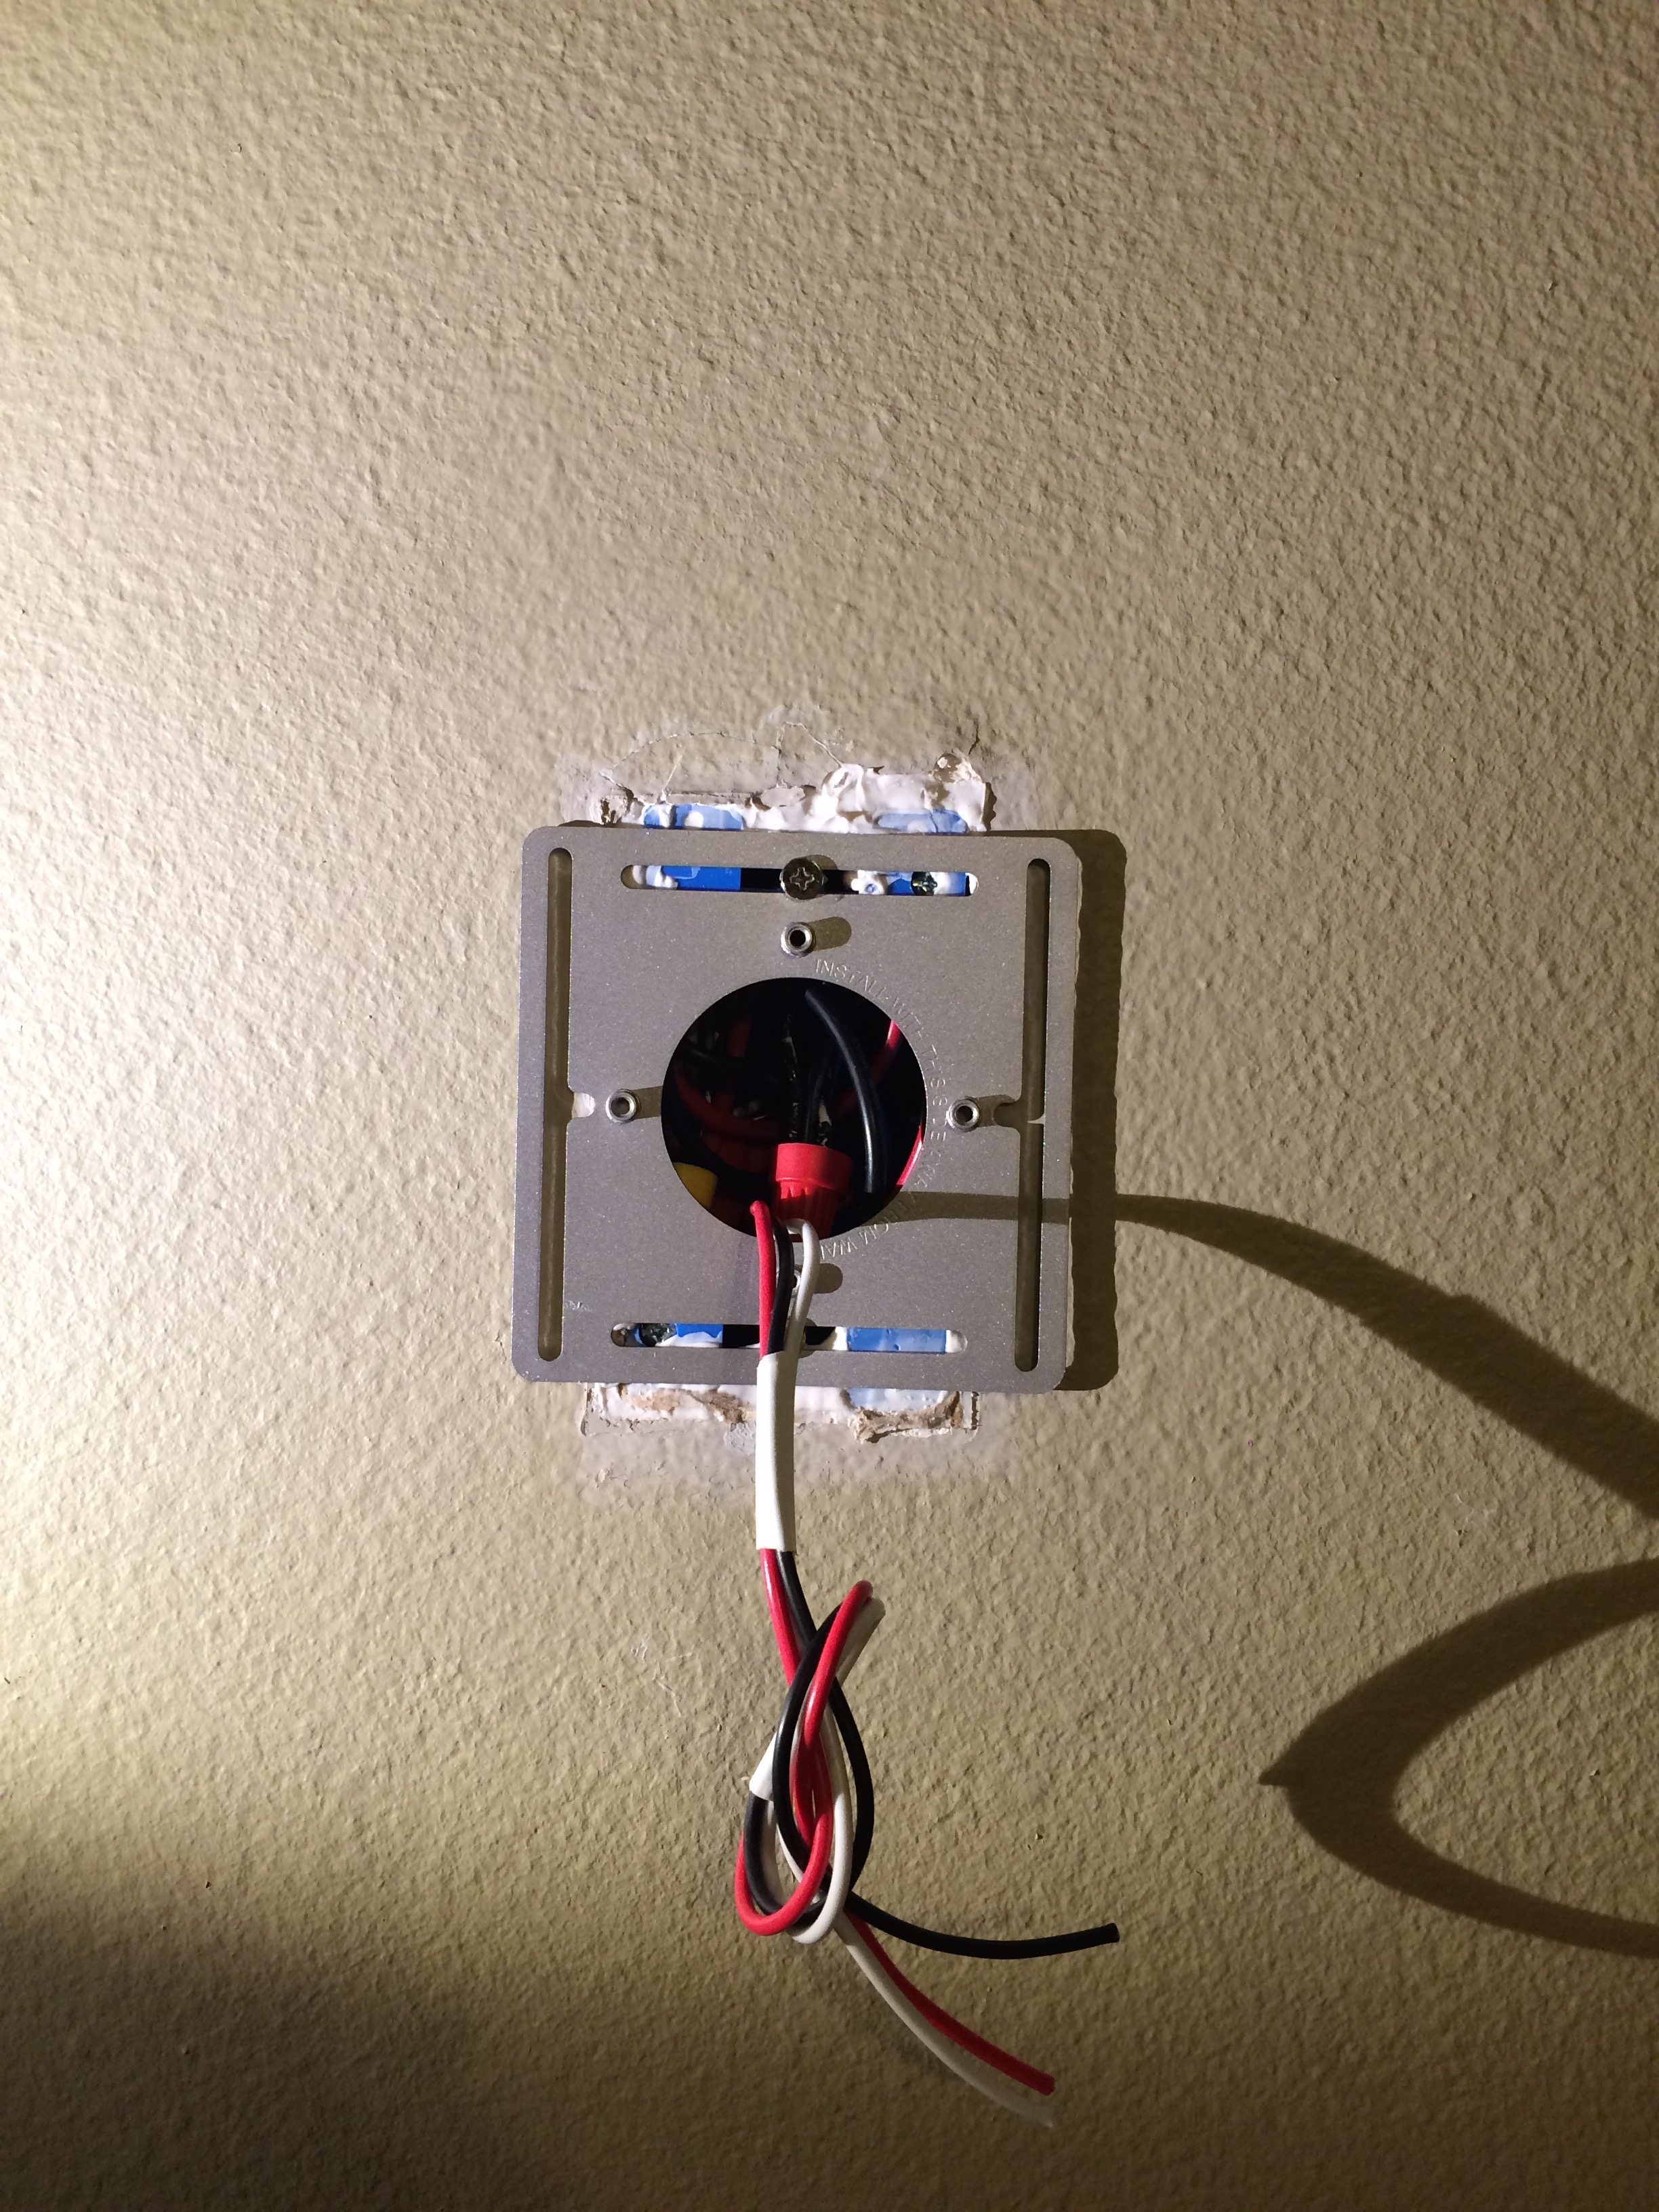
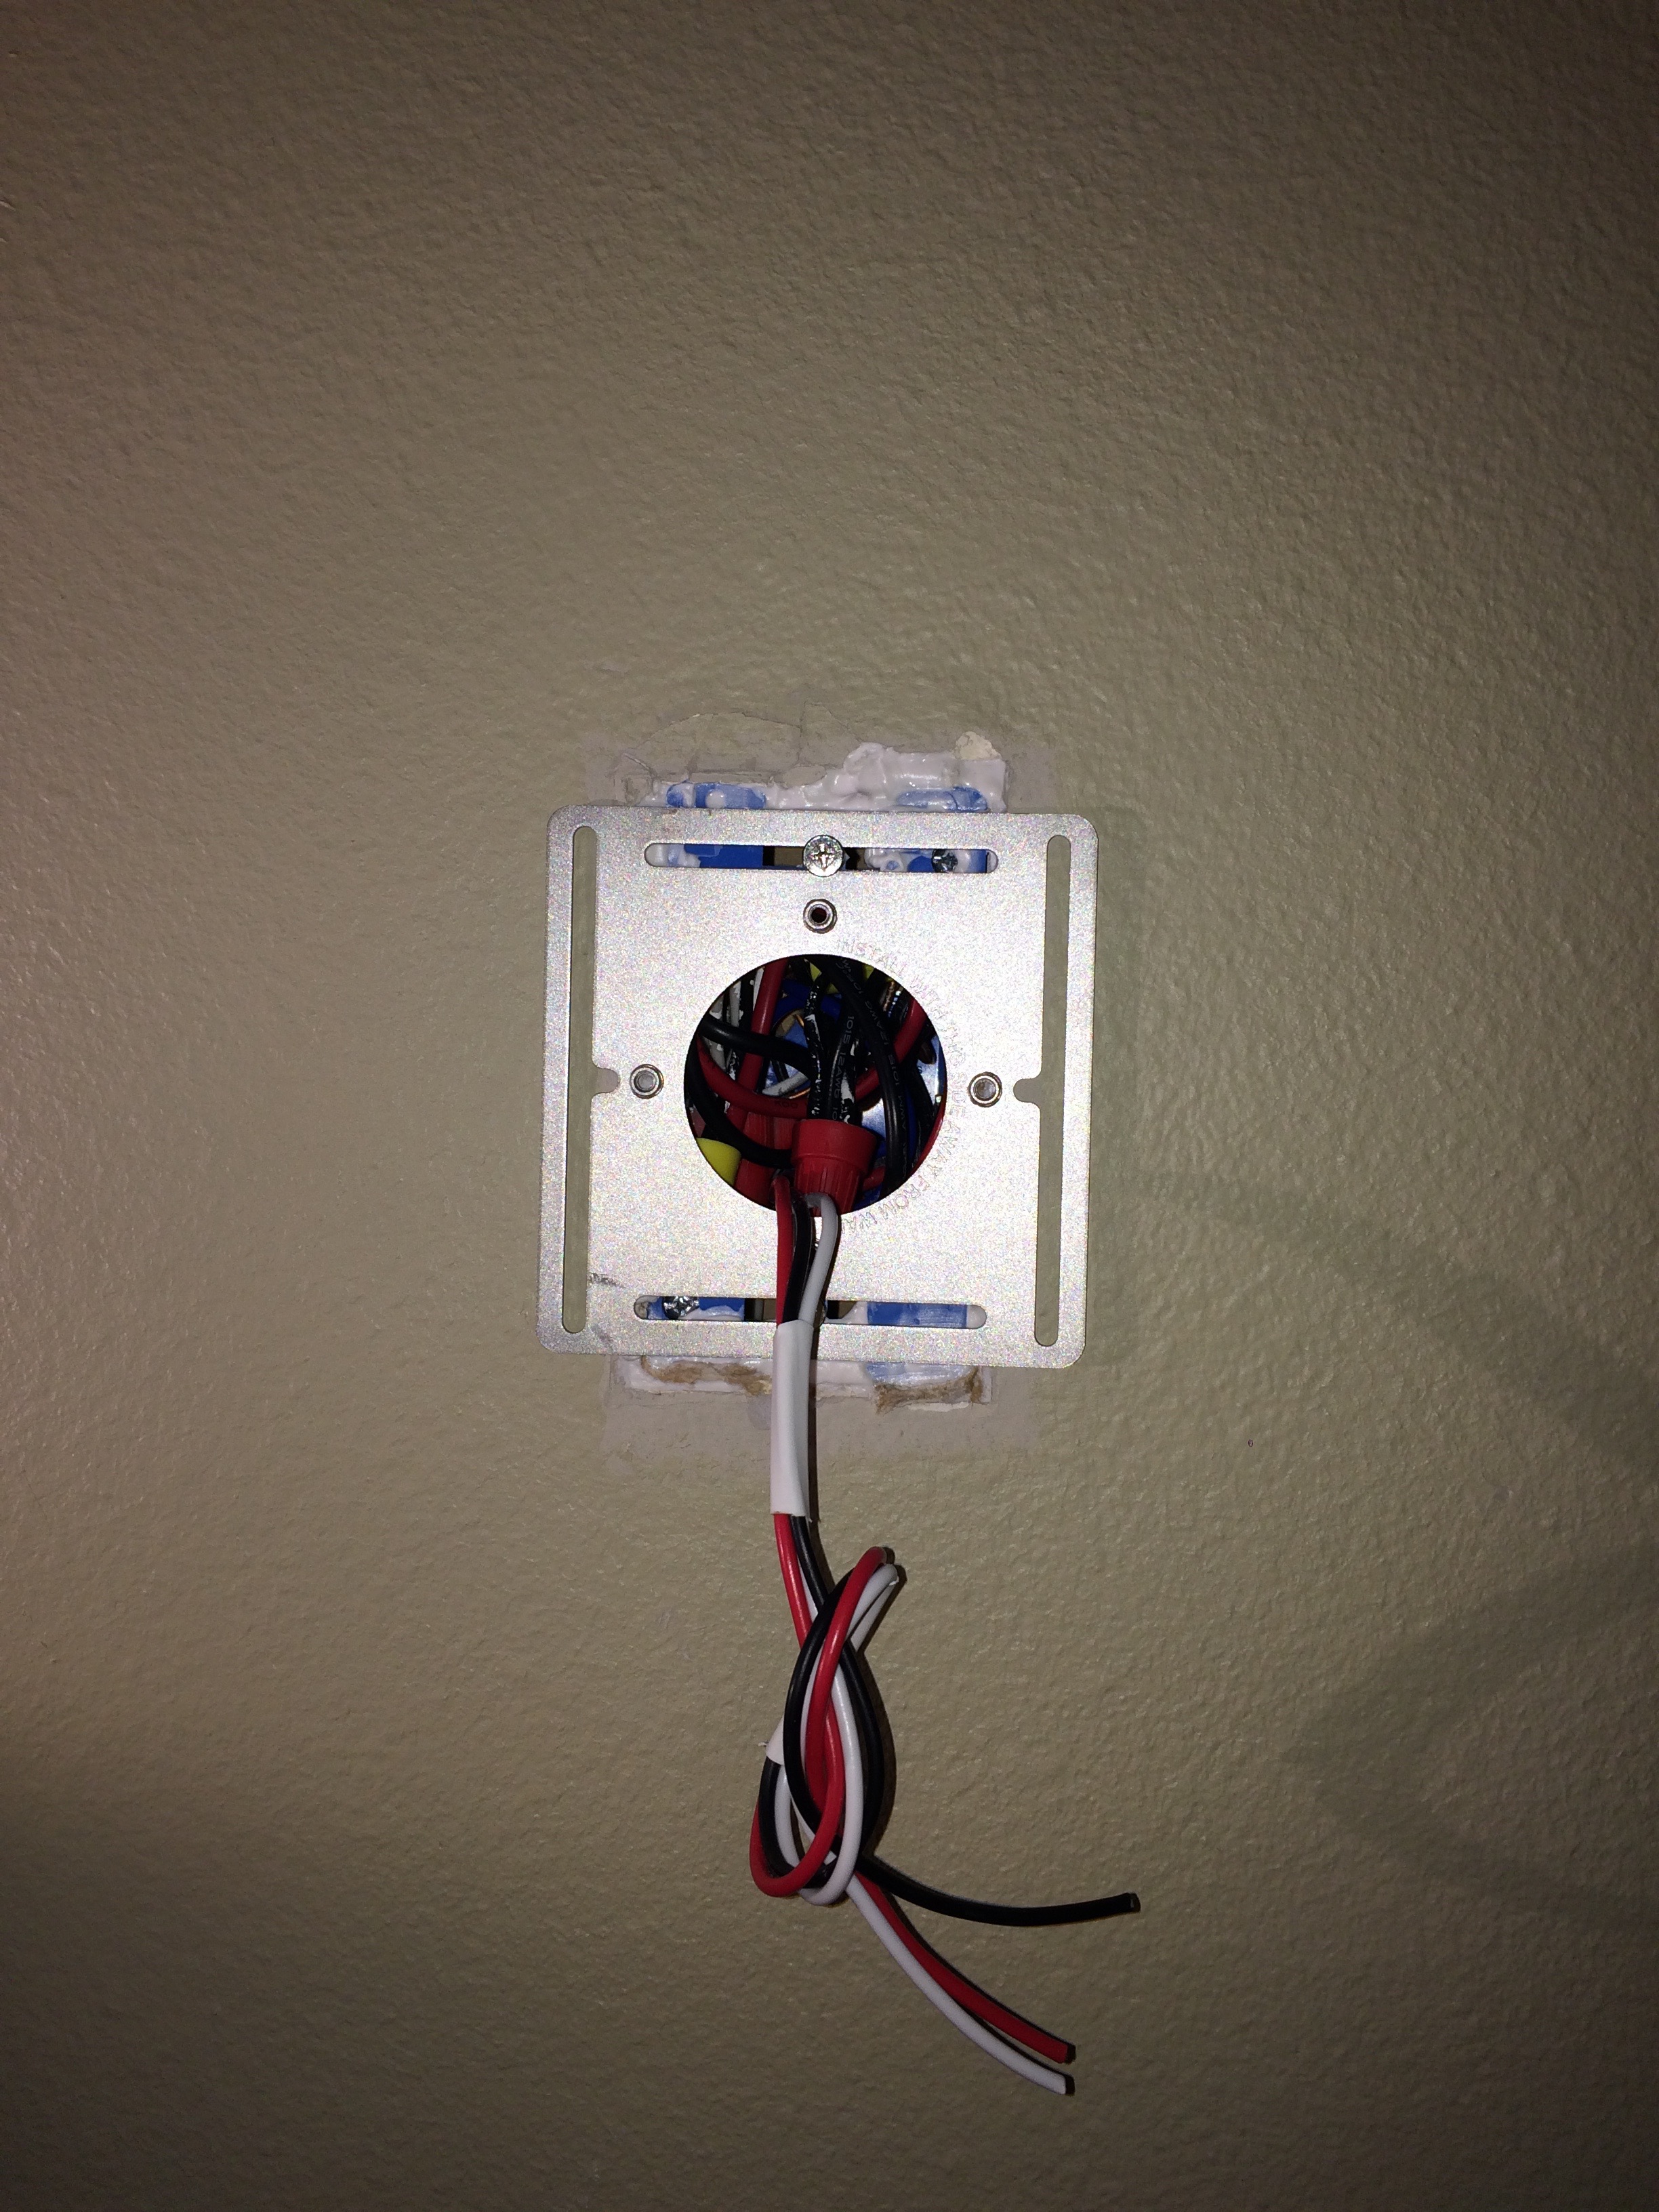
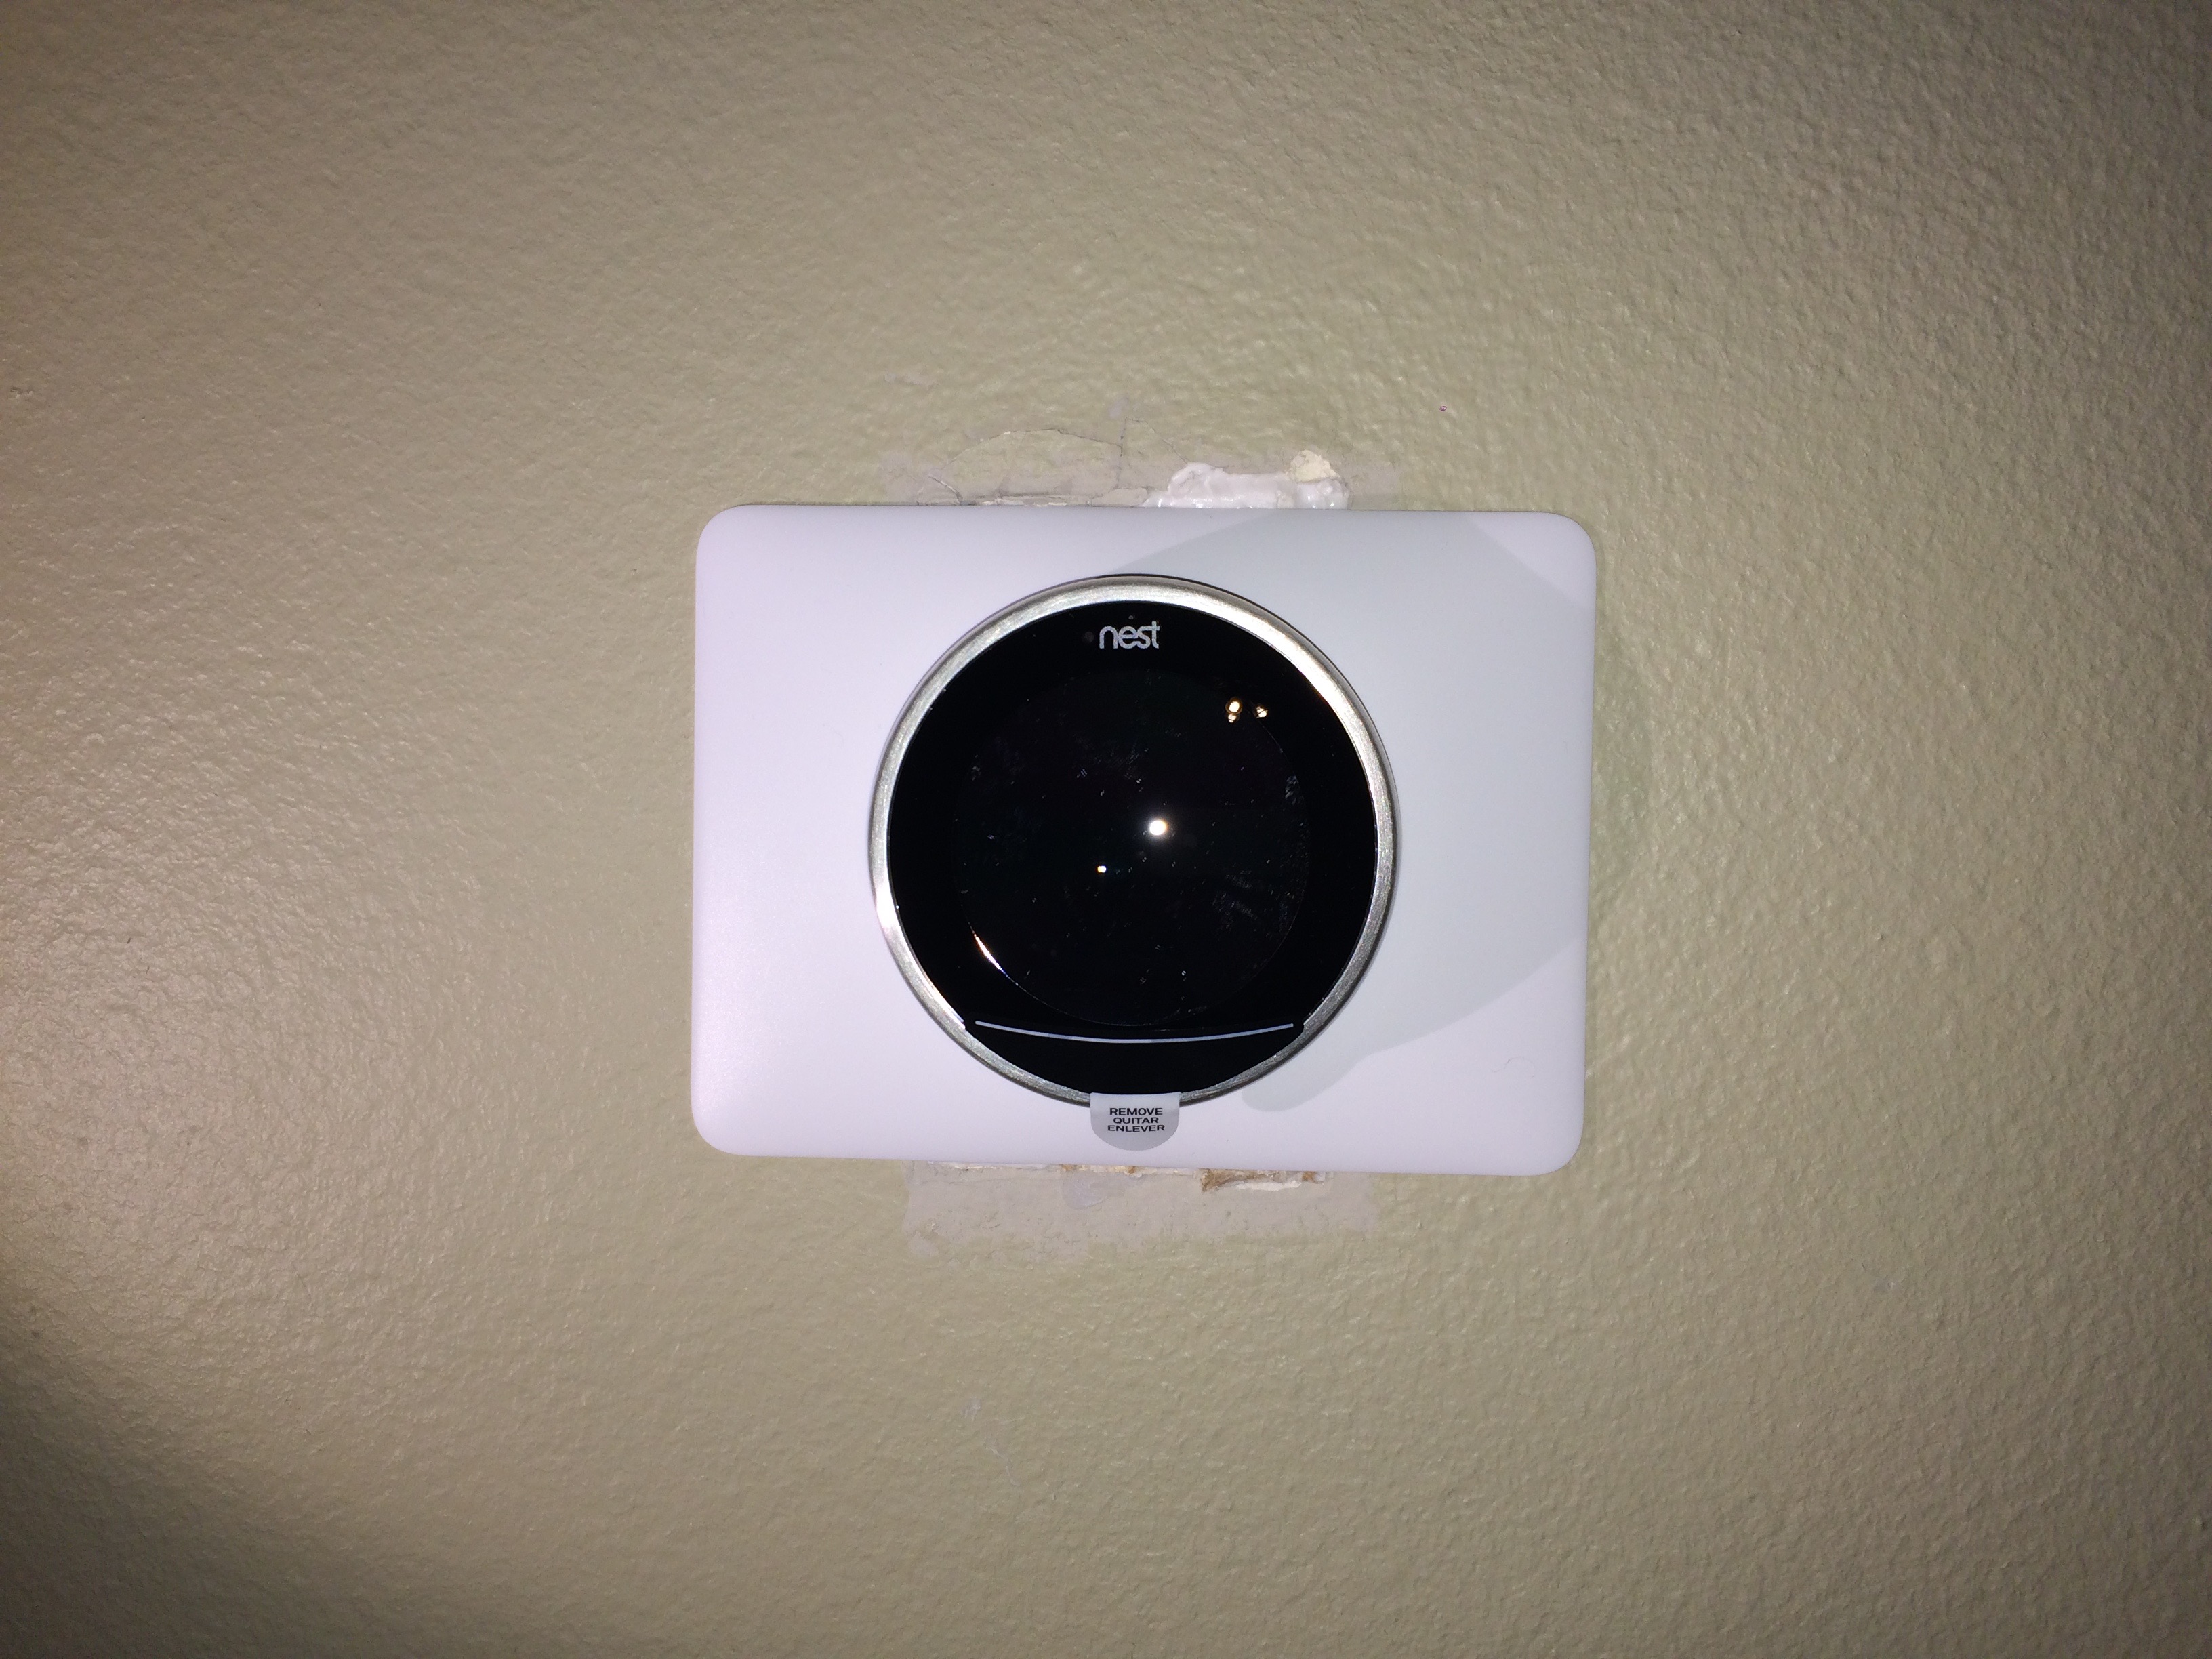
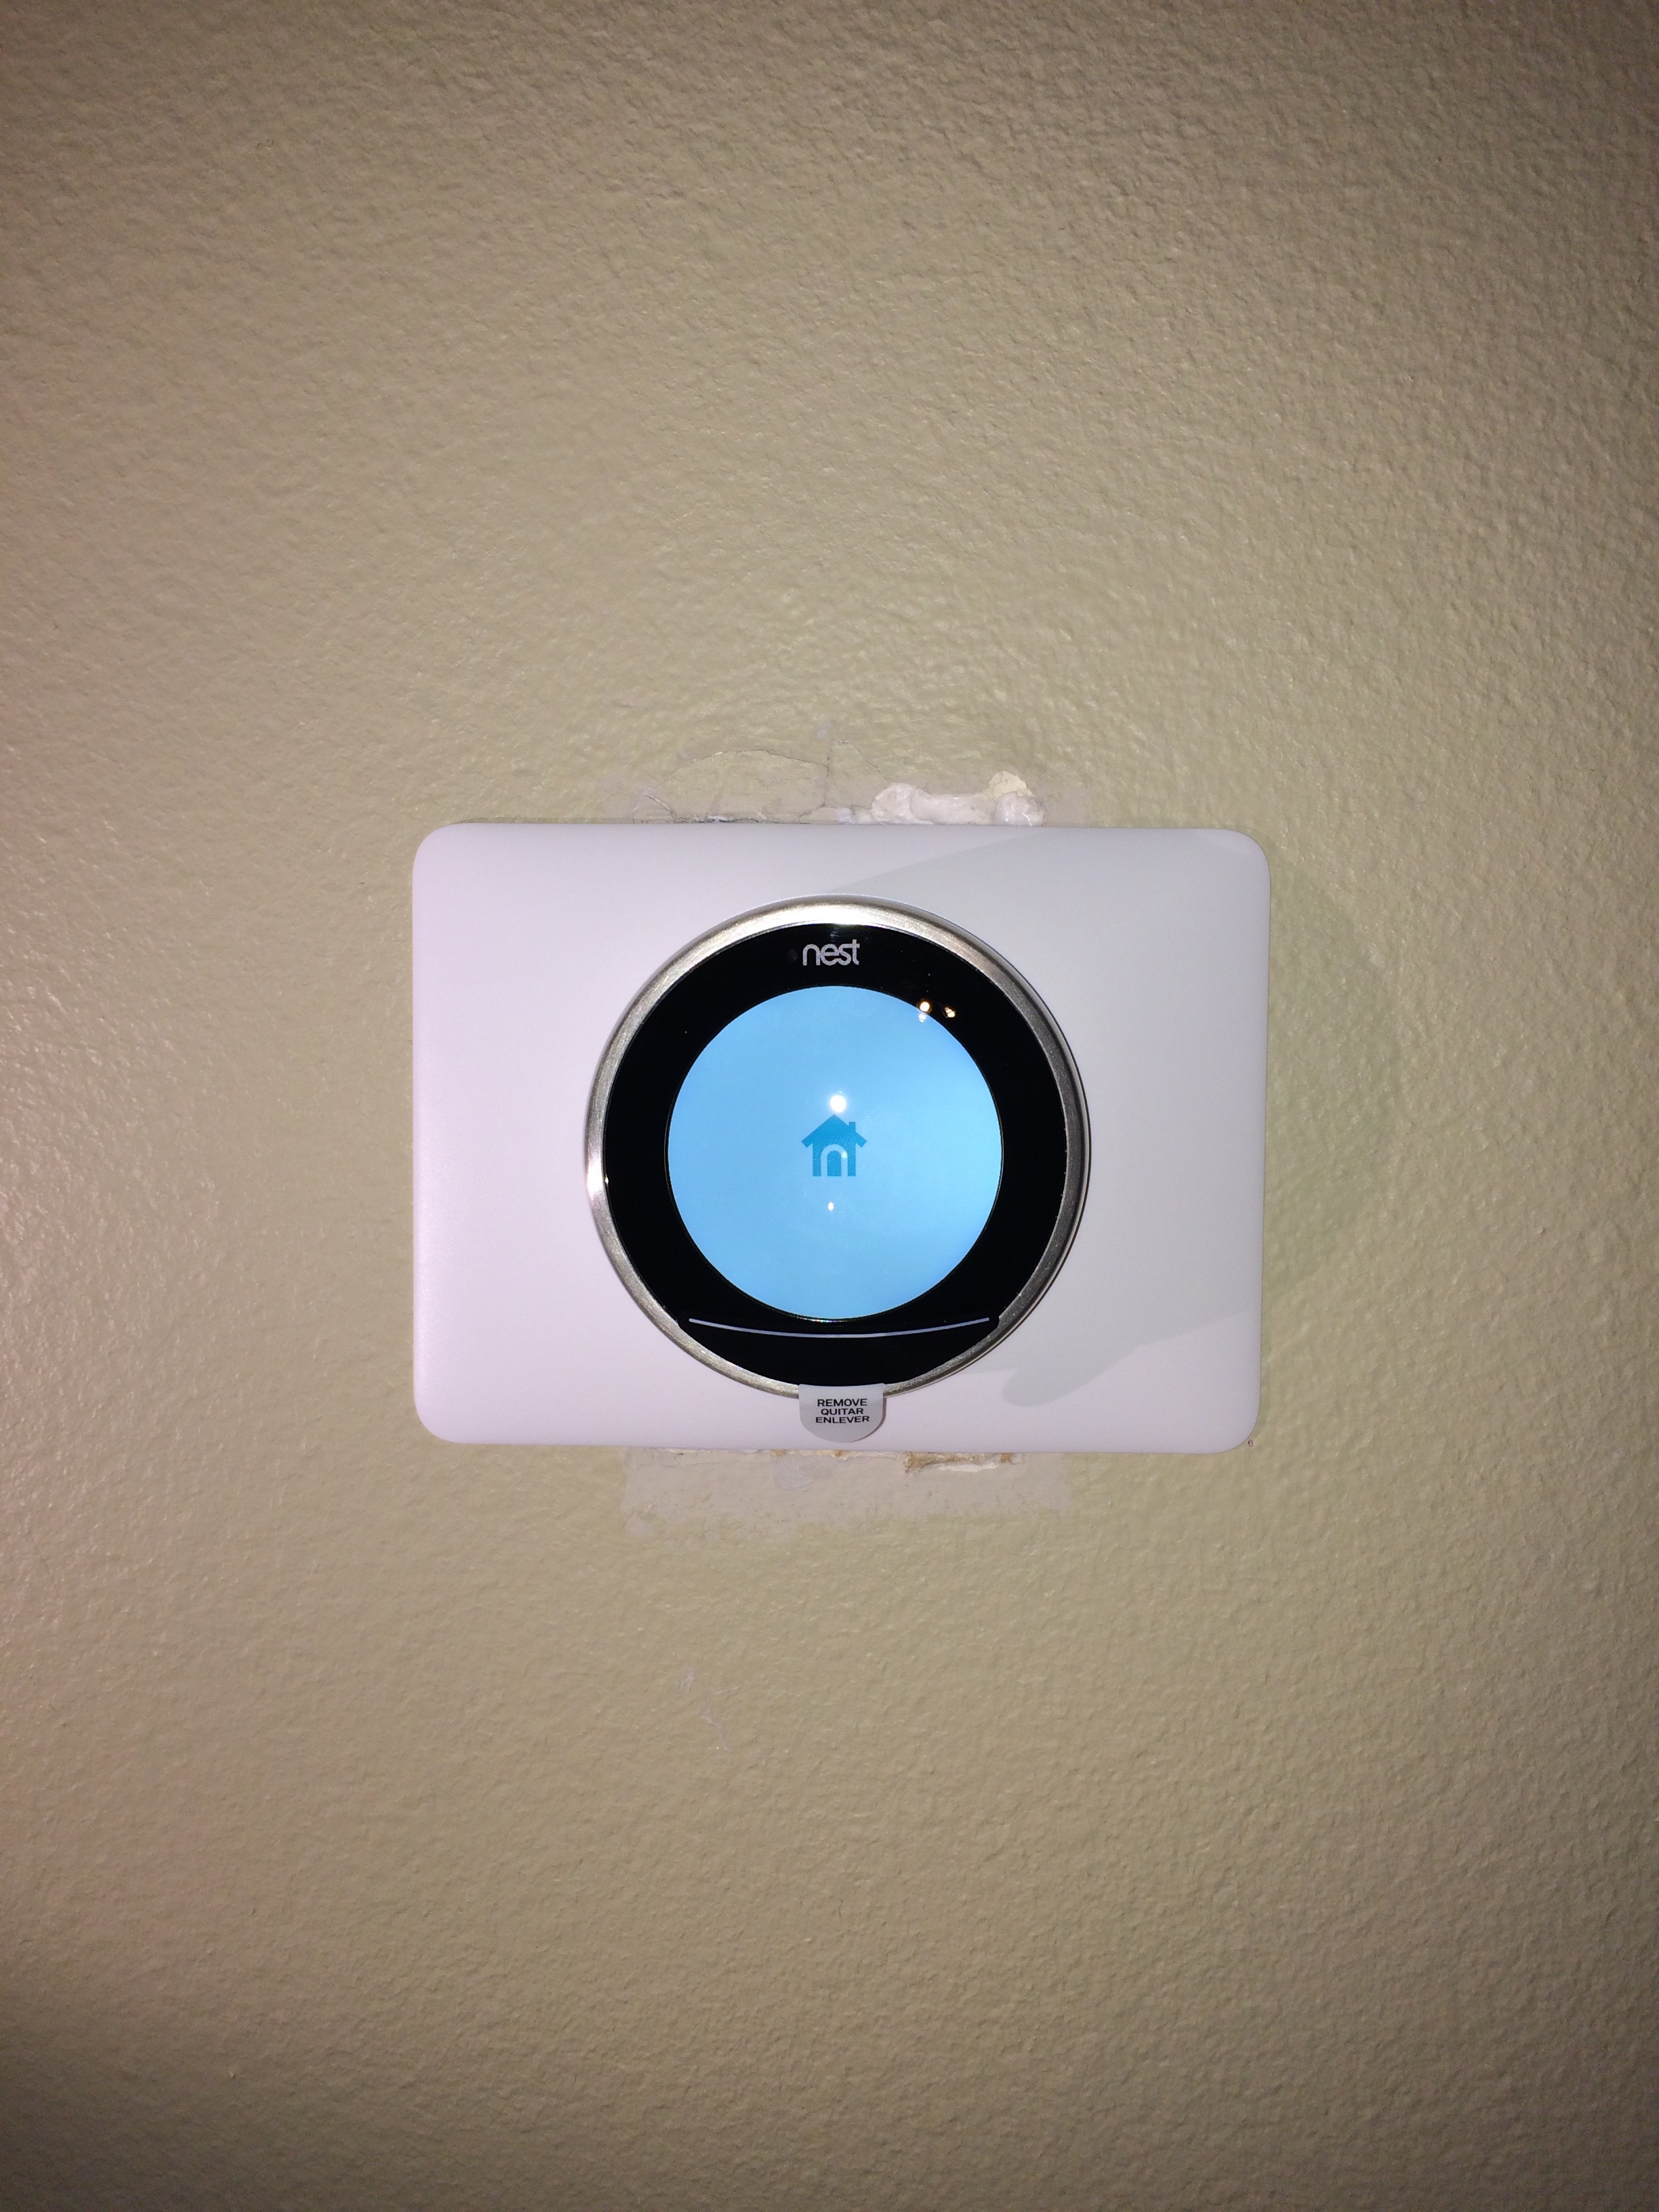
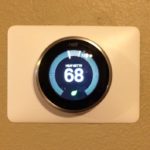
Then it’s a matter of completing the installation of the Nest thermostat, following its instructions:

Final result
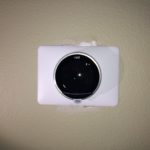
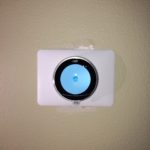
Some paint, and you are done:
This is all.
Final remarks
It took around 2 hours to do the whole work, and a few more because I had to learn from scratch:
- how to remove the blue box from the wall
- how to use spackling paste to put it back
- what kind of relay to use
- find the right paint hue for the wall
The most time was to find a clever solution to make it work… You have it here! 🙂
If you liked the post and want to support my effort, you can do so by ordering the relay and the thermostat from Amazon (at no additional cost to you) by using the links below, or you can just Buy Me a Coffee:
Thank you